Building a Polly VI
locomotive from a kit
Kit 9 |
|||||
| Kit 1 | Kit 2 | Kit 3 | Kit 4 | Kit 5 | Kit 6 |
| Kit 7 | Kit 8 | Kit 9 | Kit 10 | Kit 11 | Kit 12 |
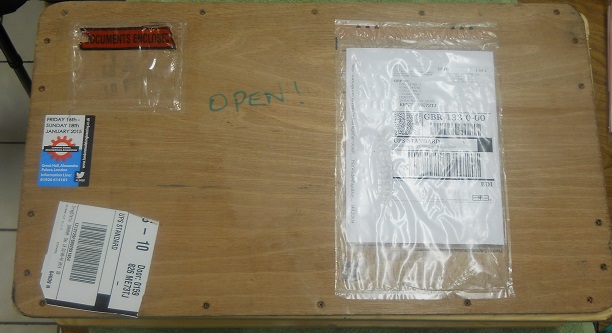
It was arranged that delivery would take place on Friday 19th December 2014 and it did arrive as planned
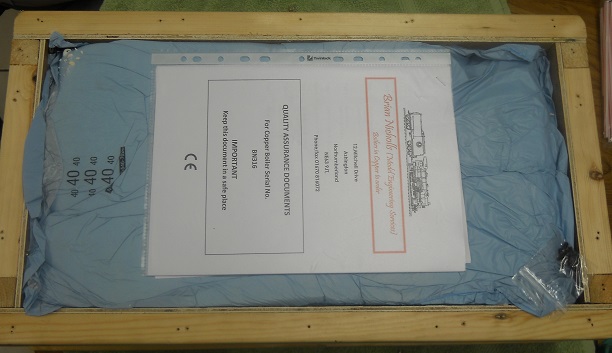
The kit instruction includes all the important documentation of the boiler as it will be required when the boiler is taken to my local club for it initial test under their regulation.
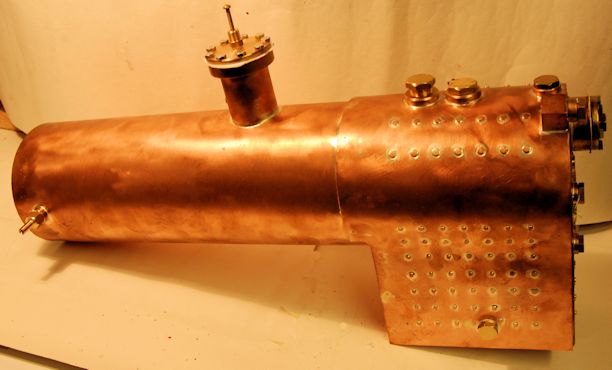
The parts included in my package of Kit 9 were:-
The boiler
Banjo bolt
Superheater to follow in kit 10 as I am having mine in Stainless steel.
Regulator gland nut
Regulator gland packing
4 Fixing bolts
Regulator arm
Backhead pad
Backhead pad gasket
Dome top cover gasket
Dome cover
Dome extension
Blowdown pipe part 135
Snifting valve pipe part 134
Smoke box to follow in kit 10
Fuseable plug
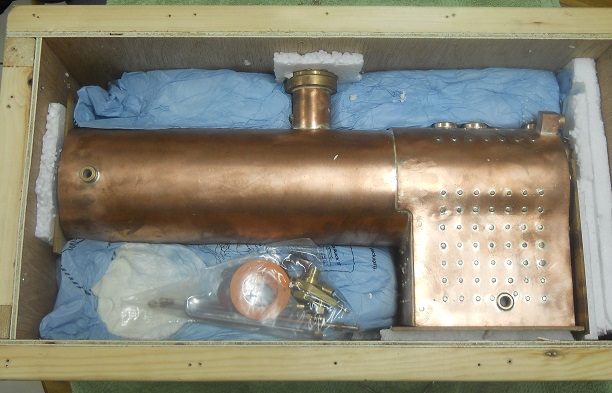
Until I have the boiler tested at my club it will remain safe in the box. Eventually I will return the box to Polly on a visit I plan to make to their workshops.
I have been in touch with the boiler testers at my club and have been asked to ring again when I know which Sunday I can attend the club. So plan are starting to fall into place.
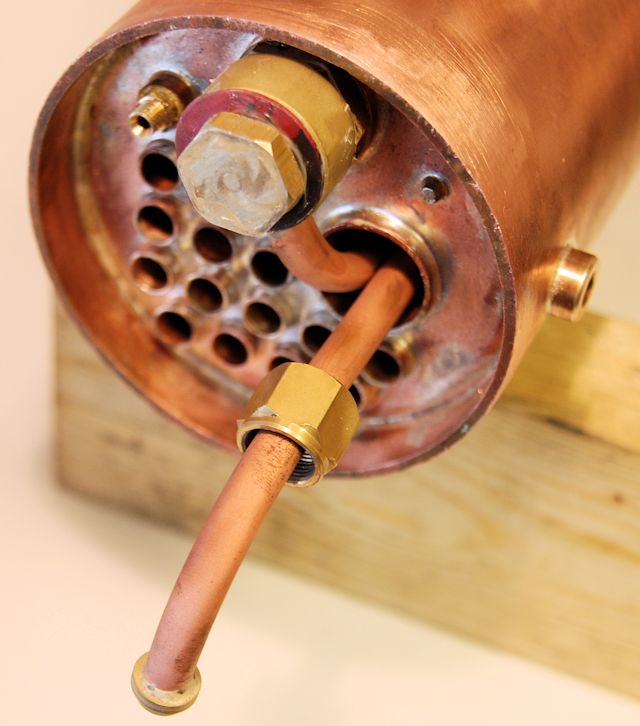
I have finally been able to find the time to particularly make up the 1/4" x 40 ME threaded male connector which must be availble to my club's tested to link to the test pump. This can be seen sticking out at the front of the boiler as part of a bung.
I have also made up temporary gaskets for the initial club test which will be replaced when the boiler test is completed.
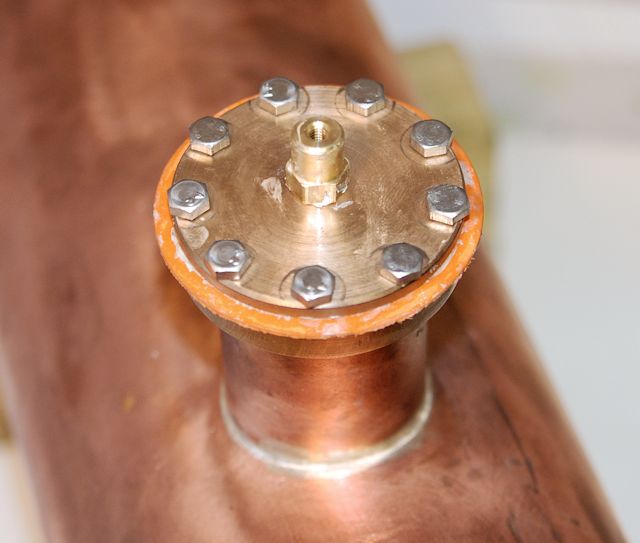
The part which will stay in place is the fusible plug as I was told by the boiler tester I know that I should use that fitting and not a bung to check that is is secure and then it does not have to be changed..
My club's hydraulic boiler test was carried out on 5th April 2015 and as expected it passed. I can now continue with the build of the Polly VI.
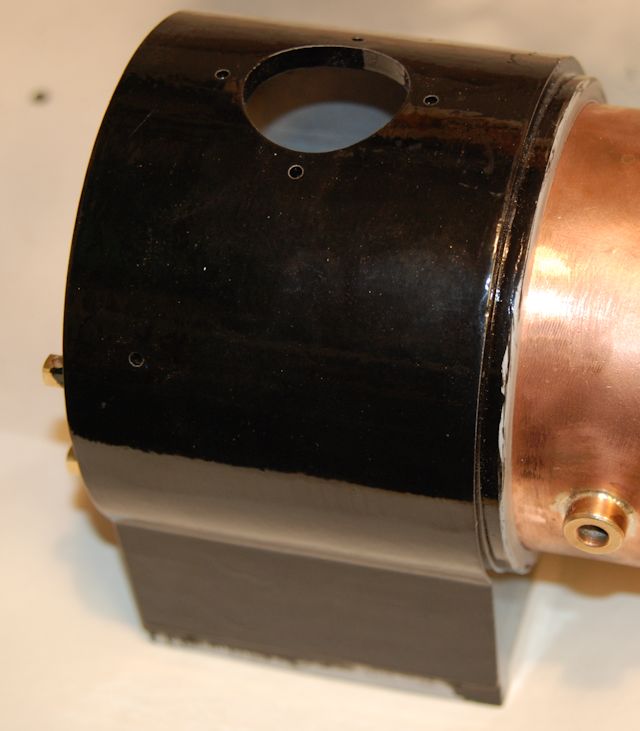
The smokebox needed some fettling to make it a nice fit to the boiler without forcing it onto the boiler.
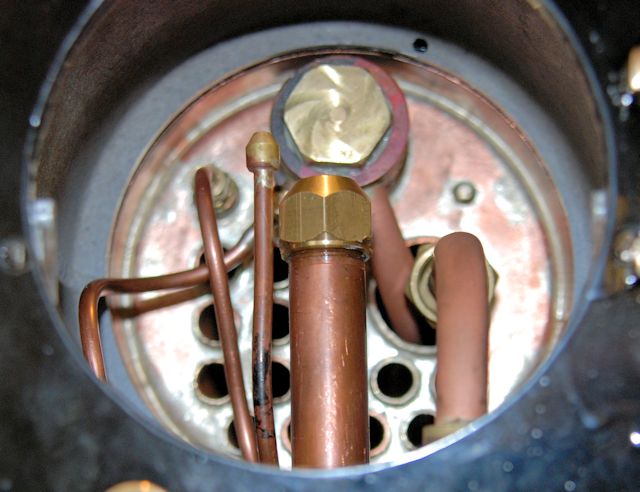
Work commenced on the "Plumbing" first the dome gasget was installed.
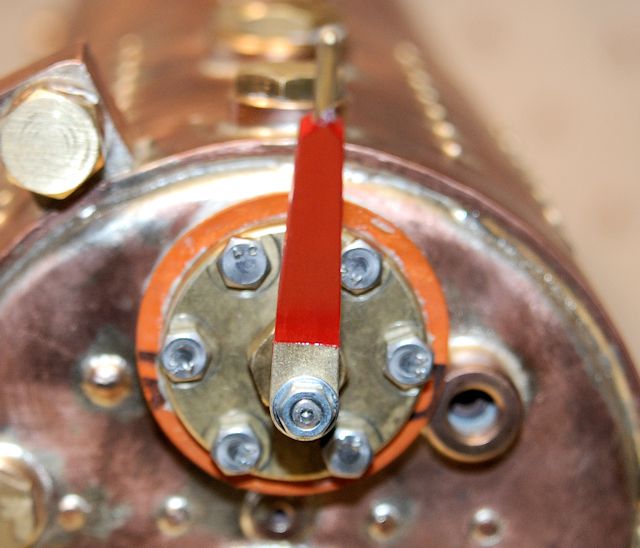
There are spring washers each side of the banjo and Boss White was used as a sealant each side of each washer.
The picture show the superheater held in place with the banjo tightened finger tight.
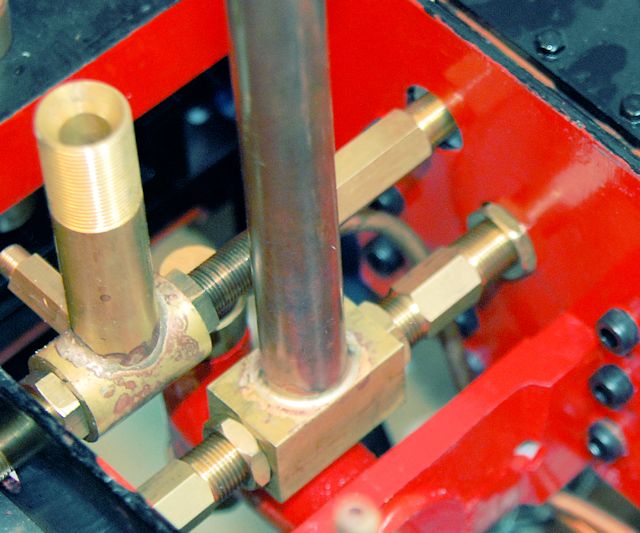
With frustration that I could not lock the exhaust pipe vertical I decided to make a suitable additional nut to go on the right hand side of the pipework and lock against the side of the frames.
With that fitted is was now easy to make the blast pipe central and remain upright.
If this modification is wrong it will be just a matter of slackening off the new nut !
I have also made up a new pipe to more snugly link between the axle pump out put and the boiler clack rather than having to loose the pipework which was rather long in a loop hidden amongst the frames.
So I took the inlet from the chassis and put a die 7/16"x 2 x 26 down the thread and then a second time with the die tightened down a fraction.
Then the nut on the superheater did tighten down fully.

So with that completed I can move onto Kit 10.