Building a Polly VI
locomotive from a kit
Kit 12 |
|||||
| Kit 1 | Kit 2 | Kit 3 | Kit 4 | Kit 5 | Kit 6 |
| Kit 7 | Kit 8 | Kit 9 | Kit 10 | Kit 11 | Kit 12 |
A word of WARNING
If you use the etch primer which I use and things go wrong when you have applied the primer correctly but you have runs in the Undercoat, as I did, be careful not to remove the primer as you cannot just spray another coat of the primer over the remaining undercoat as things go very wrong.I then had to sand blast all the material off, primer and undercoat and start again.
The sandblaster did not work to start with so I acquired a new amount of Aluminium Oxide and then all worked well. The problem I learned from fellow club members of my club is that sand blasters do not work with wet / damp sand.
I am now acquiring a small 300mm tubular heater to keep the sand dry!
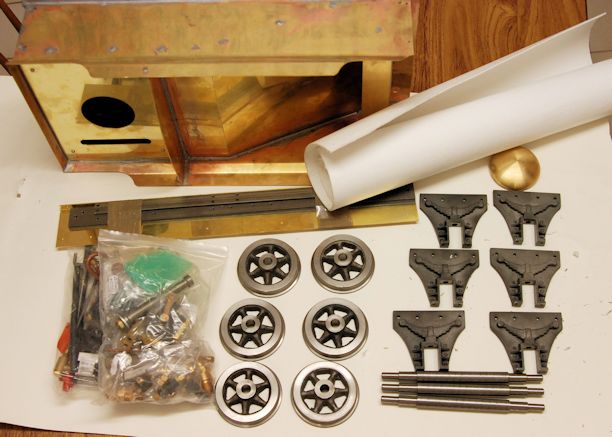
Kit 12 arrived in a heavy wood box. It contains most of the parts for the tender but some were in the other Kit 11 packing so are not shown here.
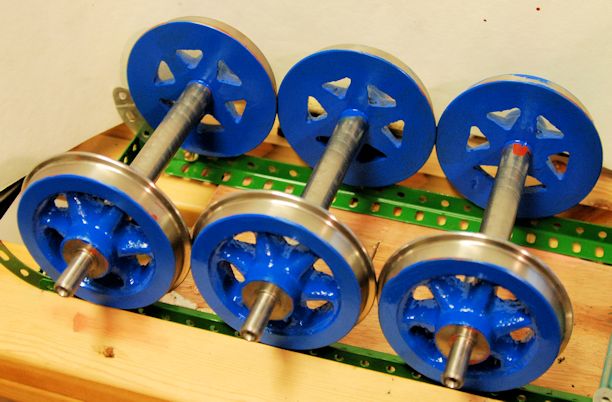
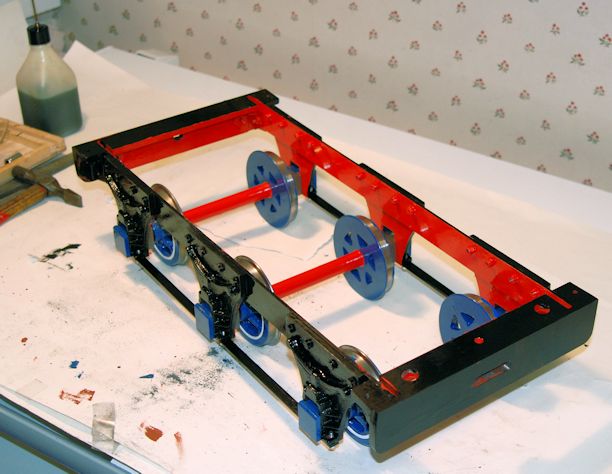
After reading through the notes I decided to put the wheels on the axles. Here they are with one wheel done..
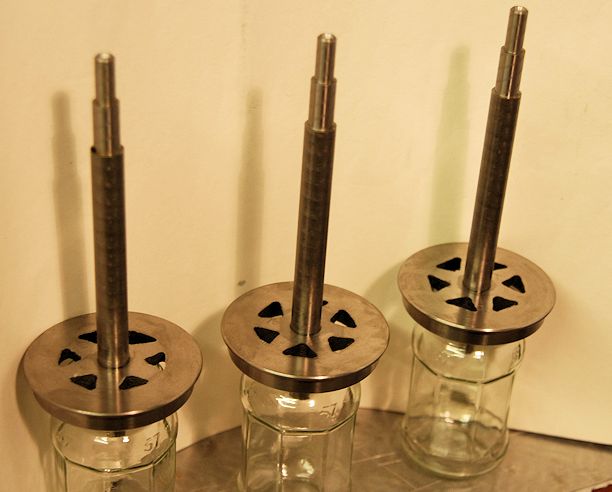
First thing the wheels were applied with metal primer.
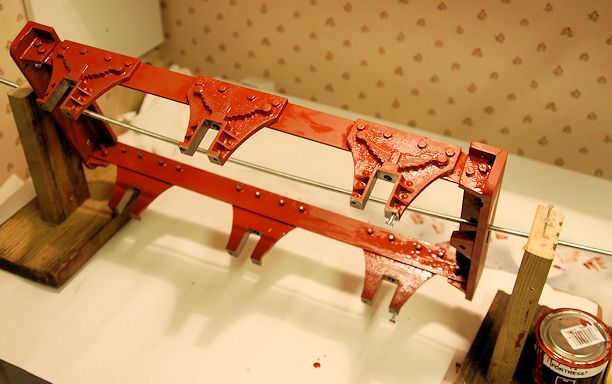
Later the same day the chassis of the Tender was assembled with my granddaughter and then painted after she had returned home.
The stand used for the locomotive was resurrected and used for the Tender as the photo show.
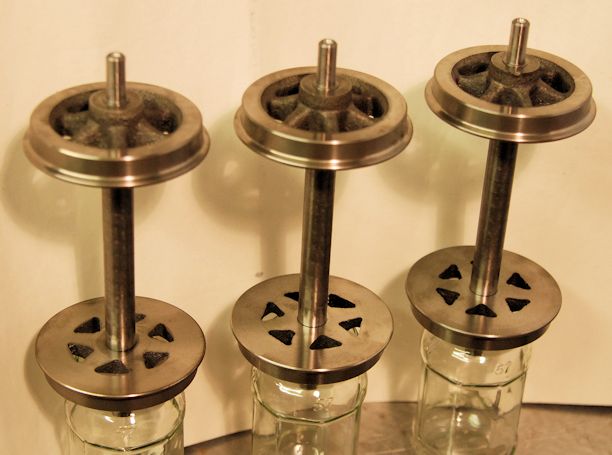
The undercoat in blue was applied to the three wheel sets. As for other wheel sets the "Meccano track" was put to good use..
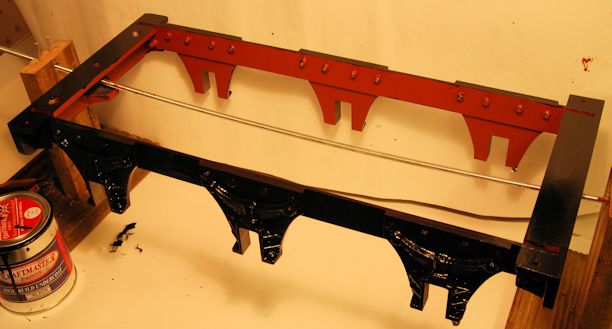
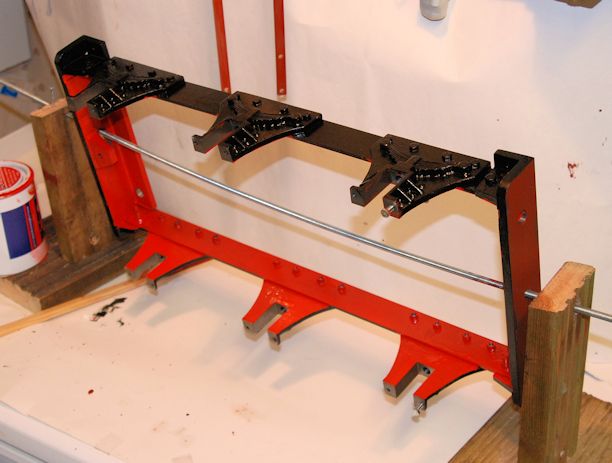
More painting done to the Tender chassis with the top coat of black and a second undercoat of red.
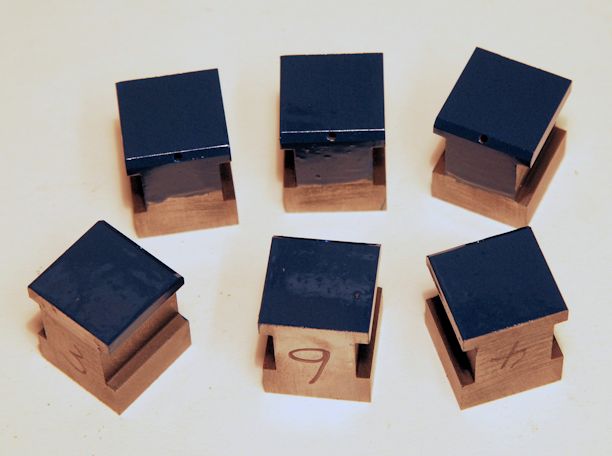
I also check that all the axle blocks fitted and marked each with a number so the on assembly they will go in the slots which they fit.
The Axle block also had a top coat of blue.
I also undercoated the axle box keeper rods.
Today more painting of the tender Chassis and also lining out the Tender Wheels and lining out the cylinder covers.
The photo shows the Tender Wheels.

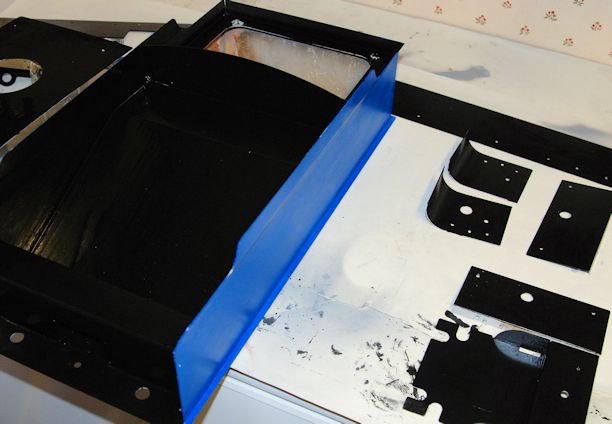
Today work started on the water tank. A files was used on all of the external blobs of solder to bring them down to the surface. All the other excesses of solder were also filed off.
I have left on the bench, aka deep freezer, all the tolls used on this stage of the preparation.
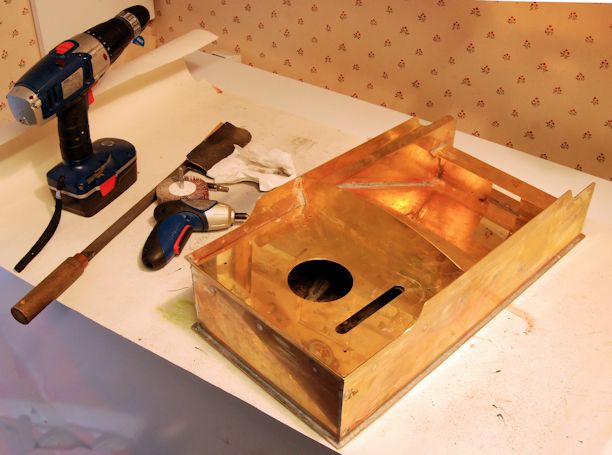
I
did not wish to just drill through the bottom with a big drill
so I decided to try to find the hole with a small drill first.
I carefully drilled looking for solder drillings and not
brass. Both holes went through so then I used a slightly
larger drill and still no brass drillings so on with the
next drill slightly smaller than the holes and still only
solder drillings.
So with that completed I can continue.
So with that completed I can continue.

All in all I am very happy with the way it has gone together. A little bit of touching up of the black paint but nothing that cannot be easily achieved.
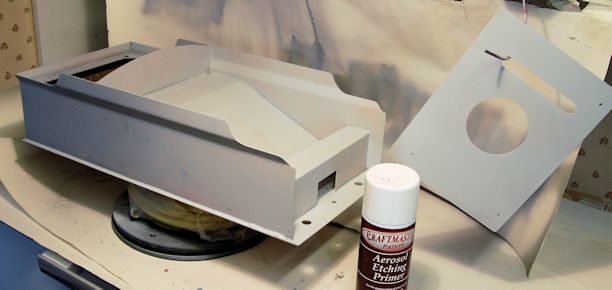
Today more work was done on the tank for the tender. I tried but failed to make my sand blaster work and being cold I easily gave up, may be the sand is wet, or may be too old as I have not changed it in 5 years !
So I decided to give it a good rub down with wet and dry and then spray with the special difficult metal primer from Craftmaster Paints. This will now be left for 24 hours to properly cure before the first undercoat goes on.
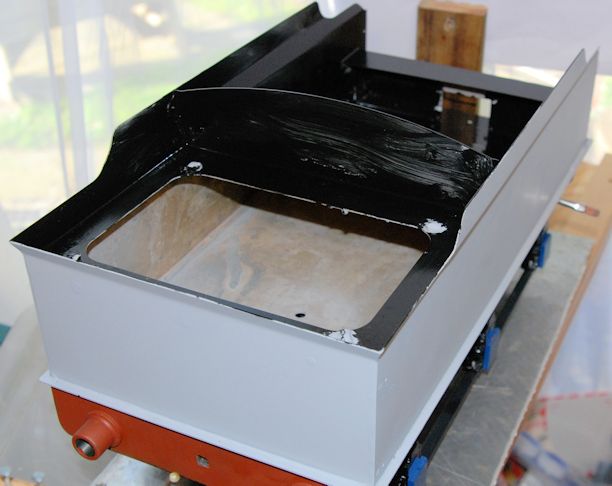
The first part of the undercoating completed in the black area.
It looks like as it dries that a second undercoat will be needed as I tried to put on a relatively thin coat to try to avoid runs in the paint.
I also undercoated one side of the tender tank in blue but to avoid drips I will let that dry before moving onto another side.
Much of the rest of the day was undercoating other parts with their first colour undercoat.
A trip to Machine Mart to buy new Aluminium Oxide grit for Sandblaster to clean off the poor work of the primer and undercoat - see Warning at the top of the page - and then a clean up to make sure no grit remained from the sand blasting.
Then loads and loads of second undercoat painting done and not just on the tender.
Later in the afternoon the boiler bands were found and they too were sandblaster and with the mucked up piece all cleaned and then given a coat of the etch primer.
Although mentioned elsewhere I decided to use my THREEDY 3D printer to make masks to aid lining out
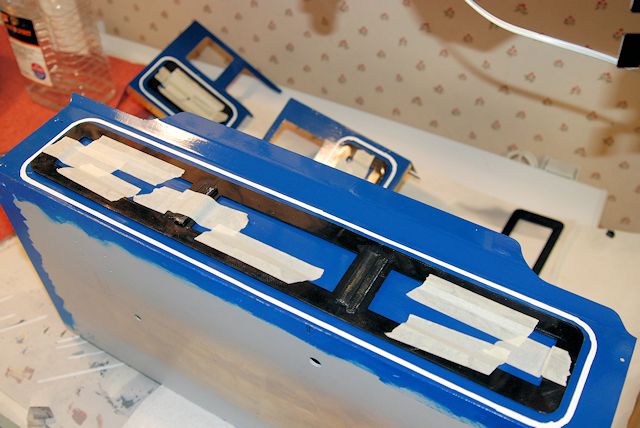
These supports will allow me to line out the other aside without scuffing the first side.
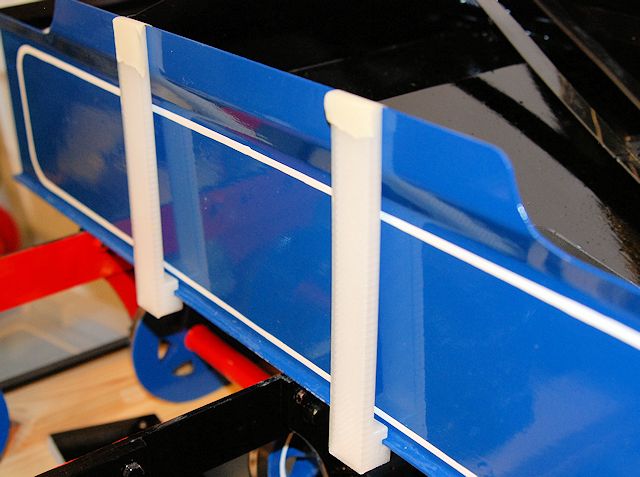
This is lining out the other side. The black disc under the tender is a turntable upon which the tender is supported with the two 3D printed pieces. The lining was done with the Beugler liner as also seen in the picture.
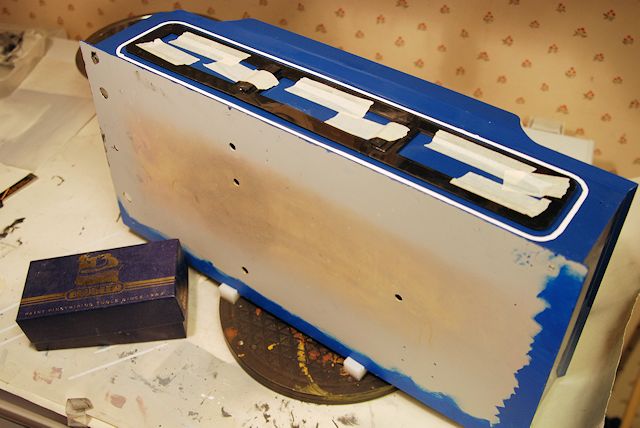
This is the design and I am amazed at the accuracy of the 3D printer and it is exactly to dimension as printed allowing for fractional shrinkage which I did not allow for in the design.
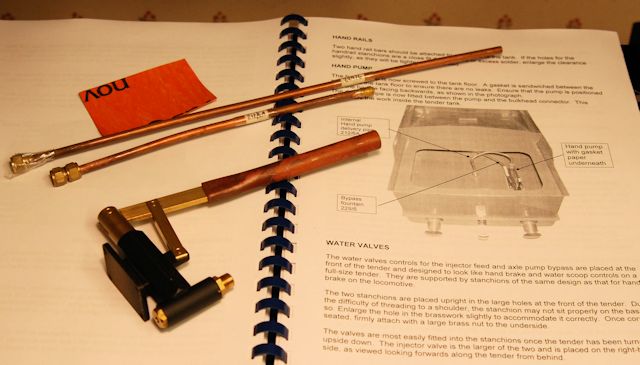
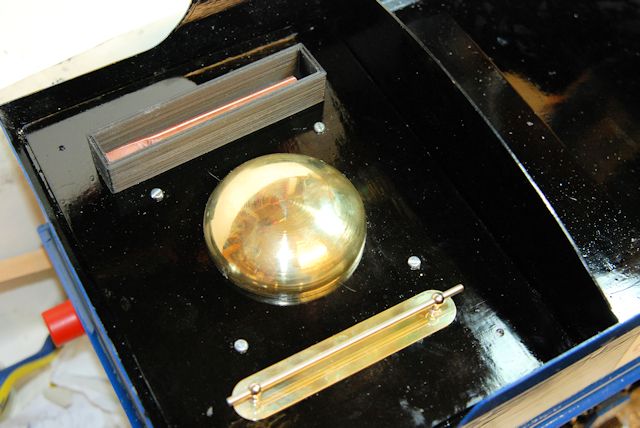
Sorting out parts for pipework etc I decided to add reminder photos and the photo shows the hand pump and some pipe work and the gasket for underneath the pump.
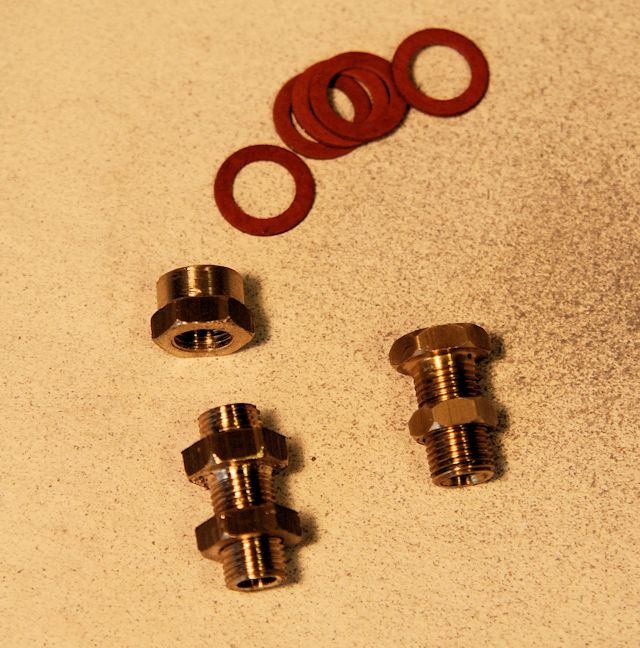
A package with the UNION connections for the bottom of the tender water holder arrived a few days later.
The Unions has 5/16" x 32 ME thread with the main part from 7/16" hex brass and locking nuts from 3/8" hex brass. As there is no facility for filtering the water leaving the tender for the axle pump or injector I am considering remaking these parts so the a filter of bras gauze may be fitted and cleaned as necessary.
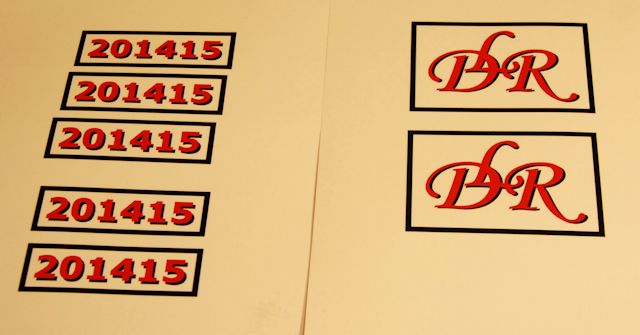
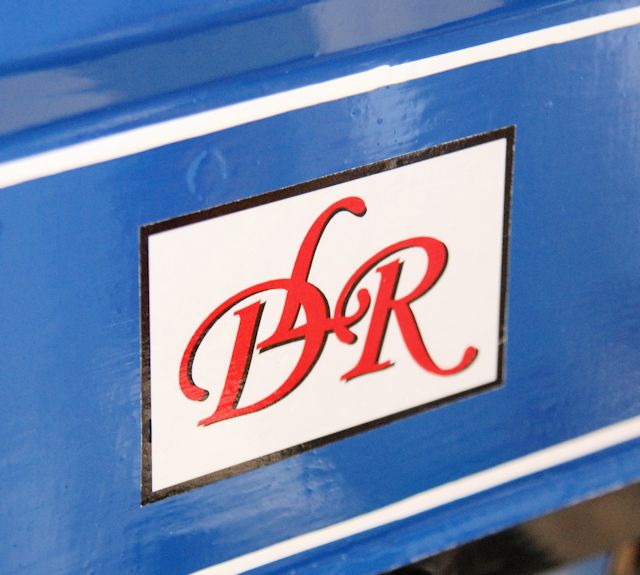
I have had a go at making decals for the loco. Whilst they look yellow they are actually on a white back greound.
The number 201415 indicates to me when I started the build 2014 and when I finished the build 2015
The DLR stands for Darley Light Railway.
The effort I had to put into the sorting out size and shadow was more than I had expected !!
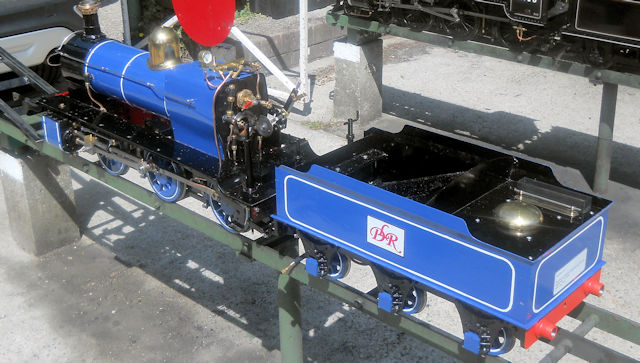
Here the logo is attached to the tender.
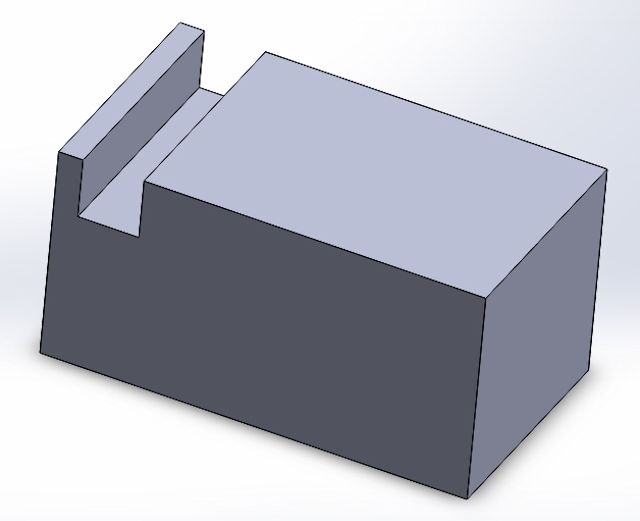
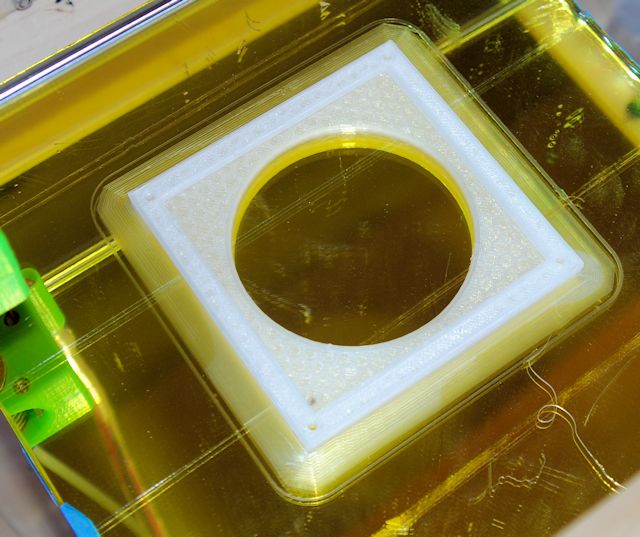
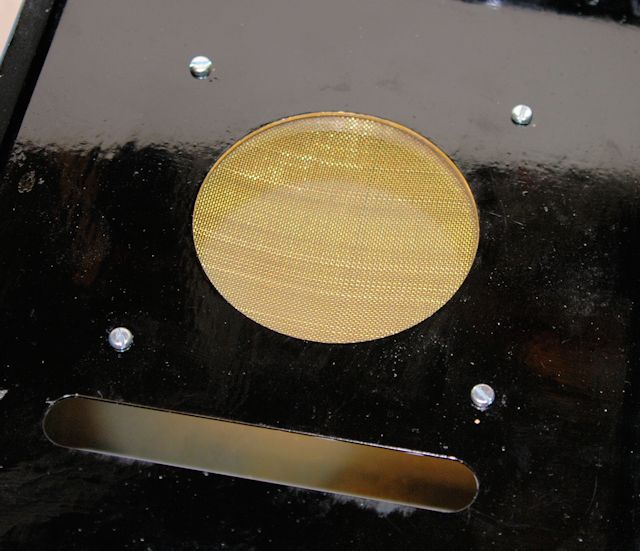
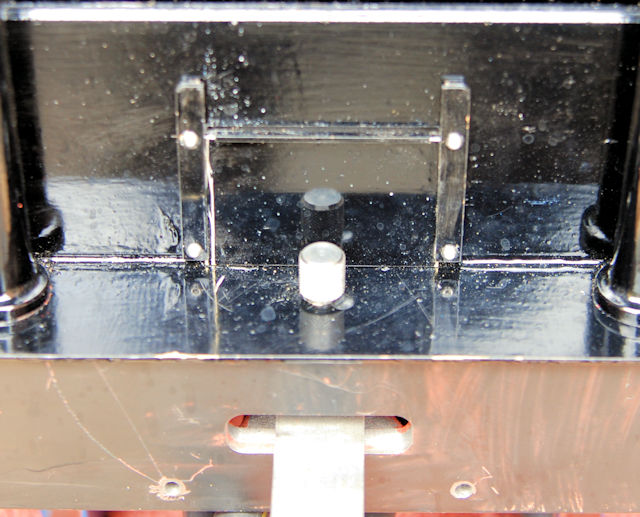
There is no filter in the water fill to the Tender so I decided to make on my 3D printer a framework to hold a filter. It is in two parts and the filter material can be released by undoing the 4 holding bolts. If that is not practical then a remake will be easy!
For information I have used a piece of mirror glass as the base for the 3D printer and it is covered by a special adhesive tape that helps to keep the piece adhered to the bed.
Whilst it does mean that to see the depth of the water in the tank will require the hand pump opening to be opened !
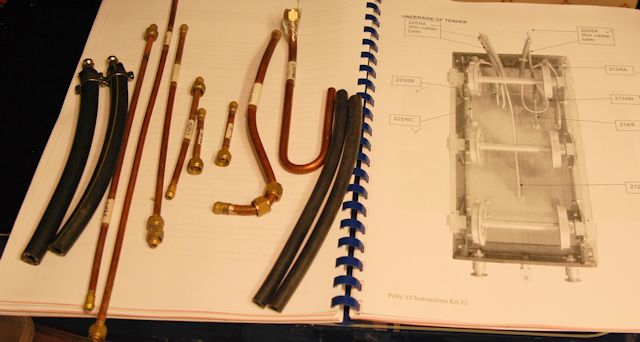
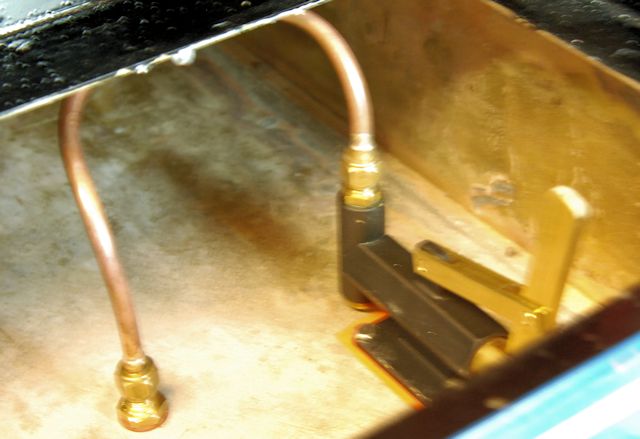
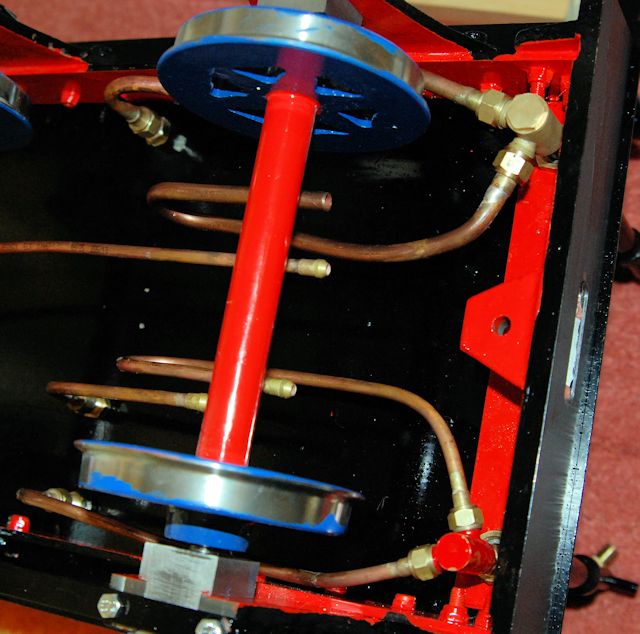
Today I fitted out the Tender water unions. The photo shows the two internal filters which I made up in place of the unfiltered feed to the axle pump and injector.
The pipe to the left hand side is the water bypass from the axle pump and the final bend is still to be made when I have decided where it should be.

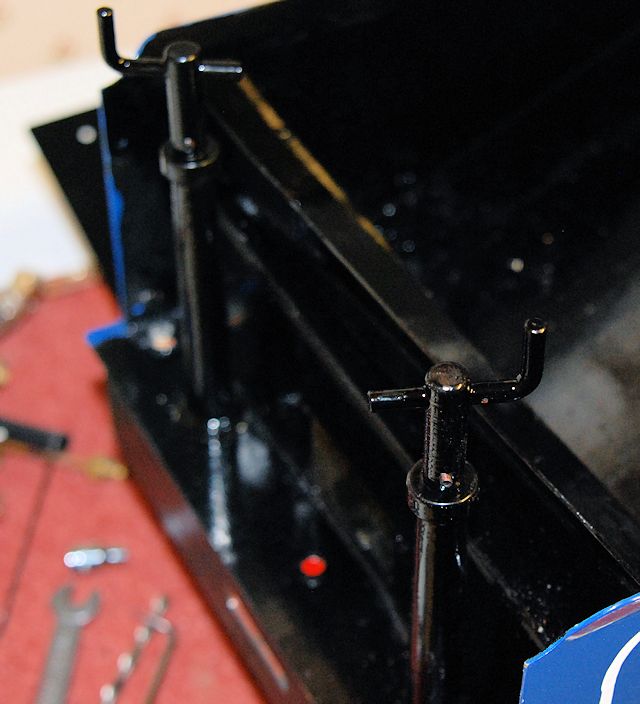
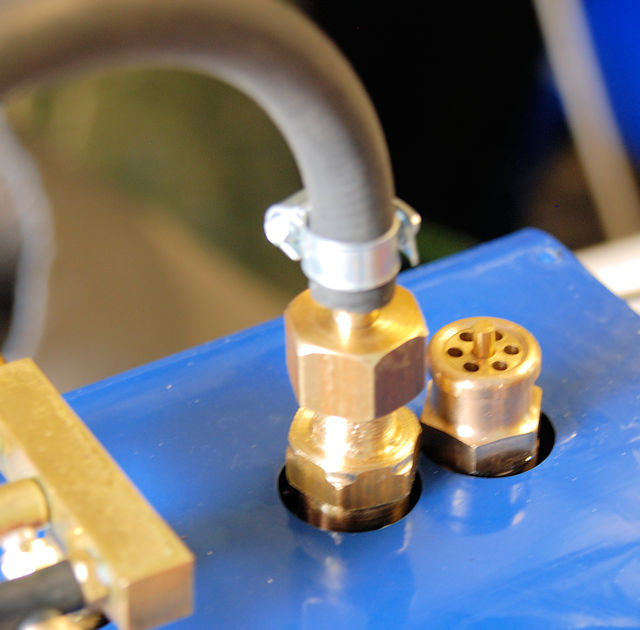
More work on the tender, fitting the two water controls. a little bit of filing out to make the controls fit the stantions and the washers on the stantions were not used as not sufficient thread.
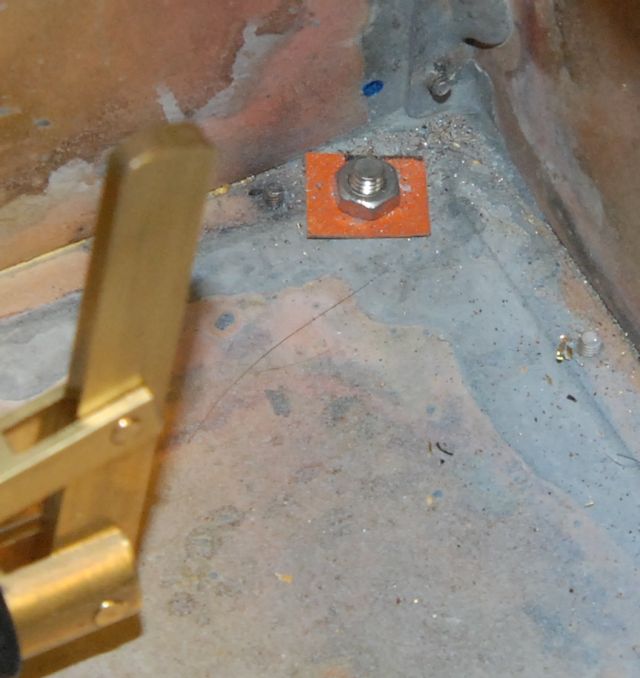
This pipework under the tender was fitted. One of the supplied fitting was found to have the wrong thread 5/16" x 32 rather than the 3/8" x 32 however I was able to make a suitable part in my workshop.
I was able to return to building on the loco. I tackled the little door at the front of the tender which on a full sized loco would be a coal shoot.
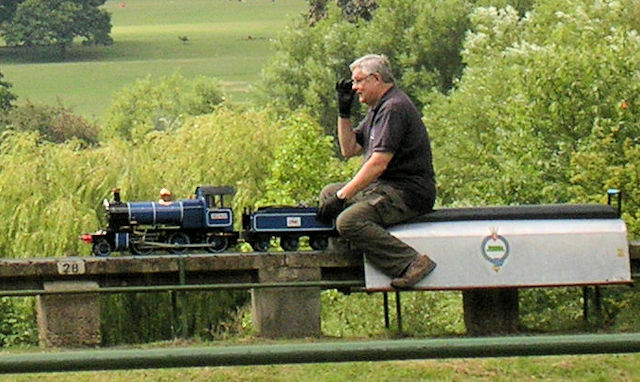
I took the loco down to my club for the first time check that it transported ok and would easily unload. With that achieved it is now onwards to the steam test certification procedure once I am certain that soo leaks are sealed off!
Attached an air line to the loco with the safety valve installed and found many air leaks that one by one were resolved.
Today I decided to follow an idea from another engineer and to partially clad the inside to the tender with timber. The timber is glued together with two part resin.
However I have decided to take out the timber and thus have more space for coal !

Today is the day of the steam test the 1.5 times hydraulic test having been carried out on Wednesday 13th August but attention had to be given in the smoke box so the Steam Test was delayed until today.
The photo also shows me putting of safety gloves as if to do a surgical operation instead it is a mechanical operation !
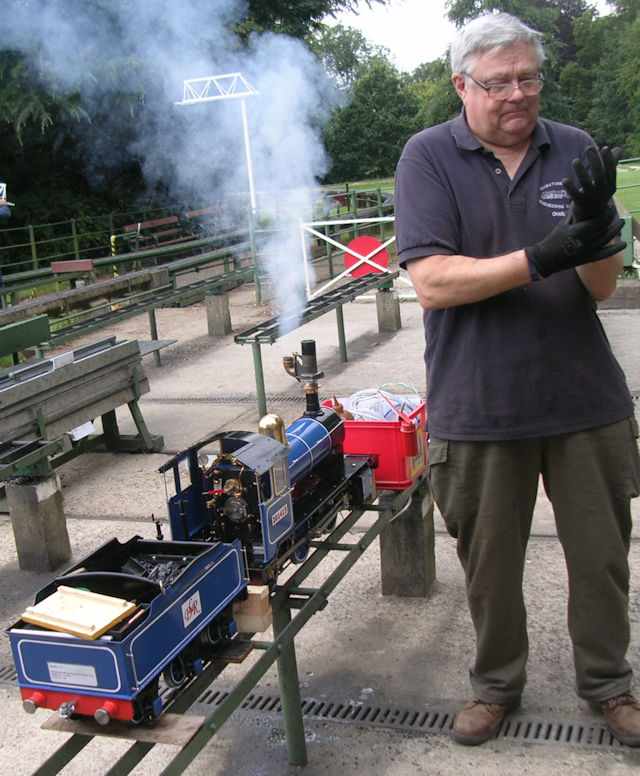
All went well with a steep learning curve as to driving the loco to keep the right amount of water in the boiler, making sure I knew how the injector on off valve worked, and keeping a good fire.
So after 282 days from making the first payment to Polly I am now able to run my loco fully certificated by my local club.
I found that the loco develops steam at a very fast rate !!!!
Thanks Polly for designing and machining a good locomotive.
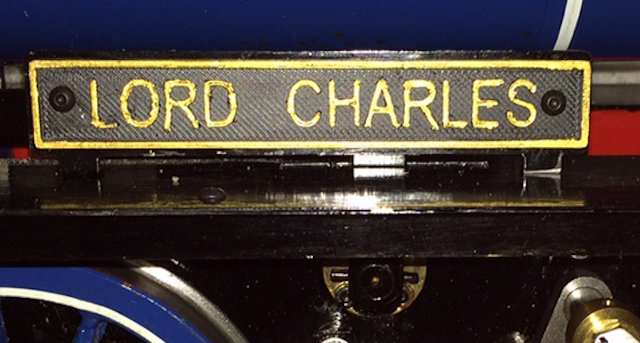
I made up the name plates on my 3D printer and painted the letters in a gold coloured paint.
Right back in the early stages I missed adding the chain to the front coupling hook, that was done today !!