Building a Polly VI
locomotive from a kit
Kit 10 |
|||||
| Kit 1 | Kit 2 | Kit 3 | Kit 4 | Kit 5 | Kit 6 |
| Kit 7 | Kit 8 | Kit 9 | Kit 10 | Kit 11 | Kit 12 |
Today I was advised that Kit 10 is ready for dispatch. Deliver took place late afternoon Friday 9th January 2015.
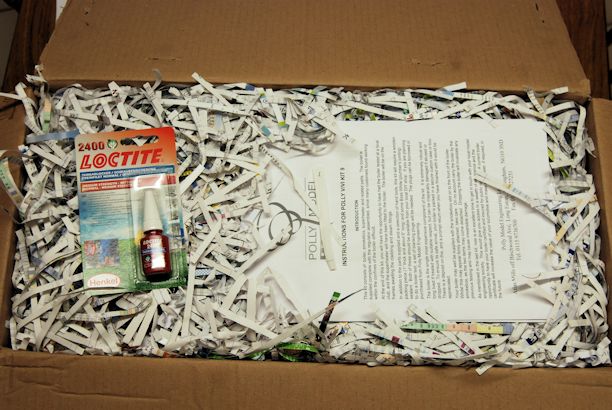
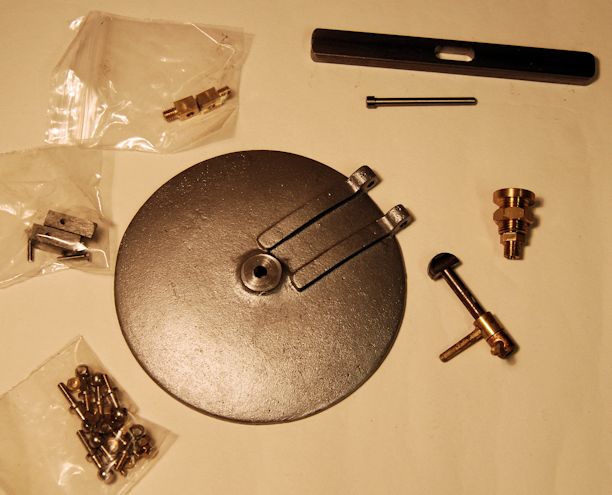
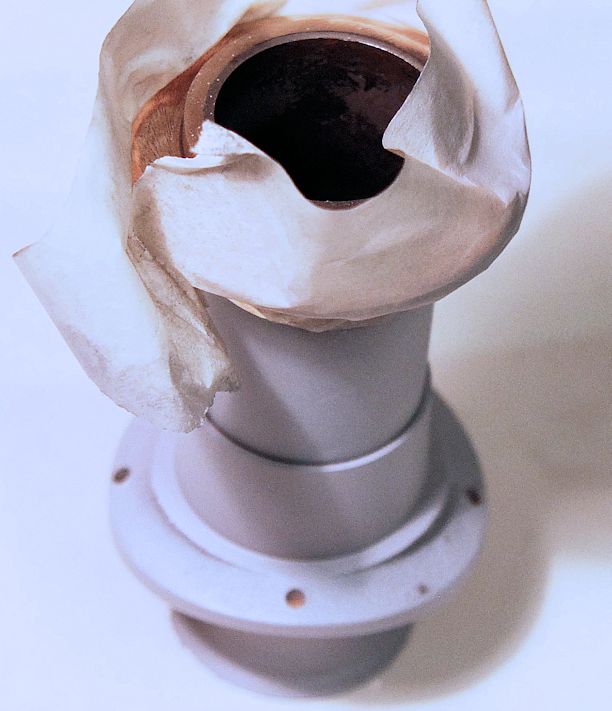
This is the first layer under the packing box. The Loctite is the thread lock needed where nut could rattle loose.
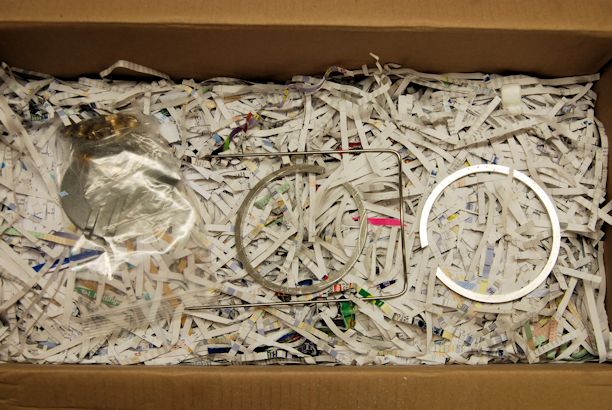
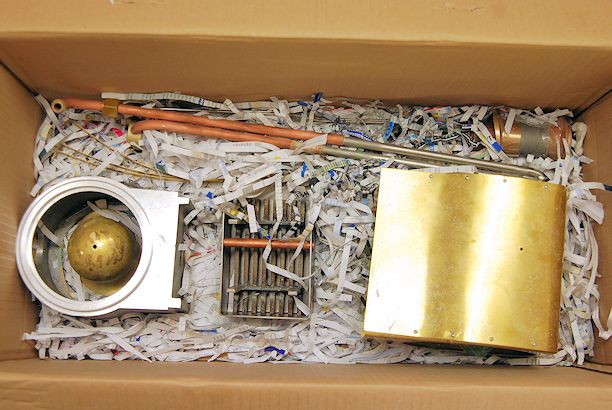
Firebox cladding, Backhead cladding, Throatplate cladding and reinforcement (assembled as one piece )
Snifting valve (in small package)
Chimney
Smokebox door (in small package)
Petticoat pipe
Barrel cladding not in the package
Boiler bands
Front handrail
Rear handrails
Barrel cladding spacer rings
Handrail knobs (in small package)
Smokebox dart (in small package)
Latch bar supports (in small package)
Latch bar (in small package)
Smokebox door hinges and pin (in small package)
Also in the photo as the Stainless steel super heater tubes (from kit 9 and non standard), Smokebox (from kit 9) , Dome (from kit 9), Ash pan (from kit 9)

With so much brass work to paint I decided to order some more of the Etch Primer which can be used for Aluminium and Brass surfaces as well as other 'difficult' metals. It is available from Craftmaster Paints but can't be brushed. but is an Aerosol can of 400ml.
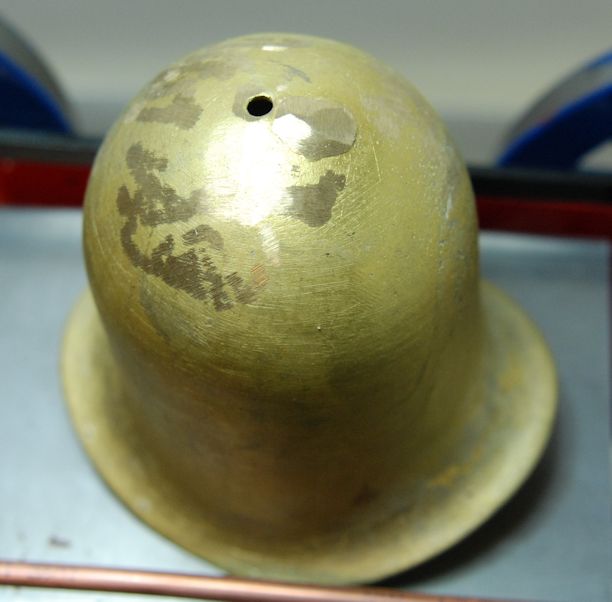
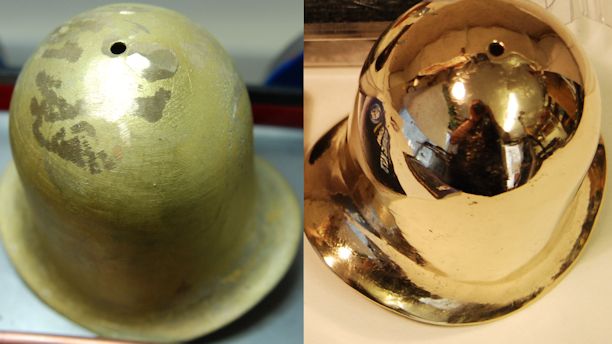
With paint drying on parts from Kit 9 I decided to give my self a complete change and see what I could do to improve the finish of the Brass Dome. The actual finish is quite reasonable but as it says in the build instructions the lost wax casting the dome can be buffed. I decided on this latter idea. Th photo show the dome as supplied.
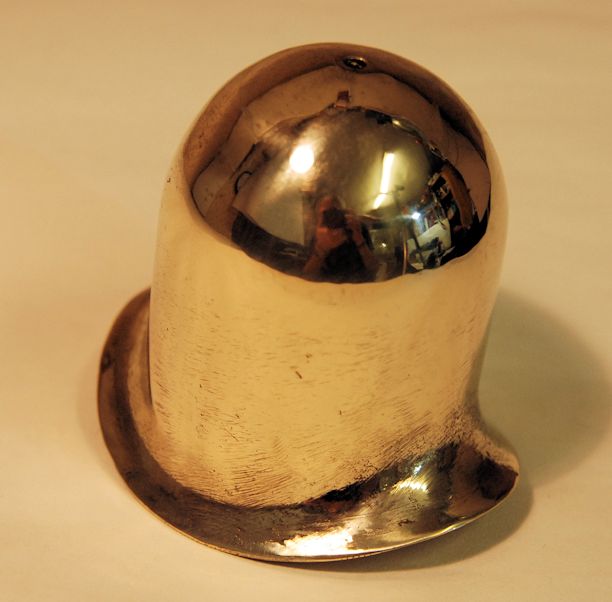
Initially I used 40 then 80 grit flap wheel and then an old polish mop head and some polishing soap.
However I am pleased with the initial effort.
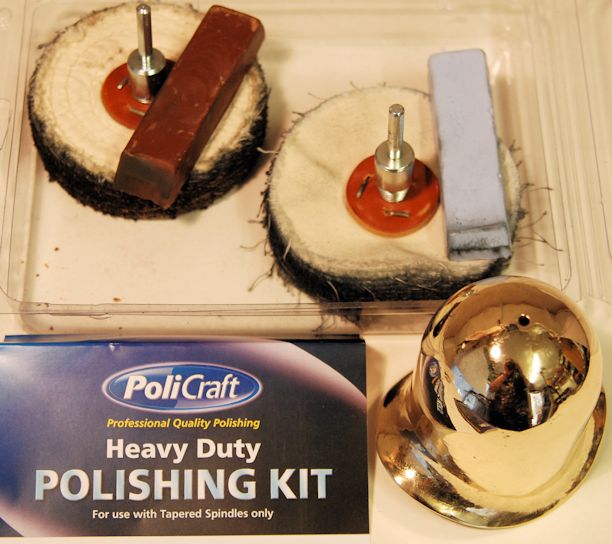
I had seen in my Axminister Tool Catalogue polishing kit so decided to give it a try and also bought and additional arbour.
There are two different mop one for the hard work and the brown "Soap" and a lighter fluffy one with the blue soap.
After just a few minutes work the shine was much improved and I am pleased with the result.
There are a few minor marks but with a great deal more of the loco to build I think it is quite sufficient time to have spent on the dome - at the moment.
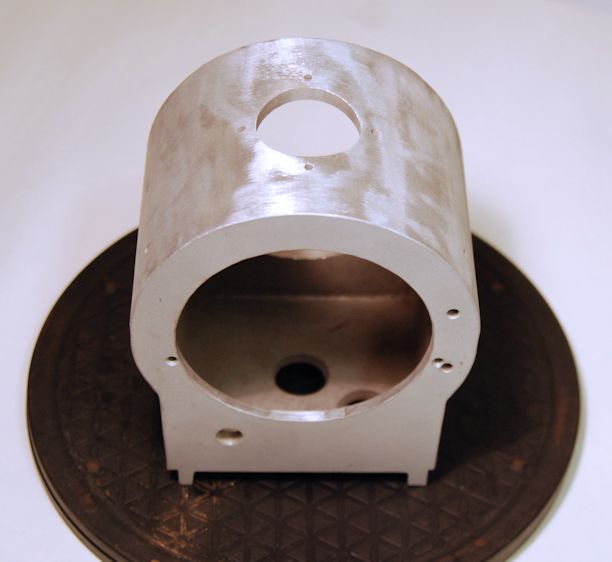
With Kit 10 delivered it contained the Smokebox so I will continue with all things Smokebox here in Kit 10.
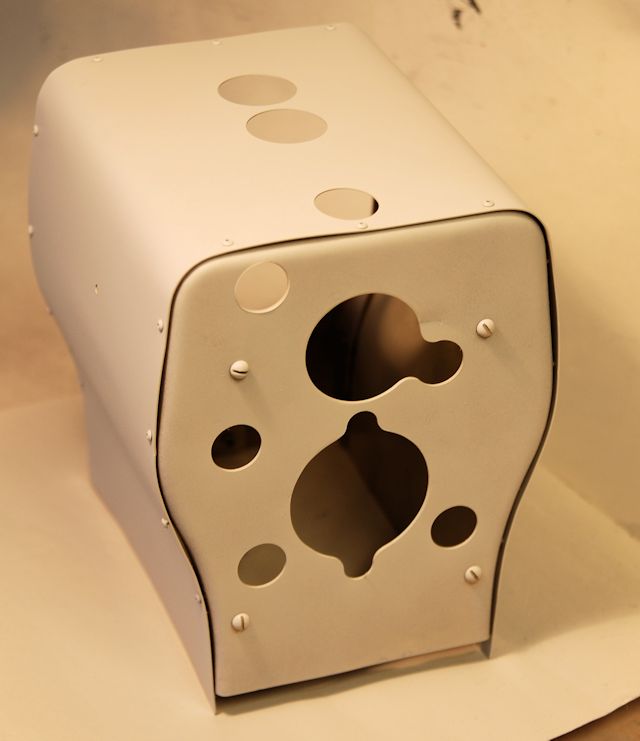
Today the Smokebox was cleaned up with a flapper wheel and particularly the sharp edges taken off around the entrance which will be covered by the Smokebox door but with hands needing to go inside the build noted indicate that a particularly through job must be made in this area.
The Aluminium casting was then sand blasted to give an additional key to the etch primer and then it will be painted in Stove heat resistant paint which I have used on another steam locomotive with no problem.
The Smokebox is sitting on an inexpensive rotating table to make it easier to apply the spray etch paint.
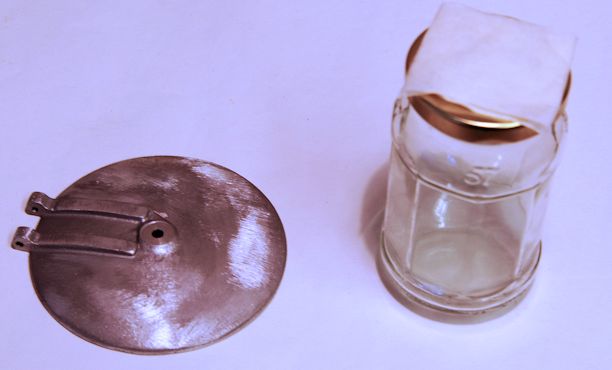
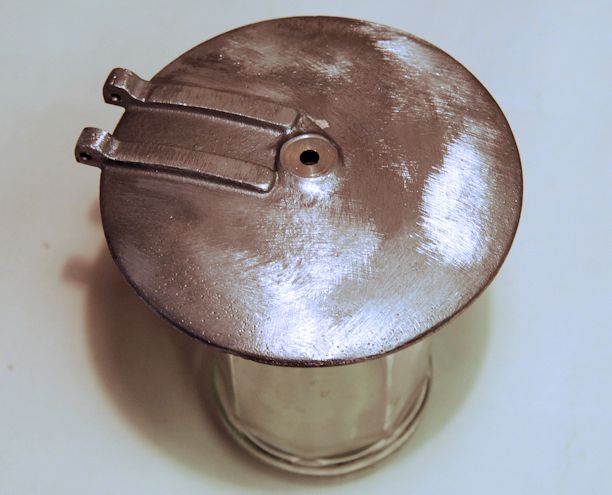
It is always difficult to hold something where you need to paint the edges too so I decided to us an old screw top jar with masking tape doubled over to the sticky side was attached to the jar top and this left and exposed sticky side too.
The build instructions indicated that whilst the hinge and door had been drilled there may be the need to ease the fittings to ensurer a good fit.
I should have done all of this before I had painted as now some re-painting is needed !
The hinge fitting to the Smokebox were drilled out with a fractionally larger drill as were the holes in the door.
The hinge fitting were then fitted ensuring alignment and the bar put in place to check alignment. Then the door was placed in the location but it was found that the arms of the hinge were too wide so metal was filed away until the door would fit between the hinge brackets.
I had been given good advice from a friend also building a Polly loco to make the fit of the door an easy fit so that future problem would not occur such as seizing up !
With this in mind, I found that the bar fitted in the bottom hole and door but the top door arm needed to be drilled out to align and the back of the arm rounded off to allow the door to open.
Now that is all fits it can be repainted !
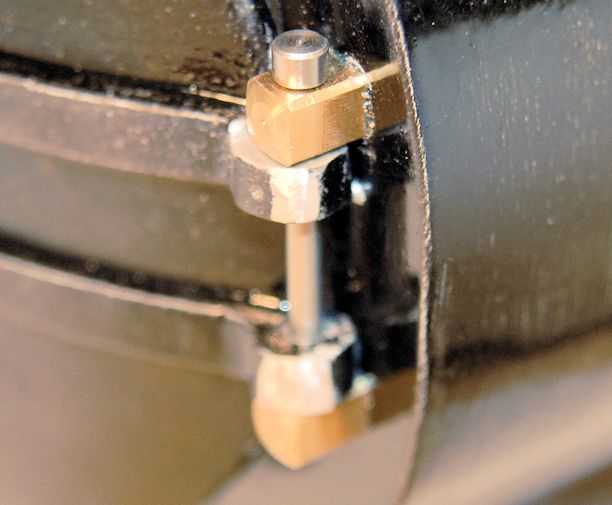
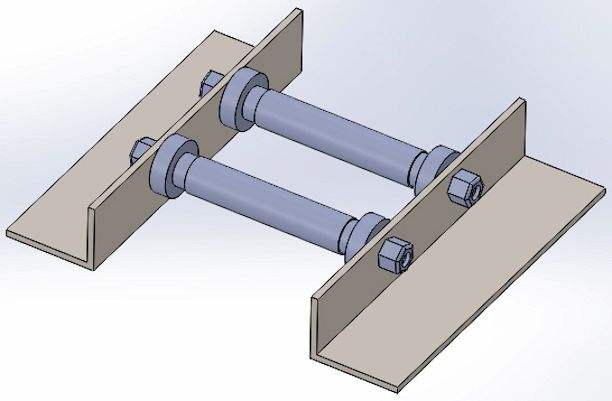
I decided to make a rolling road for the locomotive and to learn 3D CAD at the same time. The rolling road is made and the drawing is from a 3D cad program. The nuts are M10 thread and although I made the bolt a little under size they fit very well.
For the locomotive support there are three sets made one for each driving wheel.
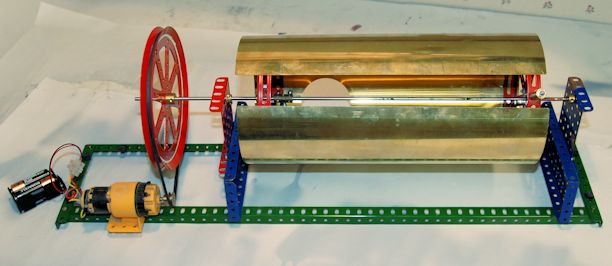
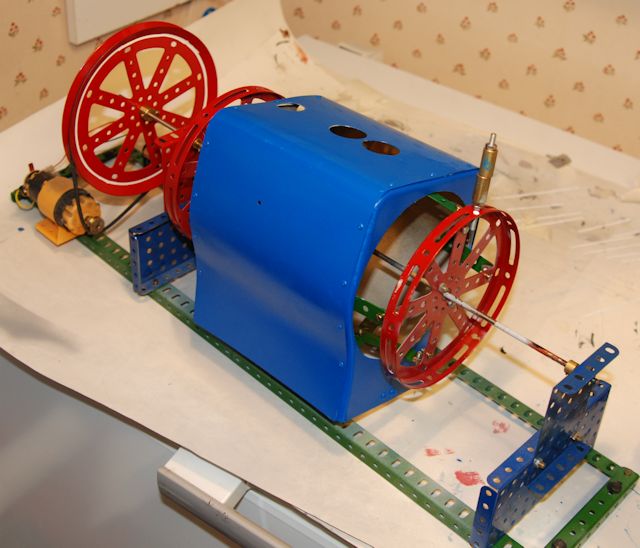
Soon I will be painting the boiler barrel cladding. I was told by someone that when painting the barrel and then letting it dry it is best to keep it rotating to reduce the likelihood of runs. So I thought about this and came up with another Meccano idea as show in the photo.
The barrel revolves slowly but I hope it will prevent runs.
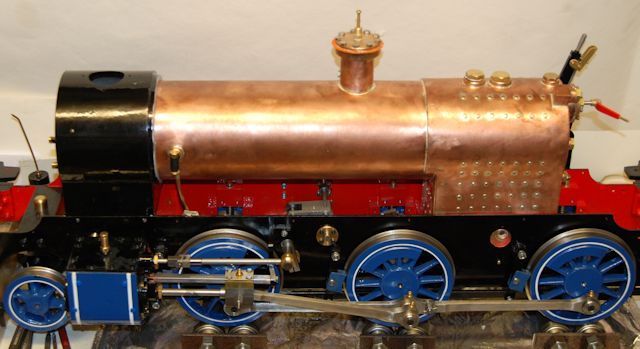
Since the last section I have done a lot of printing of especially the tender and also other parts.
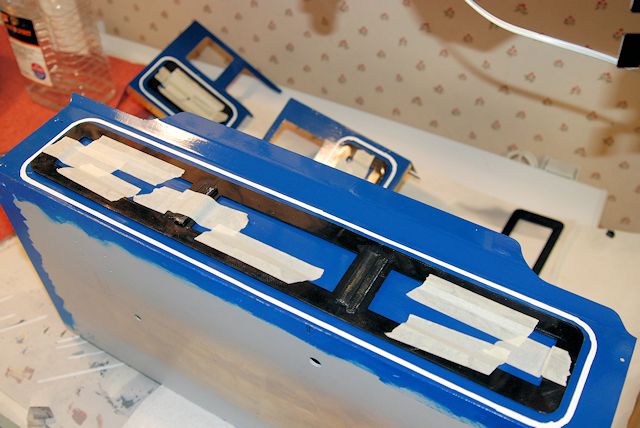
To be able to do the lining out I have made up on my 3D printer, which I bought as a kit, several templates that I will be able to tape to the loco parts and then line round then. This should ensure that the corners are all the same.
I used the Beugler liner as for the wheels and the job is reasonably but not perfect as more practice is required but is is much better than my first effort which was scrapped and the side of the tender repainted.
The masking pieces are still in place.
Behind the tender you can also see the cab parts lined.
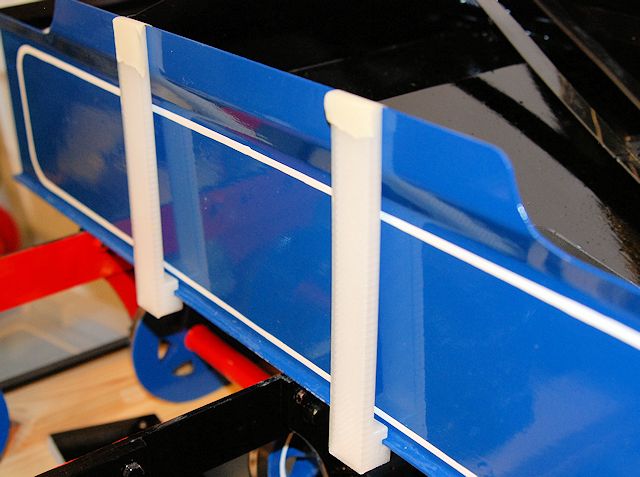
This is where having a 3D printer I decided to make up two simple parts to surport the painted side but allow clearance of the painted areas.
The photo is an extraction of the 3D drawing which was then used to make ther 3D part.
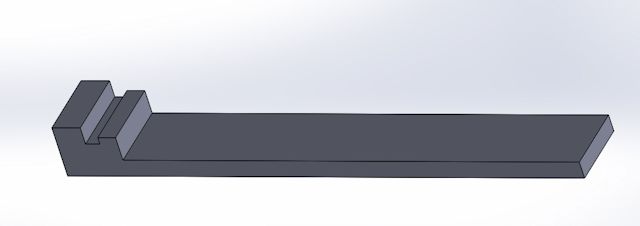
The side shown will be laid onto a simple turntable to make the linings out easier as was used for the first side.
The boiler cladding is given a coat of the Special Etch Primer as it is a brass component.
I decided to adapt the roller of the boiler barrel cladding painting machine to the firebox end in and effort to again negate runs in the paintwork.
So after a month from the completing of the painting it is time to now use the parts in Kit 10.
The instructions have been read several times and I have considered that this is not something to start after the difficult plumbing in Kit 9.
After trimming off the gasket to the regulator the first ring was put on the boiler and moved right up to the end of the firebox.
Putting the cladding when painted may have been a wrong move as the tiny socket screws and in fact I had to grind down a small Allan key to fit, but it did the job.
In all it took 3 hours to fit the cladding including have to undo three of the screws as I had forgotten to fit the hand rail bolts.
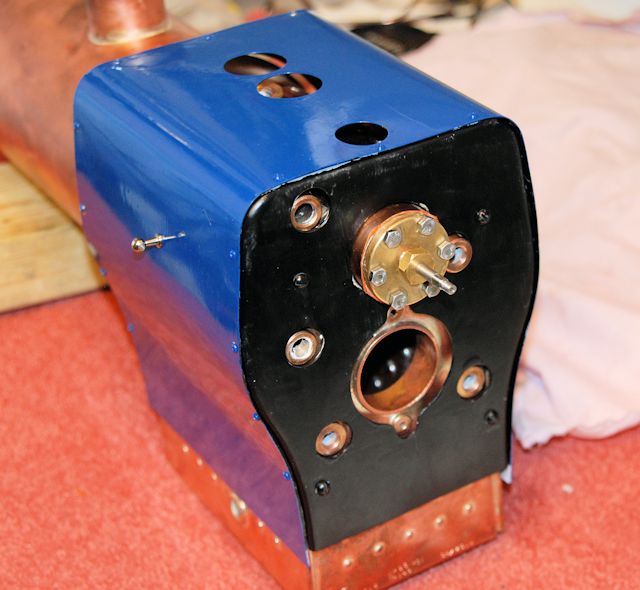
With the smokebox cladding in place I can see that I will need to make up boiler bungs for the safety valves location which can be installed and readily removed for the hydraulic test at 1 1/2 times running pressure before its Steam Test and commissioning to run on the club's track. With my Granddaughter to visit on Wednesday I think the threading job will be done then with her help !
The main part of the boiler barrel has now been clad in two layers of cladding as supplied as an extra from Polly. It was easy to cut and is held in place by masking tape and then by the external cladding.
It was applied in two halves so the at second support ring is central to the barrel.
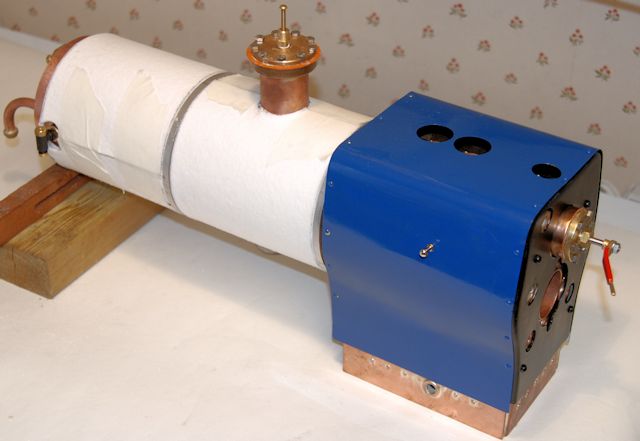
Initially under the centre band I placed some kitchen roll to protect the paint finish as the band was not to be fully tightened it would allow some wriggle room.
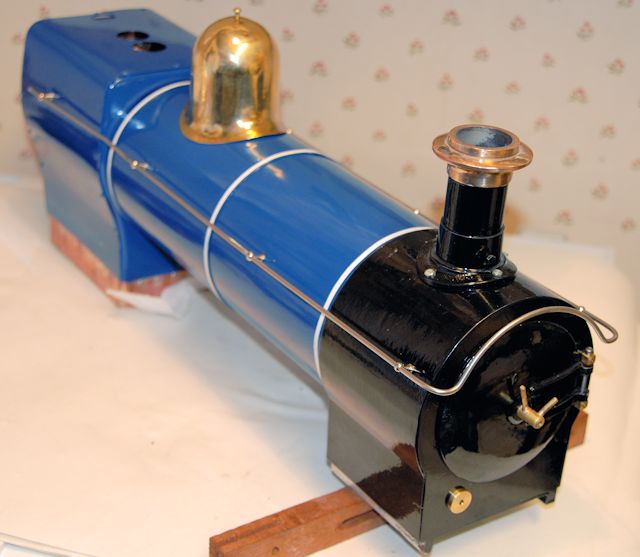
Then trying to put the smoke box back in place I found it was easier to connect up the snifter pipe first then fit the smokebox to the boiler and then put on a boiler band to keep the two parts in place.
Lastly the boiler band near the firebox was fitted and then the kitchen roll removed and all band tightened a little more.
Just for fun the dome is temporarily fitted as the brass holding bolt needs to be shortened slightly.
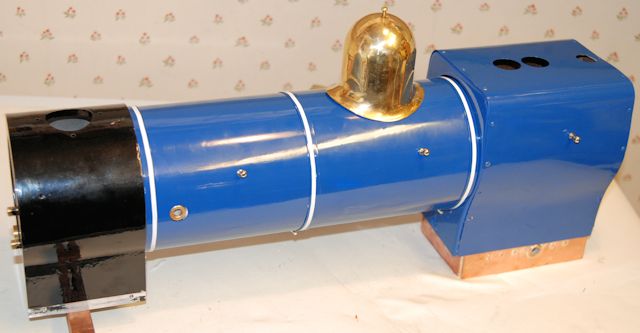
Putting the hand rails on was quite a task but by careful easing with a light hammer all was achieved.
The total time taken to day was 6 hours !