Building a Polly VI
locomotive from a kit
Kit 5 |
|||||
| Kit 1 | Kit 2 | Kit 3 | Kit 4 | Kit 5 | Kit 6 |
| Kit 7 | Kit 8 | Kit 9 | Kit 10 | Kit 11 | Kit 12 |
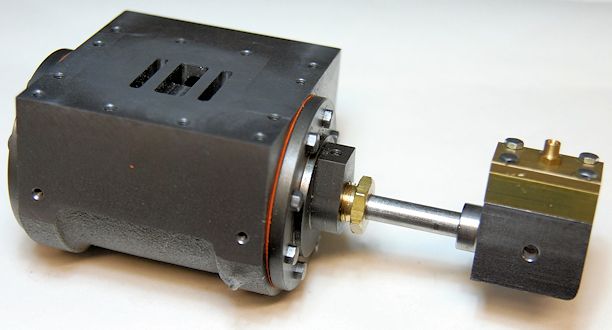
Kit 5 has the following parts
Draincock Operating Assembly
2 Front Cylinder Covers
2 Cylinder blocks
2 Rear Cylinder Covers
2 Front and 2 Rear gaskets
2 Piston Rods & Piston Heads
4 Piston Rings
2 Crossheads
1 L/H Crosshead Nut
2 Crosshead Pins
2 Crosshead Bearings
2 Crosshead Caps & Oilers
Cylinder Packing Materials
2 Piston Stuffing Nuts
2 Slide Valves
Some Tips from friends
Seating the Valves
Early on in the build instructions is says that Cylinder Ports and the Slide Valves need to be lapped together by using firm pressure on the slide valve against the surface of the ports.
A friend has given me the use of some fine valve grinding paste which I will use for the lapping until both surfaces are showing a matt surface over on both cylinders and their valves.
Alternative to Graphic Yarn
An alternative to the supplied Graphite Yarn is to use 4 lengths of standard PTFE tape which you then twist together to form a string and then used in exactly the same way as the Graphic Yarn. It has work for others for years without maintenance.
The lapping in of the port faces and slide valves was started and took about an hour to complete per cylinder. The lapping compound was wiped away using white spirit but the cylinders will still need to be washed in paraffin as suggested in the build instructions.
The cylinder on the right has been lapped and you can see the shine of the machining has given way to a dull finish.
Similarly on the Slide Valves the one on the right has been lapped with again the shine of the machining now a dull finish.
The second cylinder has been similarly lapped.

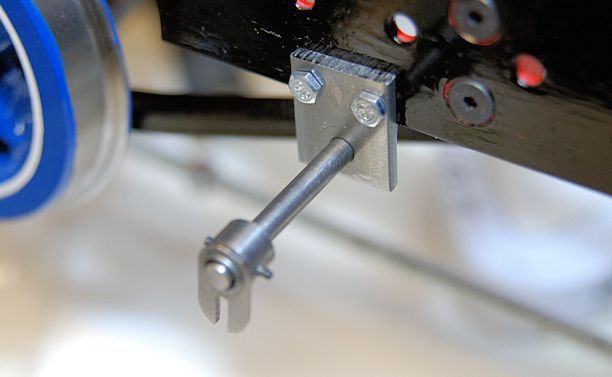
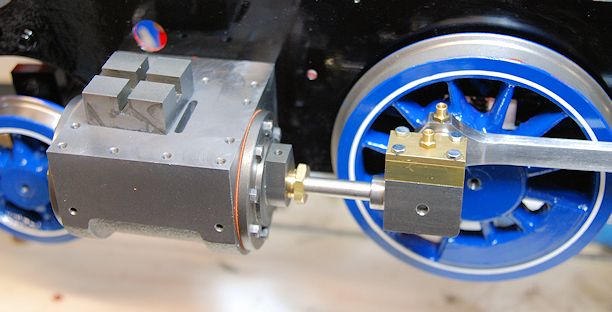
An easy part to fit as it is already assembled, the Drain Cocks operator leavers at the front of the engine. Note the side with the two part is on the left hand side. Eventually this will be painted - probably BLACK!
Fitting the gasket to the front end of the cylinder. It is all held in place with 6 bolts. I have a small electric screwdriver which helped enormously in tightening up the bolts before a final checl with a spanner.
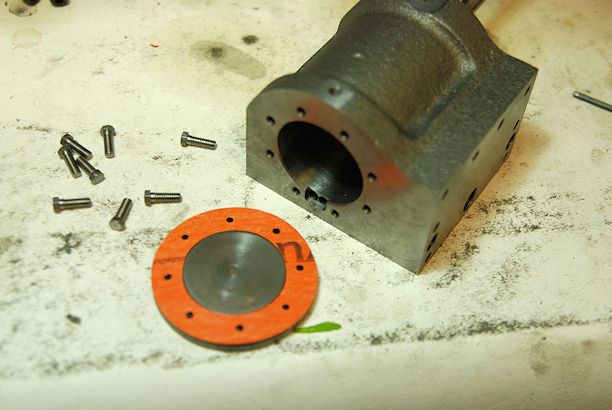
The tightening down was a bit is a squeeze as one cannot make a full turn of the key. Oh to have a socket set attachment to turn in all directions but even that might have been difficult to use!
The slide valve us sitting on the top that I know which is which. Eventually the cylinder will be painted Black but it also has a cover which will painted the blue of the wheels and that will also be the colour of the boiler cladding and cab.
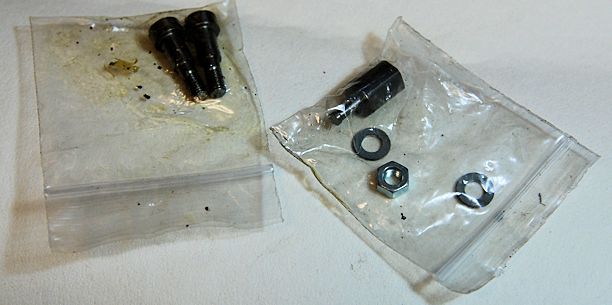
The packet on the Left has the two Crosshead Pins and that on the Right has The Left Hand Cross head Nut with the extension and also the Right Hand Cross Head normal Nut.
These are not mentioned in the build instruction until well into Kit 6 Build Notes.