Diary of Building Katie from Roundhouse |
||||||||||
|
||||||||||
| 7th August 2011
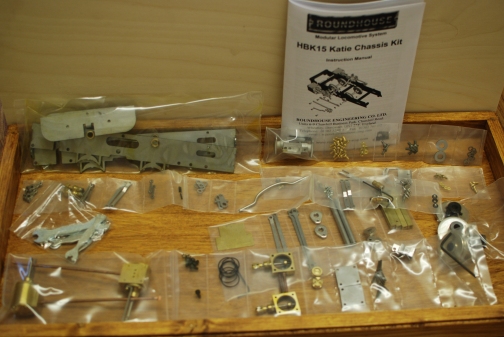
Opening the box marked HBK 15 Katie Chassis kit revealed beautifully packaged parts in a total of 8 plastic seal pocketed bags and a check list on the rear of the instructions which identified which part was in which bag. The instructions are easy to read and also tell you what additional tools you will require such as Small and medium sized screwdrivers, some swiss needle files etc etc. |
 |
|||||||||
| On page 3 the CONSTRUCTION of the MAIN-FRAMES is the actual start of the construction of the locomotive. Before the packet was opened the contents, as recommended in the instruction was checked, by reference to the list on the back page of the instructions. . | 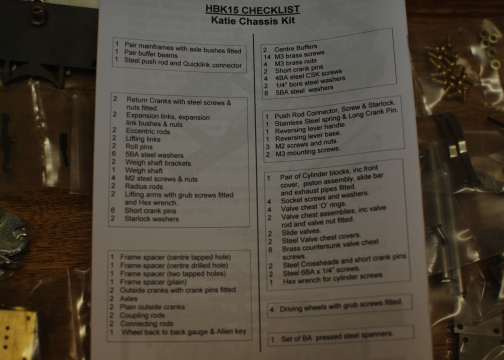 |
|||||||||
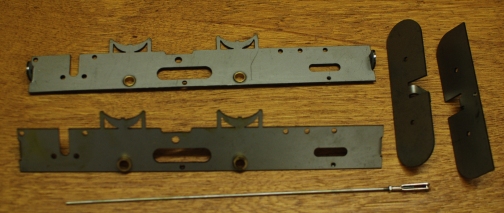
| The frames were removed from the
packet with the buffers and the push rod. The push rod will be needed
later.
Used parts count 4 |
 |
|||||||||
| In another packet were located the frame spacers. | 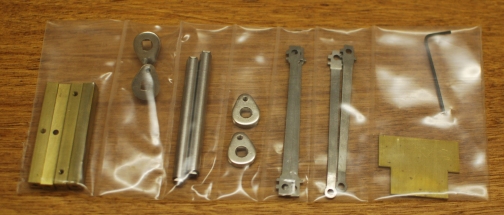 |
|||||||||
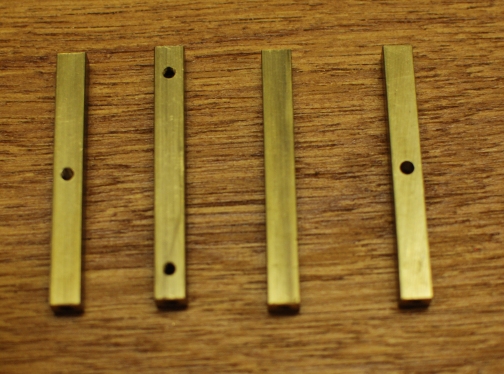
| The four spacers were removed from
the packets. All the spacers are different. In addition to the fixing holes
in the ends, one has a single drilled and tapped hole, one has two drilled
and tapped holes, one has no holes and lastly one has a single drilled and
untapped hole.
Used parts count 8 |
 |
|||||||||
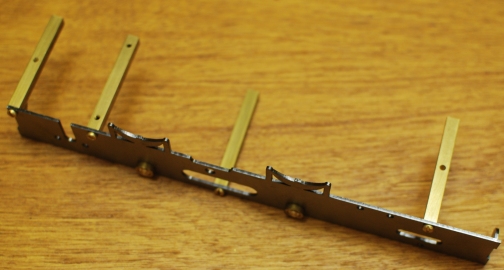
| These need to be mounted first on
the left hand frame which is shown in the instructions, using M3 brass screws
( 14 are required but the kit provided 16).
Used parts count 12 |
 |
|||||||||
| The spacer with the single drilled
hole has a counter sink on one side and I have placed this to the underside
as reading the Boiler Kit Instruction manual this is where a counter sink
screw will be used to hold the boiler in place.
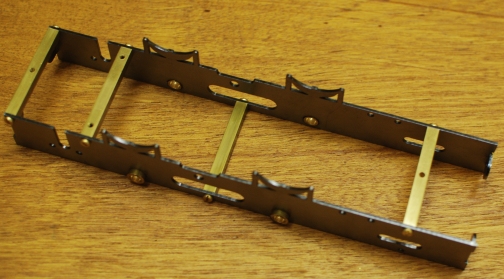
The bosses of the axle bearing were already pressed into the frames but care was made to ensure that they were on the out side. Before finally tightening up the bolts I checked that the whole of the chassis sat square on the base building board , as seen in the top picture of this page, I had previously made up to ensure that parts as opened from bags would not go astray. Used parts count 16 |
 |
|||||||||
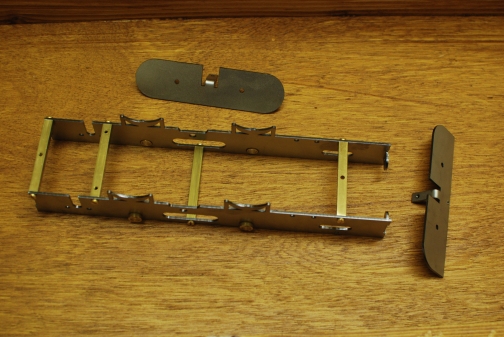
| The instructions say that "This is
a convenient point at which to paint the frames and buffer beams" .
The parts were properly prepared using a degreasing agent and are now drying over night after which they will be ready for painting. Outside of buffers is red, as is the inside of the frames and the inside of the front buffer ( The buffer with rounded ends) whilst the outside of the frames is black as is the inside of the rear buffer ( with the square and rounded ends). |
 |
|||||||||