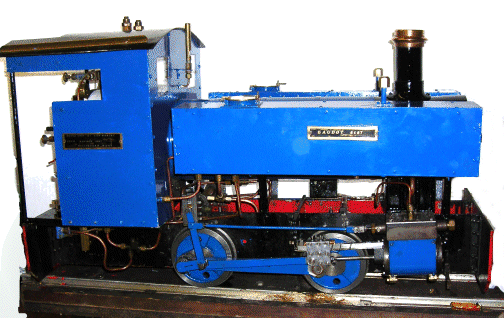
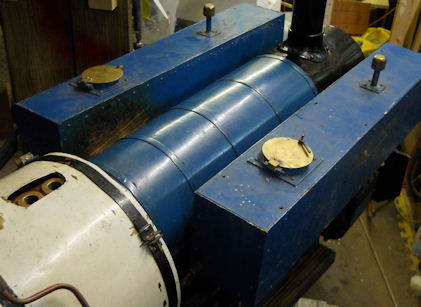
The Re-boilering of Baudot 8187
|
|
|
|
|
Main Index Boiler index BAUDOT RE-BOILERING Page 1 Page 2 Page 3 Page 4 Page 5 |
|
| Day - - 19 14th Jan 2013 So I can now move forward to the putting it all back together and prepare for the steam test. |
|
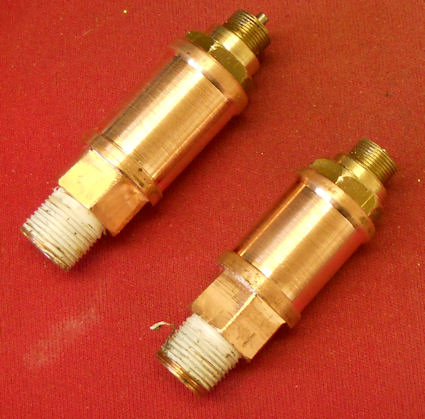
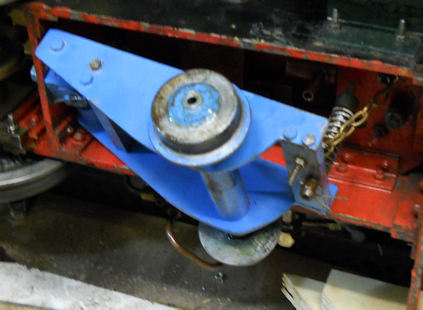
| Day - - 20 8th Feb 2013 I have just returned from a visit to a friend who has set the safety valves up on his air line .. I can now proceed to put it all back together and prepare for a Steam test !! He also suggested that I profile the valves to give them a little character rather than looking like a piece of round stock. The result is in the photo. |
 |
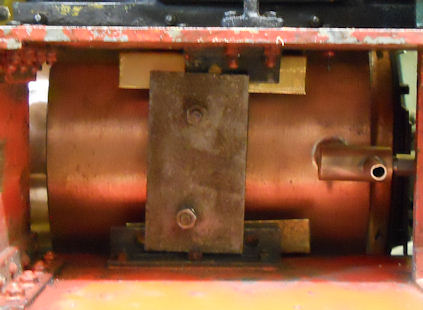
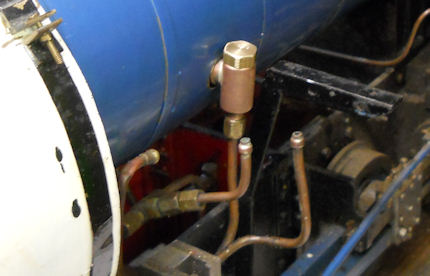
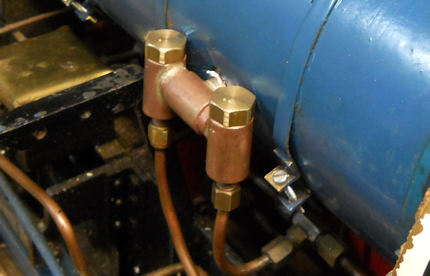
| Day - - 21 10th Feb 2013 After a trip over to the Model engineering club the heater was put on in the workshop. In the next three hours I was able to achieve the following and there are a few photos to show progress. Re-fit the regulator re-fit the drain down stop value Re-connect the two large steam pipe nuts were released from within the smokebox. Re-fit the blower pipe within the smoke box Re-fit the retaining double plate by fitting from the front end of the boiler retaining brackets. Roll the loco onto its side to enable re-fitting to the lower boiler fixing bolts. Raise the rear of the loco to give access to the pony truck re-fit by the two locking nuts at the front and the chain at the rear . Re-fit the rear boiler band around the fire box Re-fit the front boiler band around the firebox marked front. Re-fit the masking tape retainer down the centre line at the top Re-install the cladding which is the cork insulation. Reconnect the pipe to the single clack Re-fit boiler bands 2 3 4 and 5. Re-fit the boiler band nearest to the smoke box marked as no.1 Re-fit the double clack Reconnect the blower pipe from the front union and removed rearwards. Reconnect the two pipe to the double clack |
  |
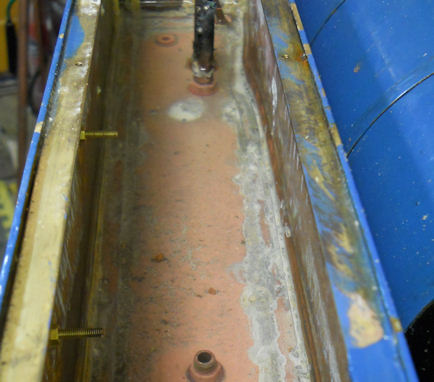
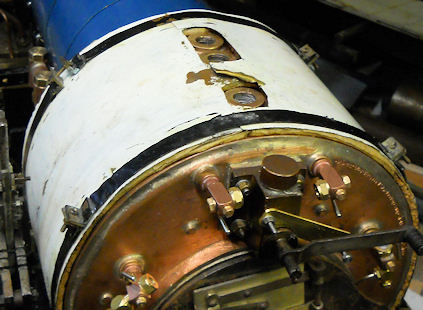
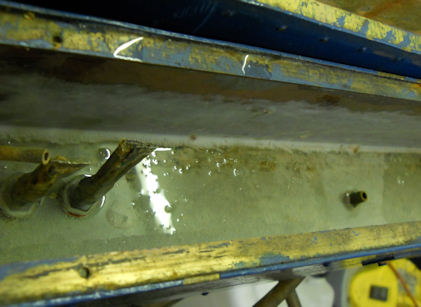
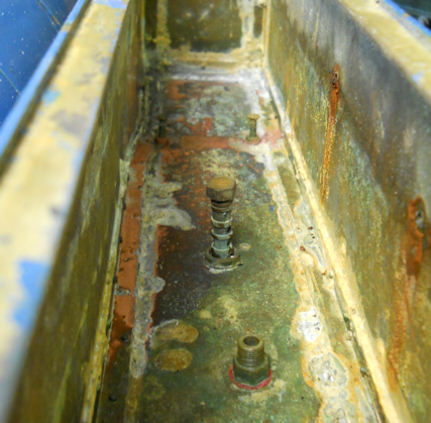
| Day - - 22 8th May 2013 A relatively early start with the aim of refitting the side water tanks. Sadly when the position was checked the new clacks had been made too big so some adjustment was needed to the tanks. In the time honoured way a large hammer was brought into contact with the hidden side of the side tank and suitable amendment made. This hammering resulted in braking of the solder seal as had been expected. What was not expected was that the inside of the tank had a build up on the surface of 20 years of lime scale which had to be removed by using lime scale remover. This was applied at about 11:00am and left for 3 1/2 hours. |
 |
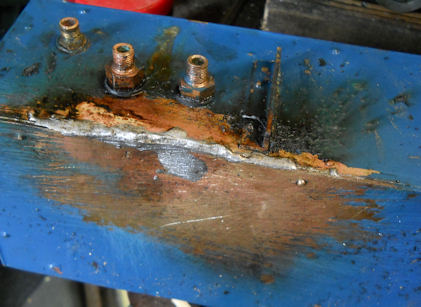
| For the other side the lime scale remover was also applied and left so that clean metal would result prior to
the necessary hammering.
Then the gash was cleaned up and necessary filing carried out prior to caulking with plumbers soft solder using a coper water pipe flux. This made a very satisfactory repair but the repainting is left for another time after the steam team.
|
 |
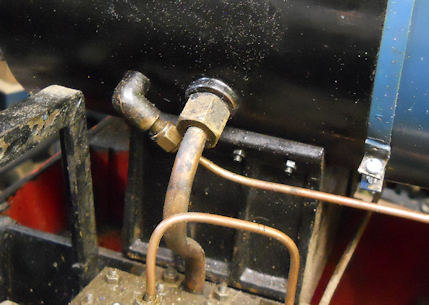
| The pipe work was fitted including the cross flow pipe. | 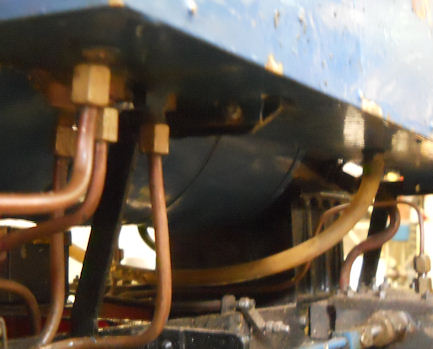 |
| Finally the two side tanks were bolted into position.
The name plates which had been put on previously with STEEL nuts and bolts are to be refitted with brass screws and nuts which will not be destroyed when immersed in water. |
 |
| Day - - 23 11th May 2013 Only a few hours in the afternoon possible due to other commitments. However I was able to complete the cleaning of the side tanks of lime scale and reconnect all the pipe work. |
|
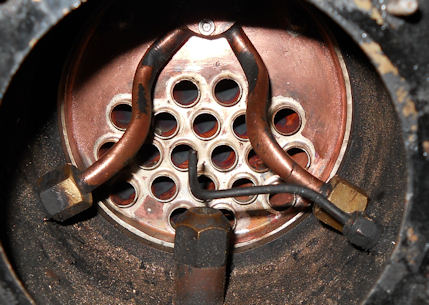
| Then I decided to fit the sight glasses.
With this achieved it is nearly ready to fill the boiler and
check for any leaks - not from the boiler itself that has been tested ok but leaks
from any of the fitting.
The sight glass may need to be slight rotated so that the "BLUE line" can be readily observed. |
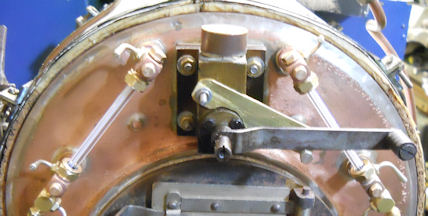 |
| Day - - 24 17th May 2013 Re-fitted the turret. Reconnected injector pipe to manifold and to floor Reinstalled the two new safety valves Re-installed pressure gauge Reconnected whistle made slight adjustments after a slight water leak but the Steam Test is now booked. |
|
| Day - - 25 19th May 2013 The Loco was submitted to the Model Engineering Club for its boiler steam test. Whilst it passed the test there are just a few little things to improve but nothing that would have stopped me running the loco if i had wished to do so .. |
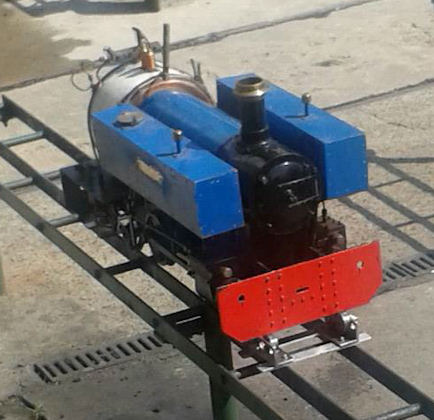 This photo was taken by one of my friends who spotted the loco in the steaming compound after its successful Steam Test. |
| Day - - 26 20th May 2013 The side tanks have been removed for painting but before that can be carried out the existing paint work had to be degreased and thoroughly rinsed in soapy water and then washed off with clean warm water. With this done they are allowed to dry in the warm of the house as the garage is rather cold at 5C even thought it is May !! With the side tanks dry they were re-painted with Humbrol No. 14 Blue |
|
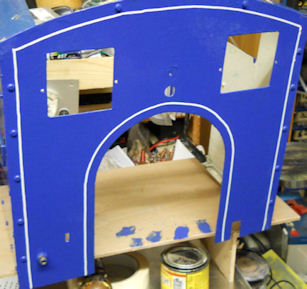
| Day - - 27 21st May 2013 Today the main cab work was degreased and thoroughly rinsed in soapy water and then washed off with clean warm water. Once dry the cab was painted on the outside to match the side tanks. Later, much later ( 23:30 hrs) a Beugler Pinstriping Tool, which I had purchased several years ago, applied some lining out. Whilst not perfect I think it is a good first effort and certainly enhances the loco finish. Assuming all the paint has dried the side tanks and cab can soon be re-assembled into place ready for running on Sunday but first I must check through the final points made to me during the steam test. |
 |
| Day - - 28 22nd May 2013 Made up some better finished blank fittings for the turret and carried out the start of some polishing of the bright parts. |
|
| Day - - 29 23nd May 2013 The leaking Blower valve has been improved but not steam tested yet, the spring have been taken out of the regulator as recommended to me by the boiler testers, the starboard side clack has been tightened down. The name plates have been given a good clean and repainted but will not be ready to fit to the loco for a few days to allow the paint to set hard. |
|
work remaining
Replace the cab using 2x 6BA nuts and bolts in one piece ( the 6BA nuts and bolts put in bag marked 1 -
Roof to the cab to be reinstalled
Re-fitting of the name plates.
Re-fit the side tanks |
|
|
|
|