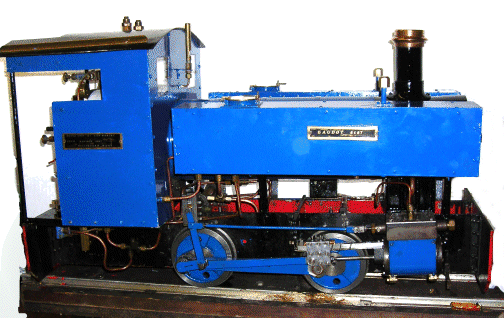
The Re-boilering of Baudot 8187
|
|
|
|
|
Main Index Boiler index BAUDOT RE-BOILERING Page 1 Page 2 Page 3 Page 4 |
|
| Day - - 6
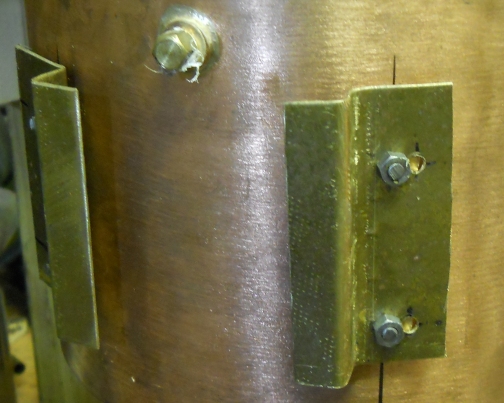
4th Feb 2012 So with the boiler off the next task it to clean up the chassis. A mix of paraffin and oil was used and all wiped over and the smokebox cleaned of residue soot. The new boiler was located in the workshop and a check made that the bolt down holes were 2BA. Sheet brass was found from which the mounting brackets were made as are shown in the photograph. Initially the holes were drilled too far apart - a simple error - so new holes were drilled and it all fitted fine.
|
 |
| A trial fitting of the regulator showed that after overhaul it will be re-fitted. | 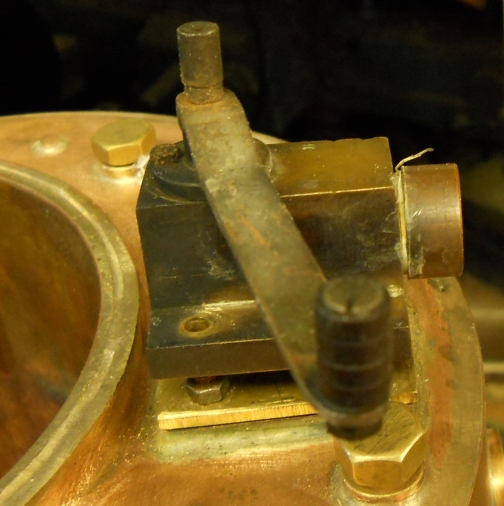 |
| The photo show the new boiler temporarily in place. | 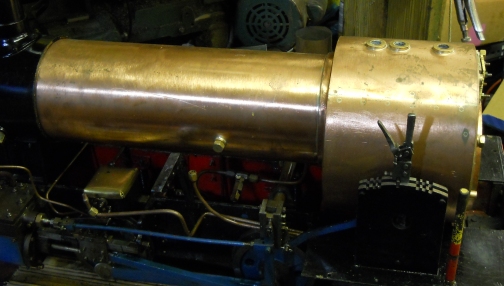 |
| Day - - 7
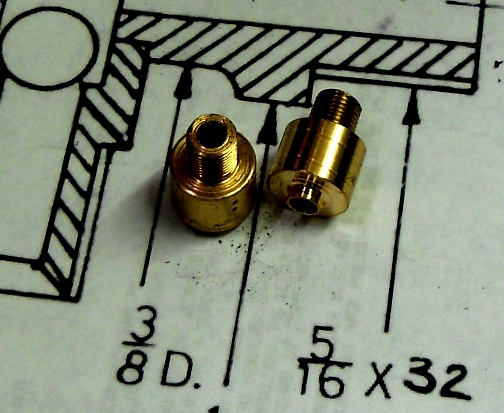
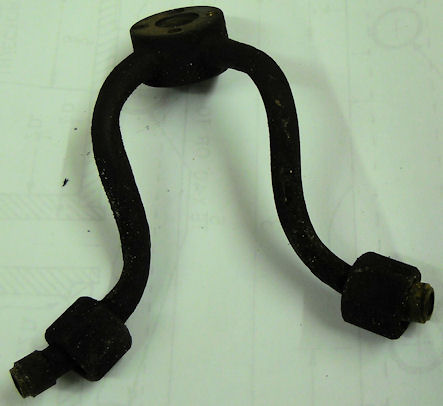
6th Feb 2012 After a day off yesterday I decided to try to sort out stock for the parts that need to be made. I found that I do have enough P Bronze to make most of the parts and rather than buying excess I decided to start making the parts. The parts shown in the photo are the two clack parts that screw into the 5/16 x 32 bushes on each side of the boiler. Each was screwed into place and the left hand one has a single pip at 12 o'clock and the right hand one two pips. The left hand one will have a double clack entry and the right hand one a single clack entry. The need for three entries is that I have an axle pump, and hand pump and an injector. |
 |
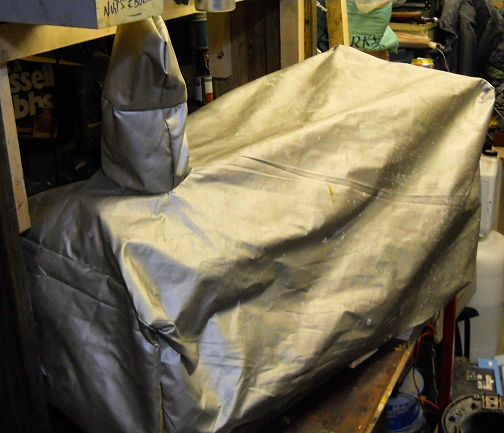
| Whilst not wishing to do anything
more complex today I decided to make up a simple cover to keep as far as
possible dust off the loco especially for when the re-boilering is complete.
I had available some material last used way back in the 1970's when I used
to do hovercraft racing and it was used for the skirt material.
The final "fit" will be made when the cab is back in place but at least a cover is ready for when that occurs. |
 |
| Day - - 8
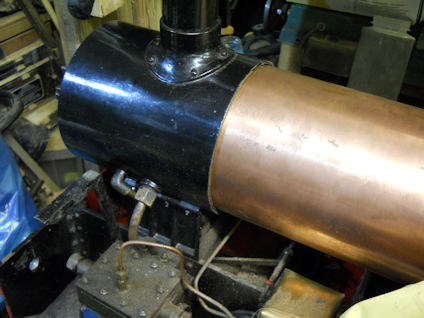
20th September 2012 I decided this afternoon after being at Bredgar and Wormshill Light Railway all day that I will try to make the boiler fit into the smoke box. I had been told do not under any circumstance use any force to make the mating up occur but rather to removed from the smoke box what was required to enable the fit to take place. After nearly 2 hours of scraping away at the brass smoke box and finding that I had not removed almost any of the 0.5mm required all round I decided to use my small angle grinder. After another hour of carful grinding the boiler finally mated with the smoke box and I can now start to re-make all the boiler fittings which previously had been in brass but this time will be in Phosphor bronze. |
 |
| Day - - 9
25th September 2012 Today I was able to make the drain/blowdown valve for the rear of the boiler. I shall be visiting the MIDLANDS MODEL ENGINEERING EXHIBITION soon and I am already making a list of items I need such as stock material, silver solder and silver solder flux. |
 |
|
Day - - 10 28th September 2012 Today the difficult job of drilling and taping holes 4BA to hold in place the steam tubes leading to the cylinders. The picture show the original tubes with a build up of 15 years of more steaming dirt! |
 |
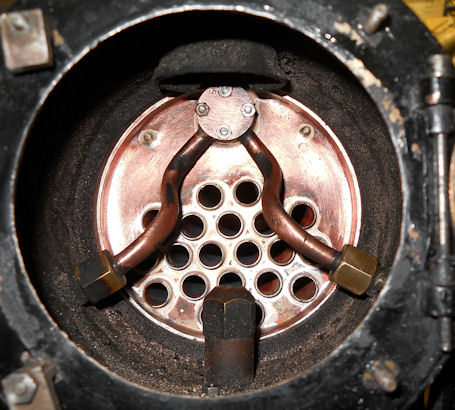
| Here the pictures shows the complete installation of the tubes. | 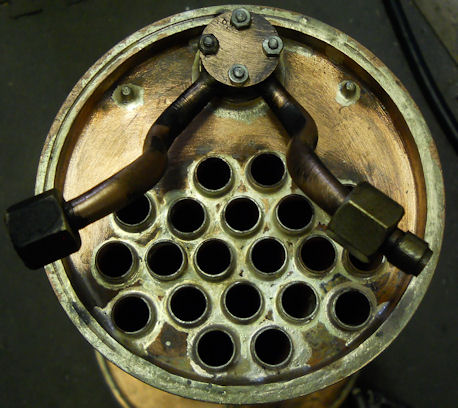 |
| Here looking into the smoke box with the tubes finally attached.
|  | .
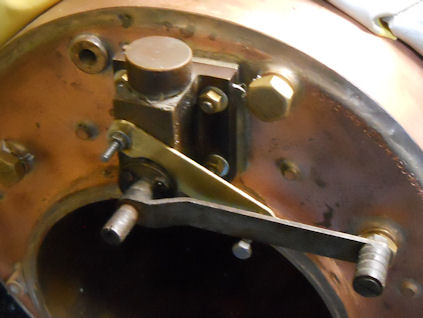
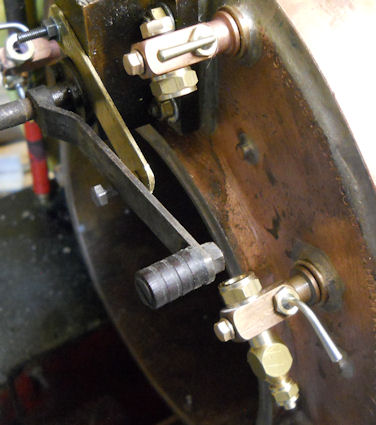
| Day - - 11 4th Jan 2013 Today the work started in earnest to make Baudot ready for steam testing and for the new season of 2013. I have refitted the original regulator with new "O" ring seals. A new stop was also made to rest the regulator lever on in the closed position. I may find that to fit the water gauges that the regulator has to be removed but at least I know it does fit well. |
 |
| The trial fitting of the boiler water gauges fitting bought from Blackgates Engineering indicated that the threaded holes
needed in two cases to be cleared by a tap being put in. The 5mm gauge glasses have been safely stored away in a draw above the loco working bench.
So it is now known that I do not have to remove the regulator to access the holes for the water gauge. The glass tube will need to be cut by marking and then giving a slight cut with a file and snap off the surplus making use when measuring that the glass does span the two fitting!! In stock I have also found some "BLUE" line gauge glass which I have had a number of years so it will be nice to put it to use !! |
 |
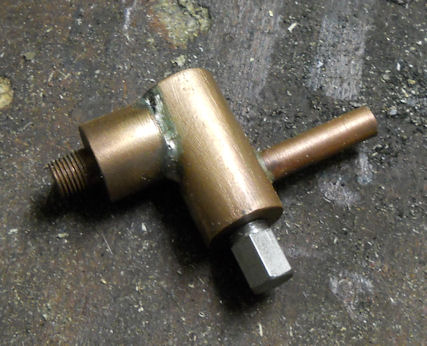
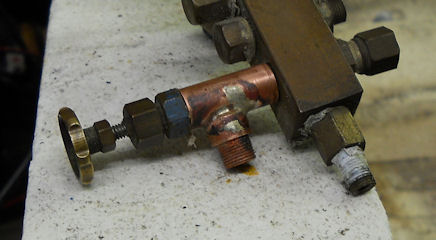
| Day - - 12 5th Jan 2013 From discussion at the club meeting yesterday evening it was decided to remake those parts of the Terret upon which valves has to seat in PB but the remainder could as it was above water level remain in Brass. construction has progress with making a new seating for the blower pipe connection and also part made the seating for the steam pipe to the injector.
|
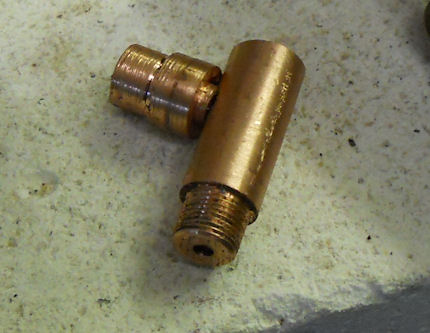 |
| Day - - 13 6th Jan 2013 The parts as above for the Injector feed now have to be washed and then prepared to be silver soldered. The parts, where they were to mate, were then coated with the silver solder flux and silver soldered. the messy colouring is because of the heat and that fact that they have not been in an acid bath. |
 |
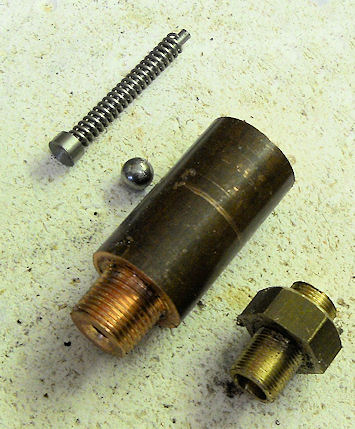
| A start has also been made on the two Safety valves. I have to obtain 1/4" stainless steel balls, some suitable sized drills and a suitable spring. So it will be off the engineering shop in Staplehurst on Monday. | 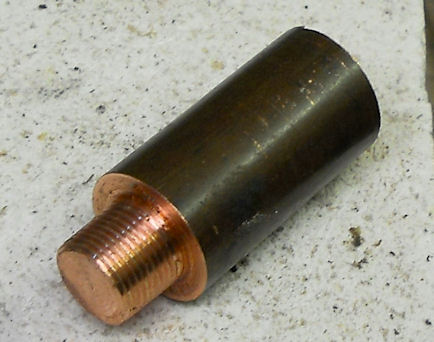 |
| Day - - 14 7th Jan 2013 No actual work carried out but more tidying of the workshop and ordering on line ... Let's hope the post arrives tomorrow with the ordered parts. |
Day - - 15 8th Jan 2013 The post brought the parts ordered from Maxitrack of Staplehurst so well done to them for such prompt action to an internet order. |
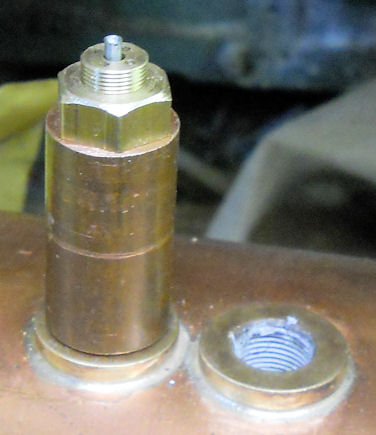
| Day - - 16 9th Jan 2013 The part made safety valve was completed and trying it on air it made all the right sounds and did cut off the flow of air. |
 |
| So that is one completed this afternoon.
After an evening out at a "00" model railway club I decided to make the second safety valve and that too is now completed. |
 |
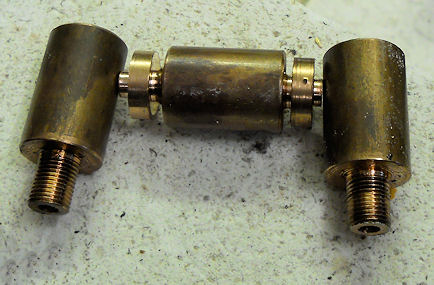
| Day - - 17 12th Jan 2013 A start was made on the boiler clacks following ideas given to me at the engineering club. I have only two bushes but three water inlets so one have to be a double clack. After 2 hours work following a busy day of Amateur Radio Training it was enough so I stopped before making irreversible errors - but I did make one error drilling a hole too big but that just meant at this stage making a new centre part for the double clack !!! Each clack is identical and thus also interchangeable should the need arise. |
|
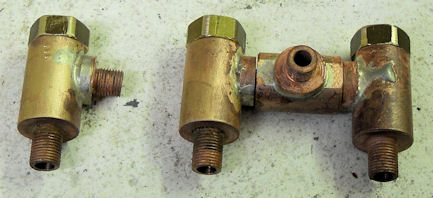
| Day - - 18 13th Jan 2013 All the clacks were completed and silver soldered together so that the only parts remaining are the screw down tops. |
|
| This is the single clack and it too needs the top made. | 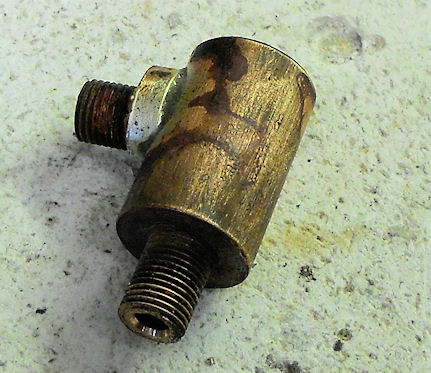
|
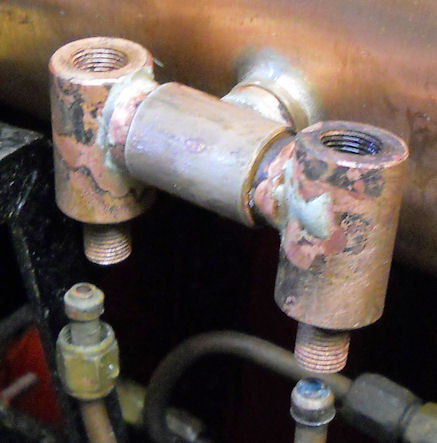
| Day - - 19 14th Jan 2013 Here are the finished boiler clacks two with 1/32" ball lift for the pumps and one with 3/32" ball lift for the injector. |
|