The Diary of the Building of a 5" gauge Stirling Single |
|
|
|
|
|
|
|
Completion
of the build Part 4
|
|
|
1st
May 2019
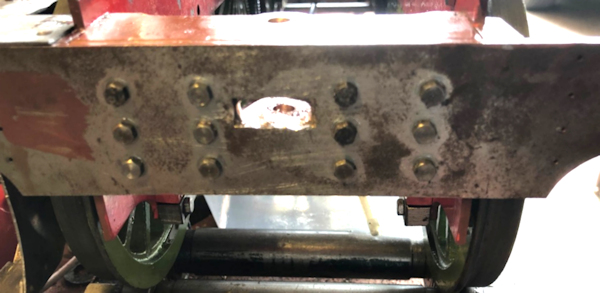
The photo shows the original Engine Drag Beam. Following ideas from Keith Appleton this was modified as you will see in the following photos. |
 |
|
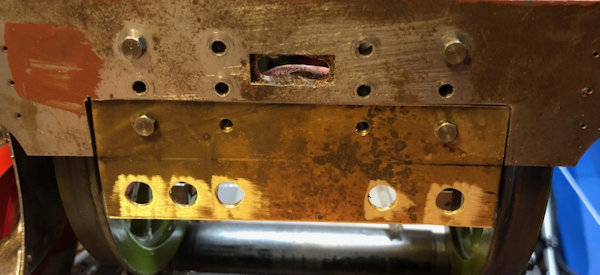
The
lower part of the drag beam was removed and carefully filed to
take the Brass Insert with holes drilled for the water
connections.
The original drag beam outer was used as a template to drill the fixing holes so that the original bolts could be re-used. The brass is just a little thinner that the steel so I will pack that out with a piece inserted behind the brass so that it is all flush when painted. |
 |
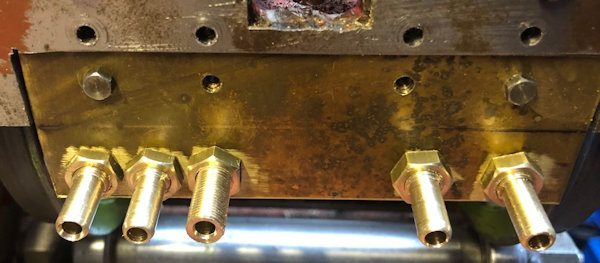
| To
check all is well the water fitting have been temporally fitted
and all looks good. A little bit of tidying up, of the original steel piece, is required which will be done before painting. |
 |
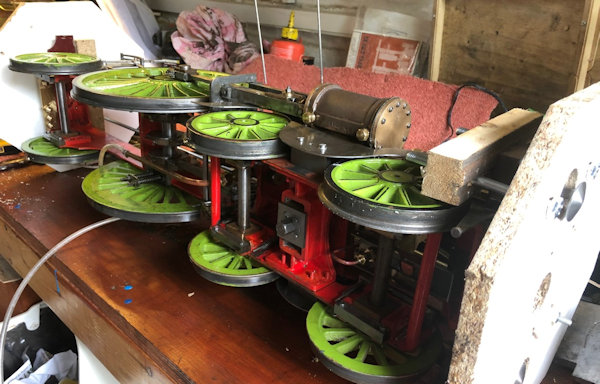
| Having
reached the stage of the build when I need to be able to rotate
the engine and observe the underside I used two 8 sided pieces
of redundant shelving with a distance of 11" across the flats
and fixed then to each end of the engine. I made certain that the end pieces were secure and would not damage the water connection shown in the photo above. The oil was drained from the lubricator and with care the the engine rolled onto its side. |
 |
| 2nd
May 2019 Today was spent working out which parts to buy and which to make. Time in the workshop was used to check the thread on the boiler is as per drawings prior to making the order and it is amazing how time goes when I made up thread checking parts to ensure of the fit. An order was placed with Blackgates and should arrive in the next few days with the three cock water gauge in a couple of weeks. |
|
|
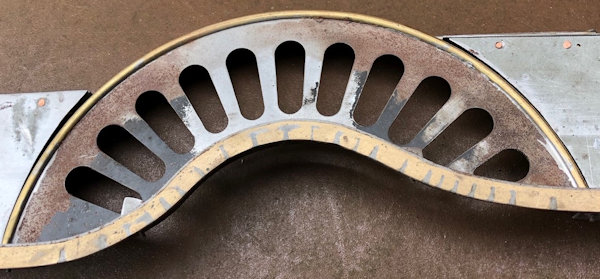
3rd May 2019 Waiting for the parts to arrive so today I am turning my attention to preparation for painting. The sand blaster will be used on the preparation and then primer applied. The photo shows the splasher before sand blasting |
 |
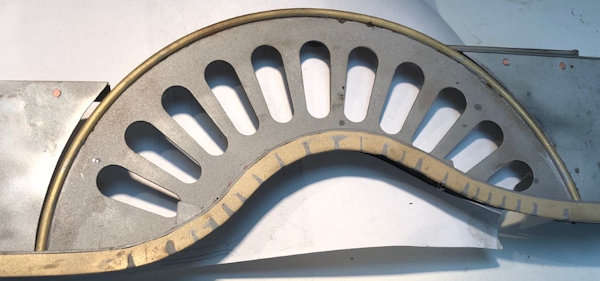
| Here
you can see the after Sand Blasting photo. I now have to set up where I can spray paint the primer. |
 |
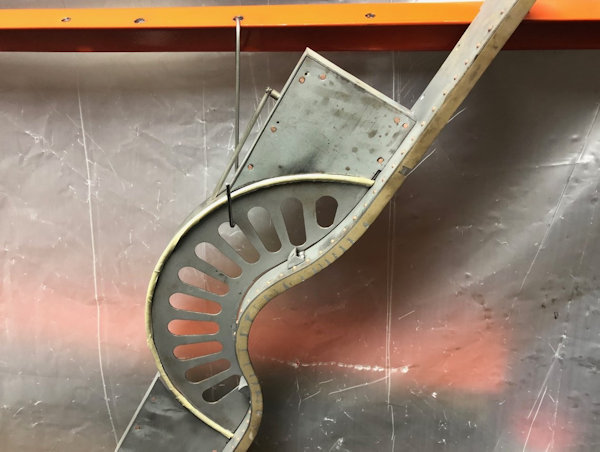
| I
decided that if I reversed one of the shelving brackets I had
spare and drilled holes in it then the parts could be hung for
spray painting. The orange item in the picture is the reversed shelving bracket. The piece is prior to etch primer spraying. |
 |
| The
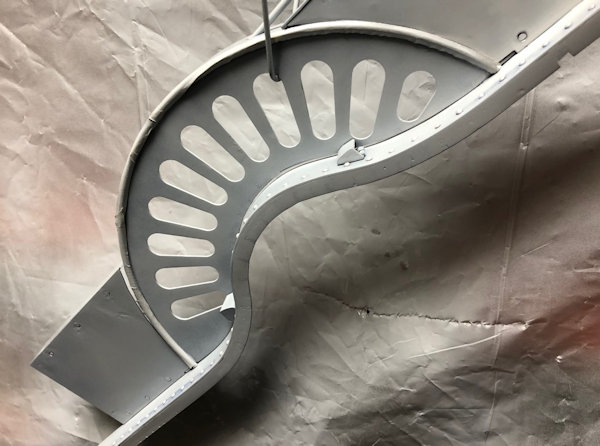
photo shows the first coat of primer applied. It now must be left over night or even longer before I can brush on the undercoat. Craftmaster say Touch Dry: 20-30 minutes Through Dry: 24 hours Overcoat: 35 minutes As I have a club meeting to go to the next coat will need to wait !!! |
 |
| 4th
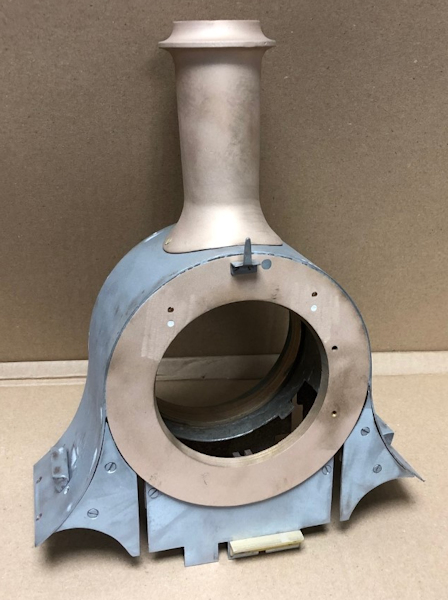
May 2019 More painting today. The second coat of primer was applied to the splasher. The smoke box was prepared by sand blasting, as shown in the photo, in readiness to be spray painted with a VHT (Very High Temperature) resistant Black paint. I have established that the whole of the Chimney on the Stirling Single was painted black with out a polished top piece. |
 |
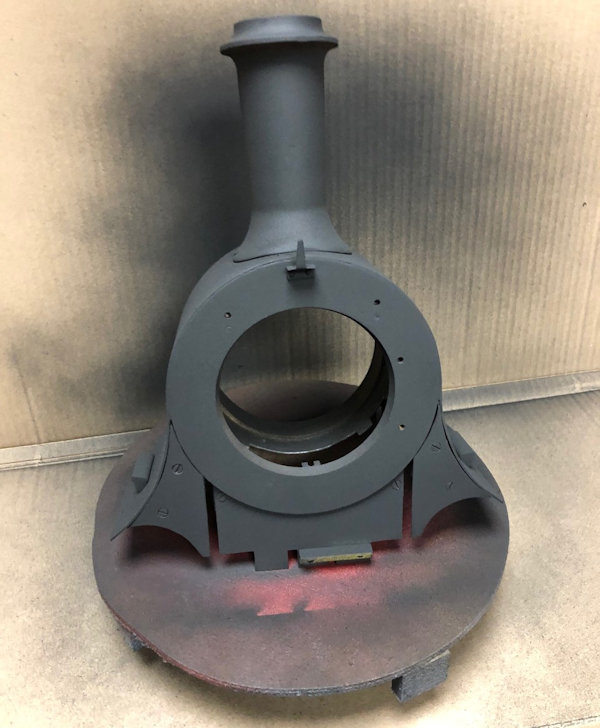
| This is the first coat
of paint ... Looking quite good !!! This is just a mist coat applied as the instructions say. When dry a full coat will be applied! |
 |
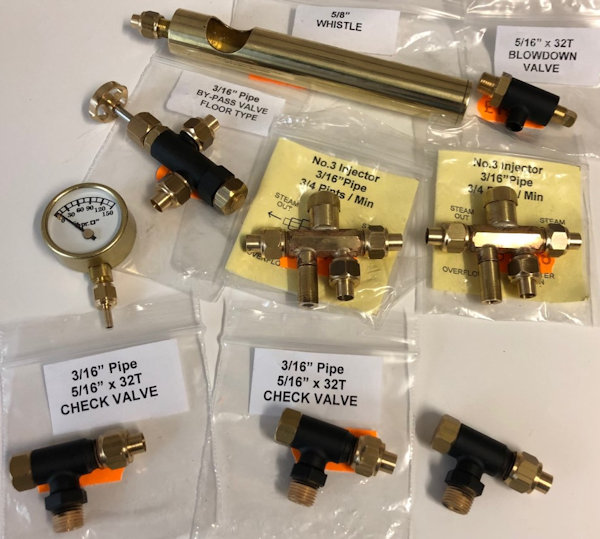
| Through
the post came my order from Blackgates. Very efficient service
from them and the 3 cock water gauge to follow was agreed with
them. I decided to buy the parts to save me a great deal of time to make them all especially as I started the build in 1990!!! |
 |
| With
the three check valves arrived from Blackgates I made up the
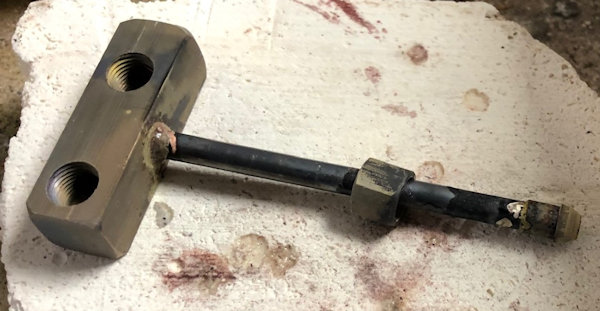
adaptor as show by Keith Appleton in his YouTube Video It is a great adaptation else two of the feeds would have been to the barrel of the boiler which are hidden when the splasher are fitted. The part has yet to go into some pickle and the the pipe bent to shape. |
 |
| The
boiler bush has threads to take the clack of 1/4"x40 but as mine
as 5/16"x32 I have made up an adaptor again this need to be
pickles to clean it up in Kilrock-K. |
 |
| 5th
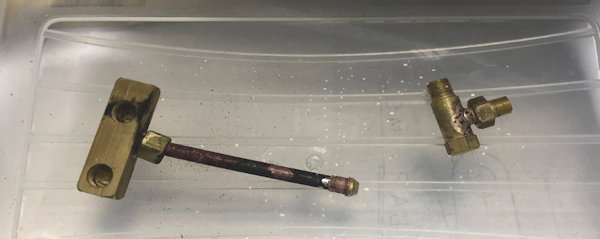
May 2019 Kilrock-K
was diluted by x2 and the part silver soldered yesterday
put in the plastic container.
|
 |
| After 20 minutes they were removed and washed clear of the cleaner and finally cleaned with wire wool ready to apply the etch primer. | 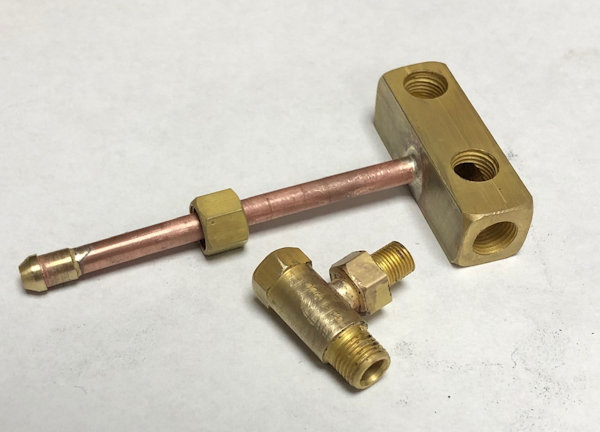 |
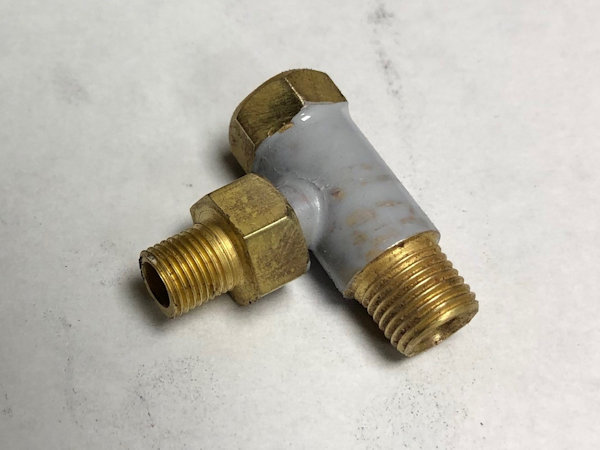
| Etch
primer applied using a brush having first sprayed some of the
primer into a small glass jar. The brush was cleaned with Acetone which had been bought from the local chemist as nail varnish remover! |
 |
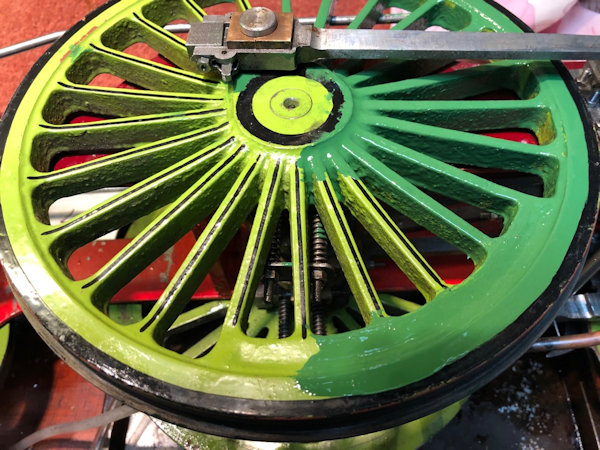
| I was told by friends
that the original paint colour was wrong and to buy some from
Phoenix Precision https://www.phoenix-paints.co.uk/ and the new paints turned up very quickly. I gave the paint a good stir with my small paint battery stirrer and it mixed in very well. As you can see even though I colour matched to the Stirling Single at the National Railway Museum the lighting must have changed the colour !!! The brush cleaned easily in standard white spirit. The lining will be done after the paint has had a long time to harden ! |
 |
| 6th
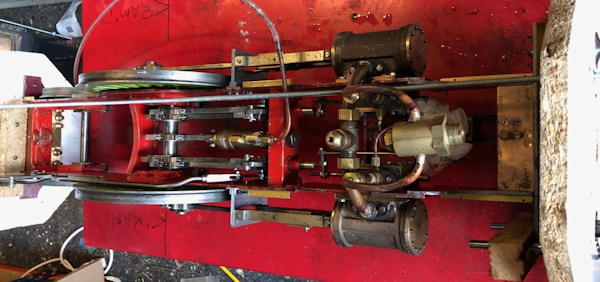
May 2019 A bank holiday so a visit to the local track in Mote park in the morning but in the afternoon a complete degrease of the loco ( after a removal of the left hand splashers. and |
 |
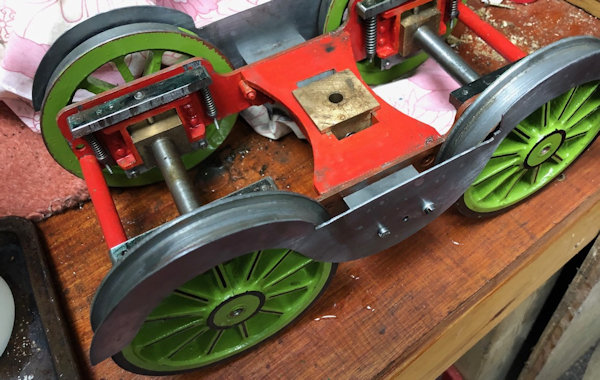
| The
front bogie was detached and also degreased ready to paint. Note the splashers still to be completed ! |
 |
| 7th
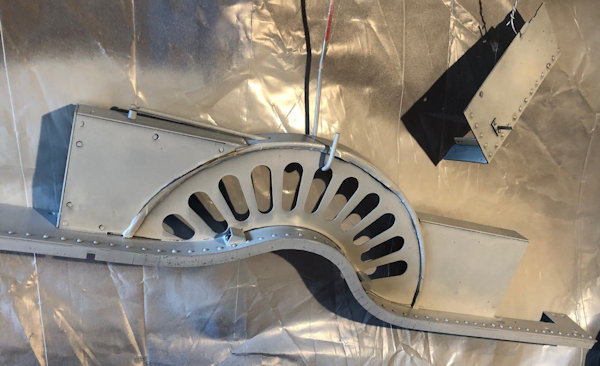
May 2019 First thing done today was to order from Polly Models the water valves for the tender and arms together with Copper washers, then off to Staplehurst to visit Maxitrack to obtain 3/16" pipework and nipples as I did not buy sufficient the other day. With the orders made and collected it was time for more sand blasting and then etch primer to be sprayed on. The primer was done in a well ventilated area but then the workshop was closed up for the day to let the primer set fully. |
 |
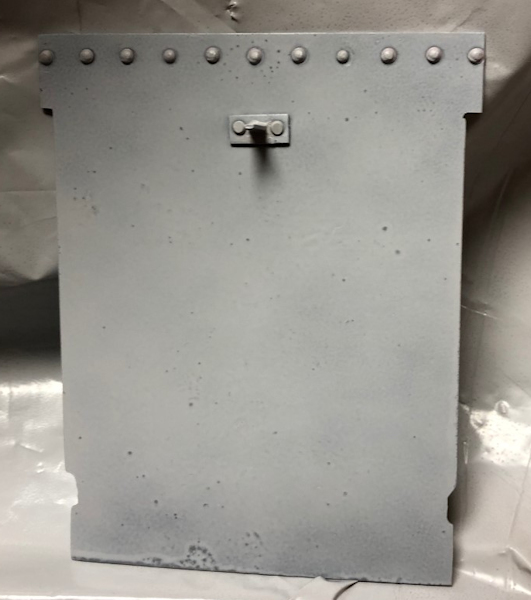
| 8th May 2019 More Sand blasting of the cover to the lubricator and then etch spray painted. |
 |
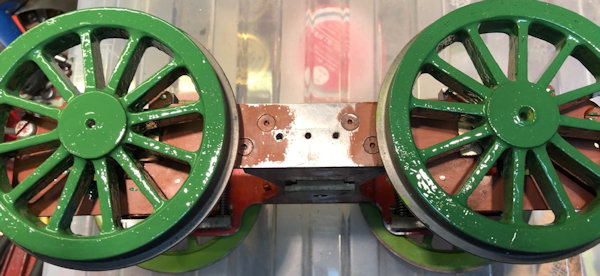
| The bogie wheels were
given a coat of the new paint. Only one side painted the other
side will wait until this side is dry !! |
 |
Link to next page |
|
