The Diary of the Building of a 5" gauge Stirling Single |
|
|
|
|
|
|
|
Completion
of the build Part 5
|
|
| 9th
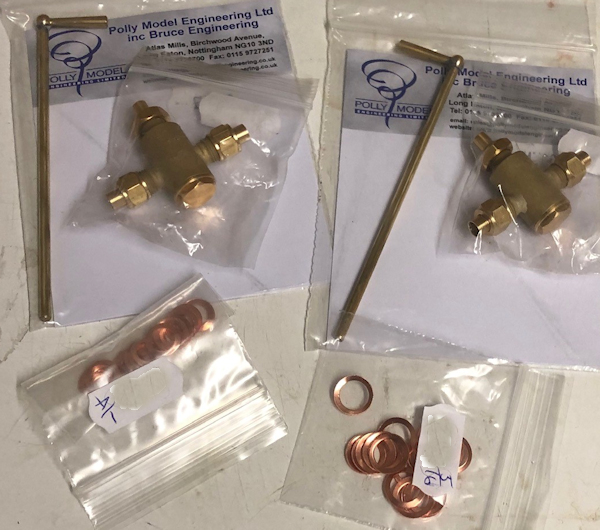
May 2019 A day sorting out parts bought and especially working out how to use the water valves for the injector as the handle is not connected to the valve so I guess I use engineering adhesive ! Also arrived was the three cock water gauge and the copper washers to help with the alignment of the various fittings. |
 |
|
10th May 2019
Today I made up the
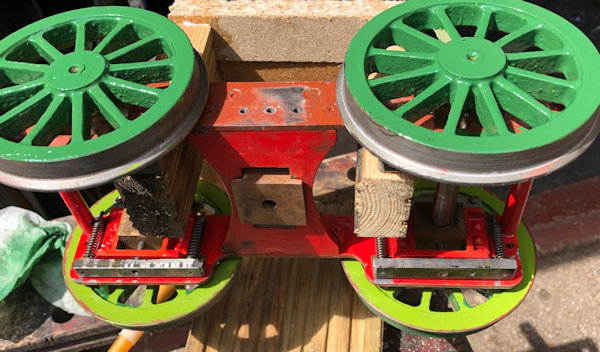
Keith Appleton suggested a Painting Stand and what a good idea
it is. check out this YouTube video
Keith will tell you
such a lot more in the video about the benefits of the stand.
|
 |
| 11th
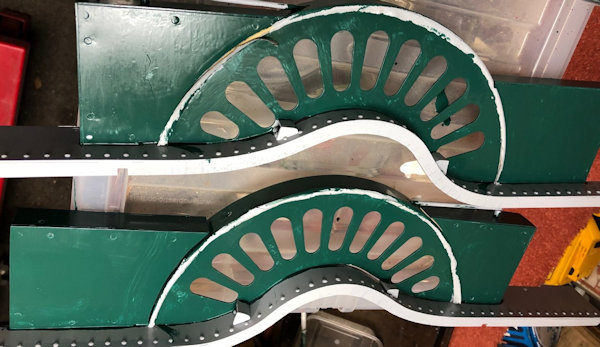
May 2019 A rather wet day which delayed painting until late afternoon. However I was able to mix up some undercoat of dark green and white to be a good base coat of the real light green colour. So both the splashers were painted and laid flat to dry overnight. |
 |
| The
undercoat of primer on the front bogie. The stand made yesterday
worked very well and the paint is now drying flat overnight !! I have just had a count up of the number of days I have worked on the project and so far it is 243 since 1990 ! Allowing say 5 hours a day that give about 1200 !! BUT work in 2018 was done by a company but I do not know how many hours or days worked ... |
so far 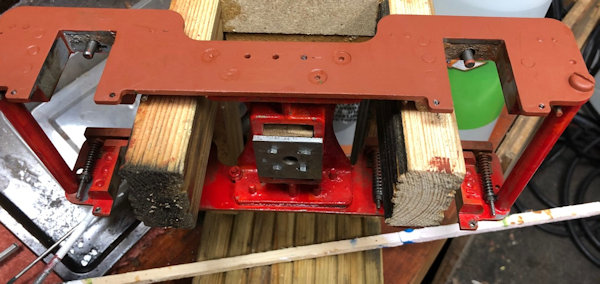 |
| 12th
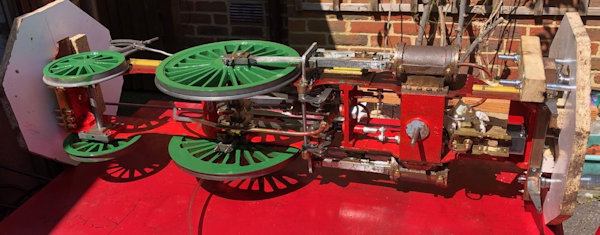
May 2019 A lovely sunny day so a good day to paint some more parts. The engine stand was wheeled out into the sun and the main wheels and trailing wheels given some paint to the inside., This does show rather well the use of the Octagon end pieces which allow the engine to be easily rotated and to remain in a stable position. |
 |
|
The
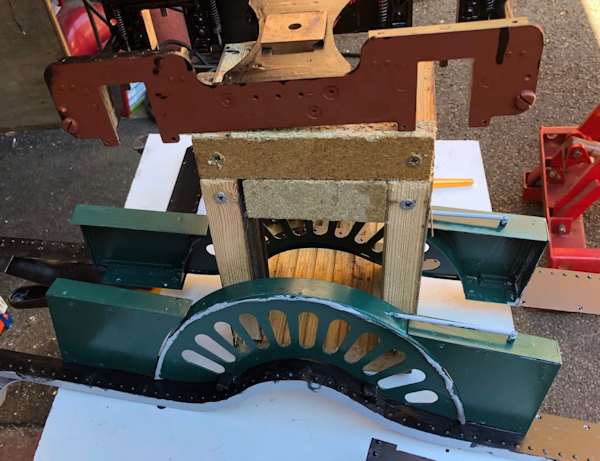
stand suggested by Keith Appleton came to very good use not
only to hold the bogie whilst painted but also as a support
for the side splasher when that were given a coat of undercoat
black.
No
good to rush the painting so with wet paint all round I
decided to call it a break time!!
We
are now at the end of the fourth week since the loco was back
in my workshop and much has been done but still much to do.
So
let's look at the original list to see what has and
has not been done.
1. the regulator does not operate Not yet sorted 2. Sight glass fitting need aligning and glass fitted Not yet sorted but new Three Cock bought ready 3. Make the boiler door catch and fit Not yet sorted 4. Sort out the coupling to tender Completed 5. Fix chimney to smoke box Completed 6. Amend the fixing of the cover plate above oiler Completed 7. Sort out axle pump as will not fit under the boiler Completed 8. Provide
the blower outlet in the smoke box
Not yet sorted
9. Seal up
the bottom of the smoke box so that a vacuum can form to
draw the fire
Not yet sorted
10. Fit lugs
on the side of the boiler where it will sit on the frames
adjacent to the firebox
Not yet sorted
11. Painting
Yes progressing well
12. Make up
the Cab spectacles See blow both made and awaiting the
glass before soft soldering into place.
|
 |
| Later
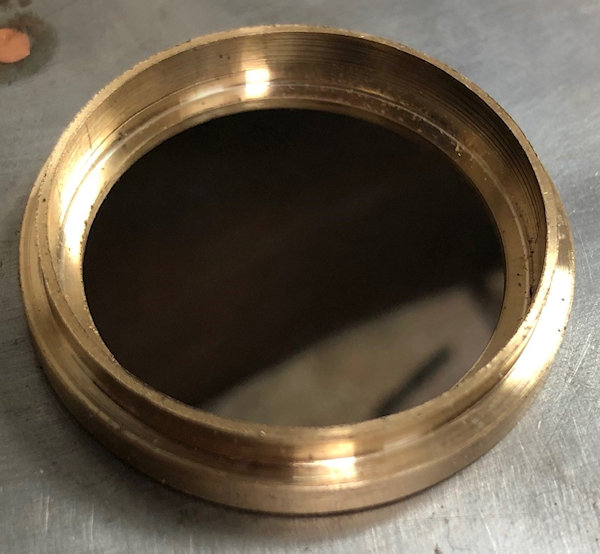
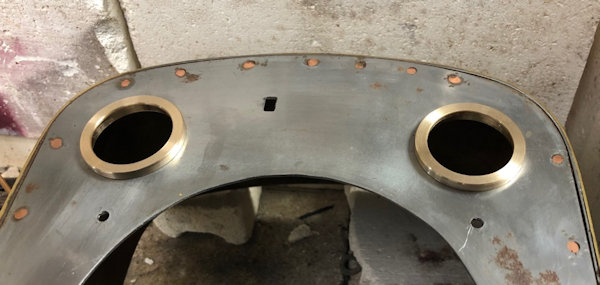
in the afternoon I found that I had a good size piece of
Phosphor Bronze so decided to use that to make the spectacle
parts to hold the glass in the cab .,. This is the finished item up side down to show the recess for the glass to fit. |
 |
| They are now ready to
prepare to solder to the cab but before I do I need to have
prepared the glass insert which needs to be 29mm diameter. |
 |
|
13th
May 2019
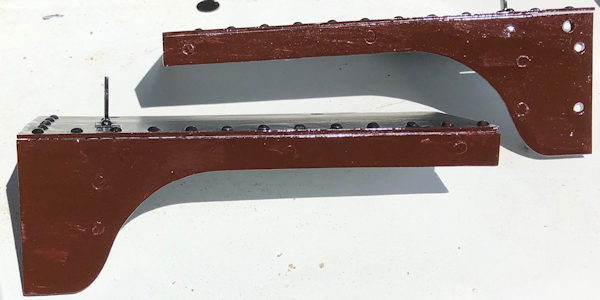
A lovely warm day so more painting in the sun shine ..This is just the first coat to go on with several more to come but does look nice. |
 |
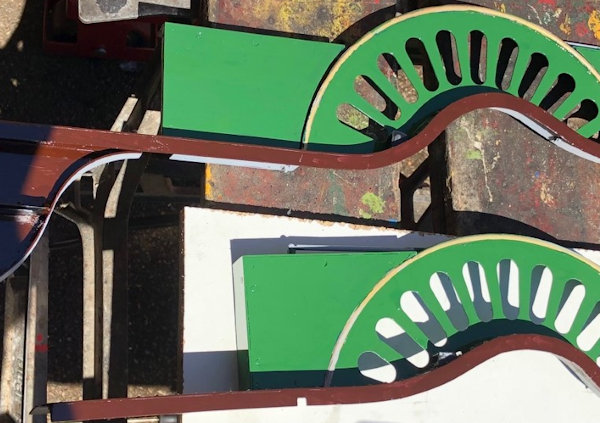
| And
now the first coat of the light green colour to go on the
splashers with the brown on the edge. Late afternoon I was able to give a coat of Black Gloss paint to the splashers and other areas which are black. |
 |
| 14th
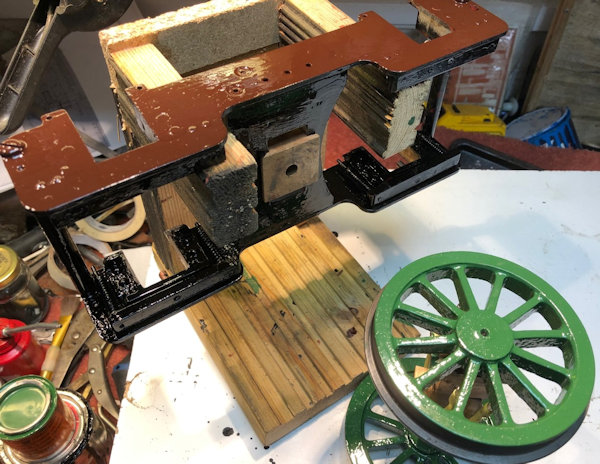
May 2019 Granddaughter over and she did some painting on the bogie wheels and later I completed the brown and black on the bogie frames. Brushes were then cleaned in white spirit and the in soapy water. |
 |
| Whilst
granddaughter was painting I made up an extension fitting to
lengthen the boiler fitting given to me by my friend Paul, who
also build steam engines but had this to spare. This may not be
the finished item as need to check how much space there is to
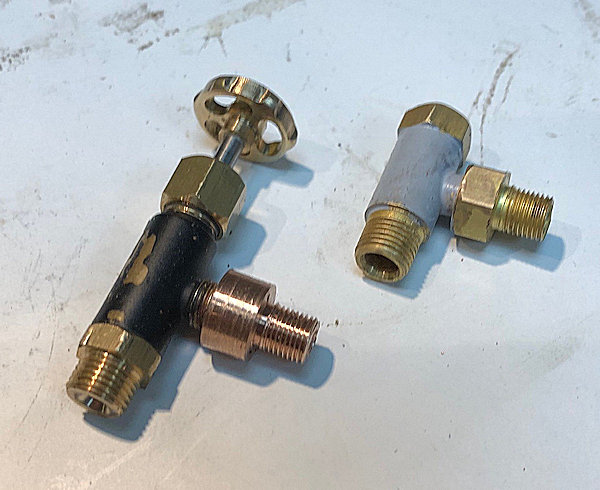
turn the tap when fitted to the boiler. In a YouTube video by Keith Appleton he suggested making an adoption of a part so that in case the multiple check valve leaked the water from the boiler could be turned off. This is the link to that video https://www.youtube.com/watch?v=L9LuM4xYKPw The extension is made in Bronze and will be painted to match the body when that too is painted. |
 |
|
15th
May 2019
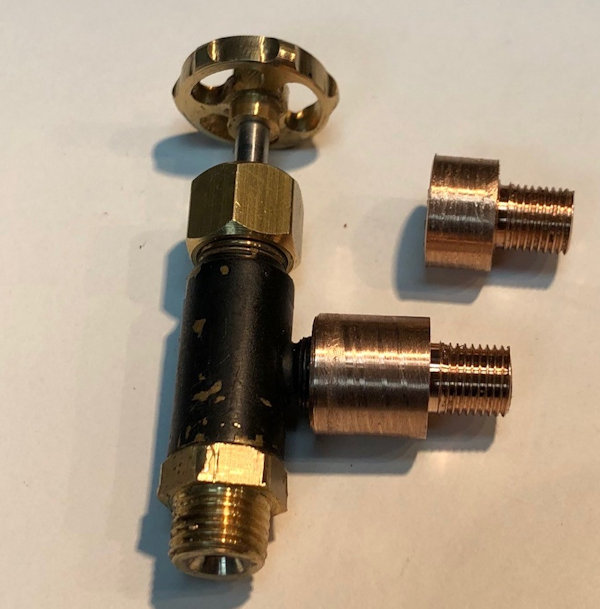
Sadly the part made yesterday was too short as you can see above as it did not use all the original thread on the fitting. So the adaptor was re-mode and is now ready to sand blast, with threads protected and then etch primer applied before the colour paint. Also
today a parcel arrived with some nice soft plastic packing
which will be used when the tender is painted.
In
the Evening my friend Paul arrived and loaned me his pipe
bender which I will use until mine arrives sometime in the
future.
|
 |
| 16th
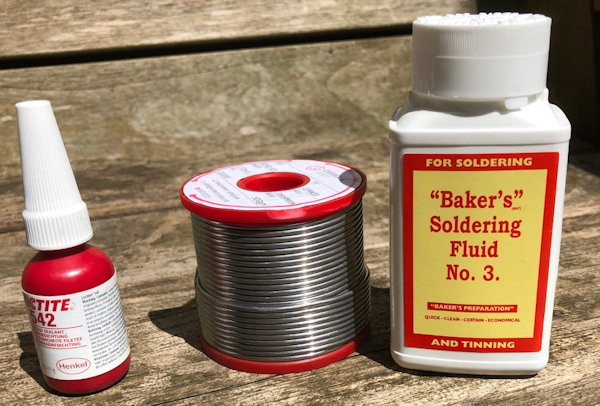
May 2019 These are purchases which arrived today. I will be doing some soft soldering so decided to obtain the best flux I know which is Bakers Fluid No.3 and I have used in the past when jointing dissimilar metals such as copper and steel. I will also be using the now rare 60/40 Tin lead solder and I am sure that will give a better bond that the lead less solder !! The Loctite 542 will be used on the water fitting to the boiler as a sealant and lock !! |
 |
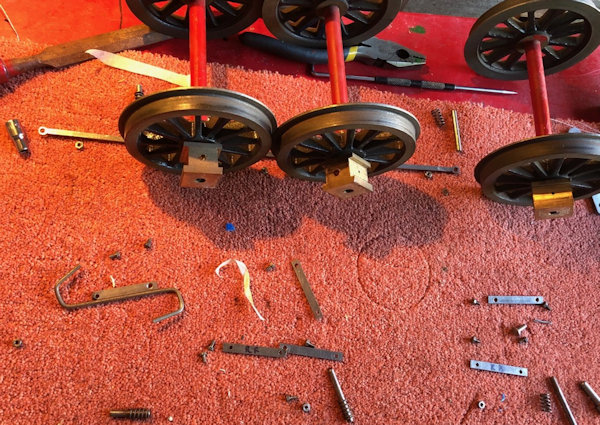
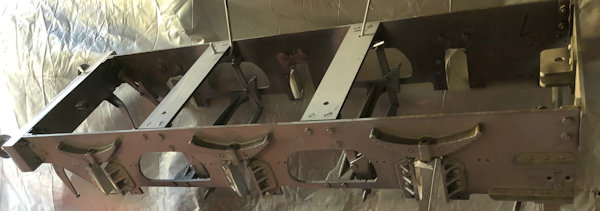
| So in the afternoon I
took the Tender Chassis apart and shortened the bolts that hold
the fake springs. All the parts are left in place ready for later re-assemble. |
 |
| With the Tender
Chassis stripped of wheels it was sand blasted on the out side
with some over blast to the inside and then given a coat of etch
primer. When dry this will be checked and any brass not primed with be given a brush painted top up. |
 |
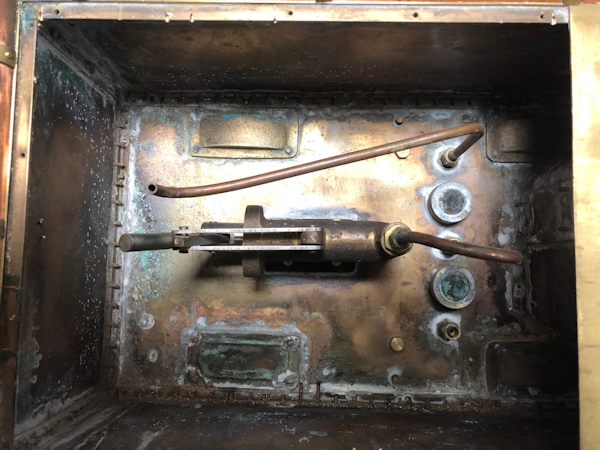
| Inside
the tender |
 |
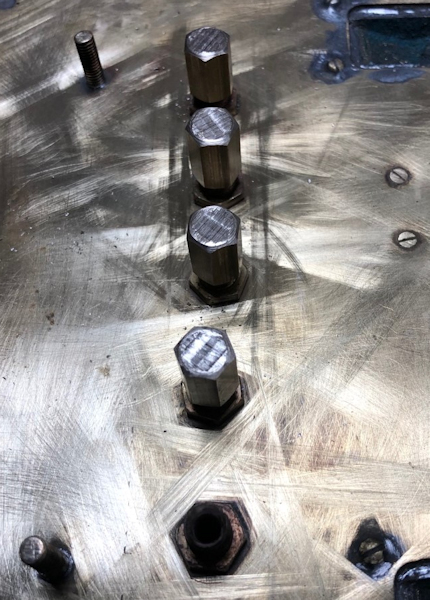
| The underside of the
tender |
 |
| Blanks made ready for
a water test of the tender. |
 |
LINK to NEXT PAGE |
|
