The Diary of the Building of a 5" gauge Stirling Single |
|
|
|
|
|
|
|
Tender |
|
|
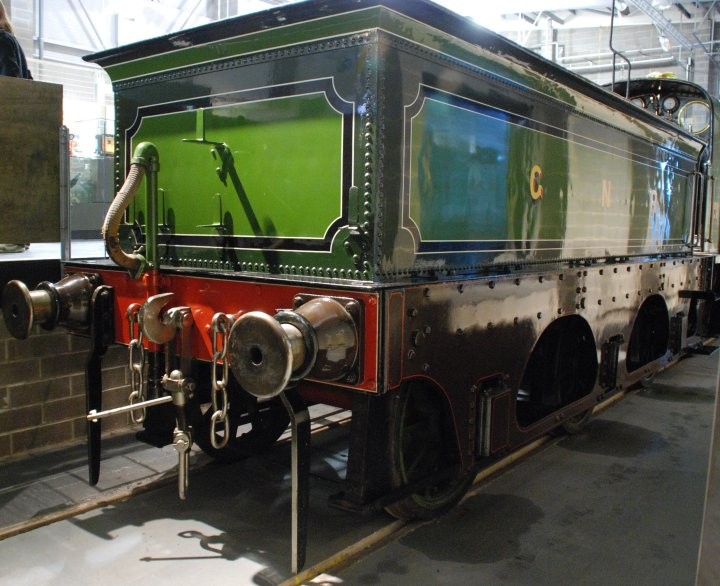
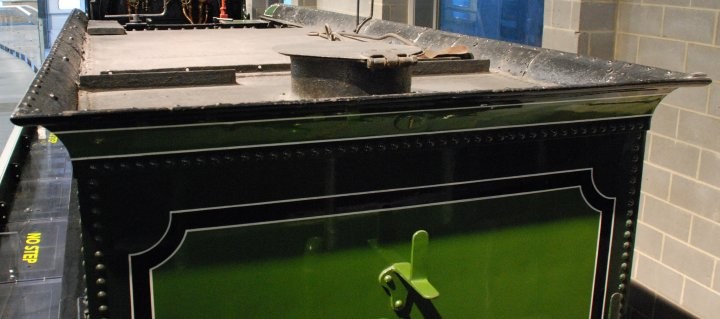
This is a photo I took of the preserved Stirling Single at the National Railway Museum. |
|
|
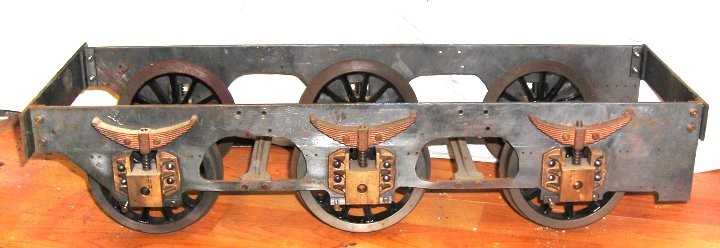
The first parts that it was recommended that I built was the tender for should I complete the loco engine and then have to build the tender then it would be very disappointing. The construction of the tender started in 1990 and below you can see the stage it has reached when my mother saw the tender in early 1991. Sadly my Mother died in Feb 2006 so never saw the loco nor tender progress any further. Work on the tender will continue along side the main part of the loco so that variation in engineering is carried out.
|
|
|
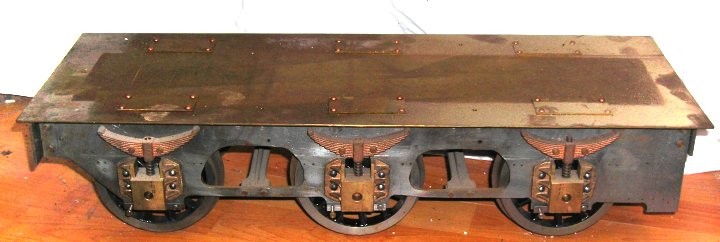
This is how the tender now stand on 27th July 2009 - still a long way to go!! |
|
|
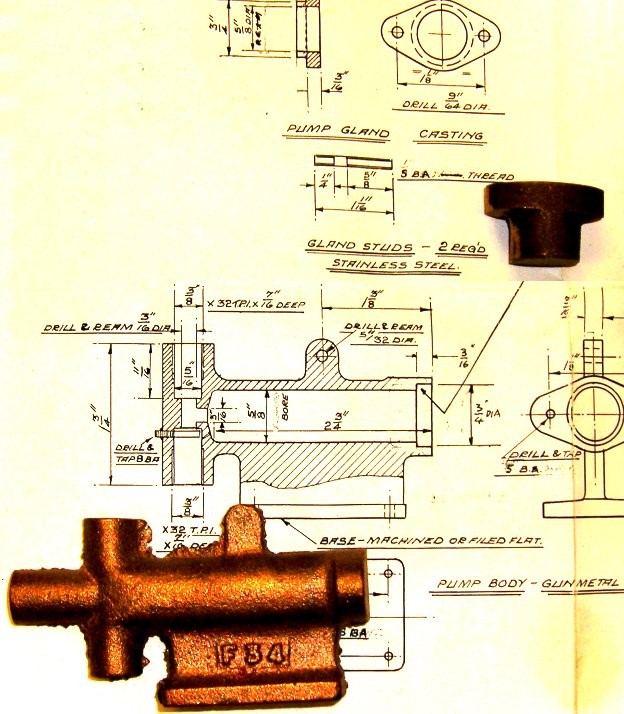
27th July 2009 Located the tender pump casting and the pump gland casting in preparation of making up this part ready to fit into the Tender. The gland will need to be held in a 4 jaw chuck in the lathe so that a round fitting 3/4" can be formed. The pump casting has a spigot on the end for holding a chuck probably a four jaw chuck so that it can be properly centred. |
|
|
29th July 2009 I am considering how to make the roll top to the tender. Several ideas have come to mind but I am seeking advice. |
|
|
|
|
|
|
|
| 30th
July 2014 With a new bench built in the workshop I am beginning work again on the Tender. I note from the plans that the Axle boxes at full size would have have a cast ID of GNR which I shall try replicate by etching BRASS. Whilst I shall only require 6 I will make spares !! Because I am using a reverse etch system the part that is white will remain um-etched whilst the black will be etched. |
 |
|
|
|
| 28th August 2014 Work was commenced checking the drawings for the Brass Plate work on the Tender. All the previous drawings were found to be in error so new ones were made which will be checked again before being sent to the Laser Cutter. But on the 28th Jan 2018 even these were found to be in error relative to the parts already made so again new drawings will be necessary. |
|
| 24th
January 2018 Today I decided to bring the plans for the tender indoors and try to assess what laser cutting I needed to have done to progress the tender. I will need to check the plans against the basis tender I have made so far and have the material cut accordingly. |
|
| 25th Jan 2018 Checking the drawings I found that there were certain measurements which were not quite right but with a bit of joggling could be put right. First I had to remove the Splashers I had put in place as I had bought some cast ones. The copper rivets were cut off by an angle grinder and the remaining part also ground down and the with a centre punch the reside popped out. . |
 |
| The new splasher was positioned |  |
| Drilled to take the rivets or may be brass nuts and bolts, the brass cleaned up ready to soft solder to seal the splasher to the base |  |
| Here
the splasher has been soft soldered using water soluble flux to
the base with nuts and bolts holding it in place |
 |
| 15th August 2019 This is how the tender now looks today very nearly completed 28 years after it was started !!!!. |
 |