The Diary of the Building of a 5" gauge Stirling Single |
|
|
|
|
|
|
|
Tender |
|
|
30th
July 2014
|
|
| 1st
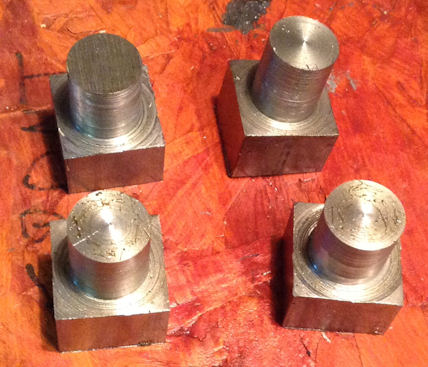
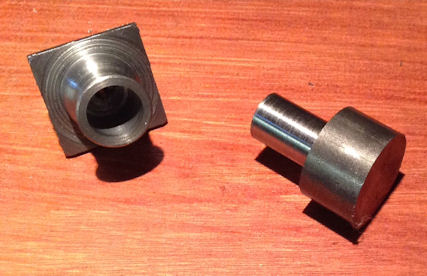
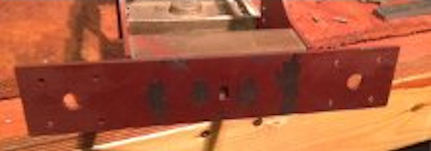
August 2014 A trip to Maidstone Model Engineering Supplies to buy steel for buffers etc a total cost if just over £50. In the afternoon I was able to make a start on the buffer stocks. They were turned from 1 1/4" square stock to round ready to be finished to the required profile. Similarly the other end will be turned for the spigot to go through the buffer beam.
|
 |
|
2nd August 2014 |
 |
| 3rd
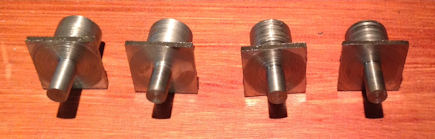
August 2014 I decided to make up a form tool to cut the profile of the buffer stocks. Having a piece of 1/2" square tool steel the profile was ground into the end such that one side cut the beam side whilst the other the end of the buffer stock. This method has achieved 4 similar profile buffer stocks. |
  |
| 3rd
August 2014 The buffer stocks were drill out to 1/2" for 20mm deep and then bored out to 14.9mm. A 3.5mm hole was drilled through to take the 1/8" holding rod. Later the buffer head was cut from bar and the machining carried out to the section which will slide in the buffer stock. |
 |
|
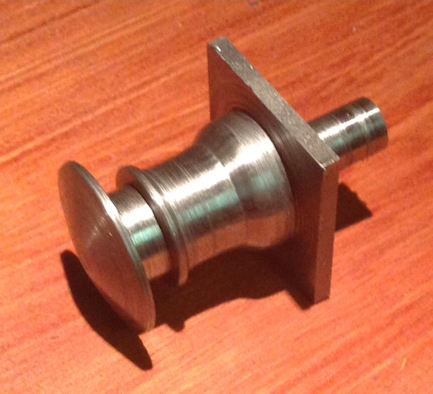
4th
August 2014
The buffered were
completed today with the buffer head being machined to a good
fit in the buffer stock and 5BA tapping made up the
centre which was previously drill to clear the buffer spring.
|
 |
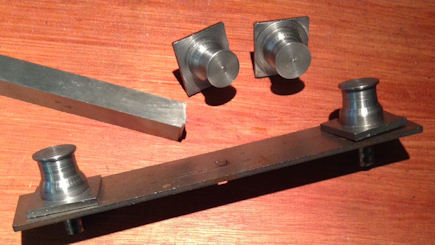
| I used the same piece of equipment I have used several times before to put the rounded front on the buffer head. | 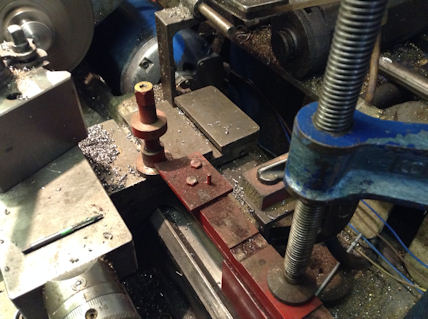 |
|
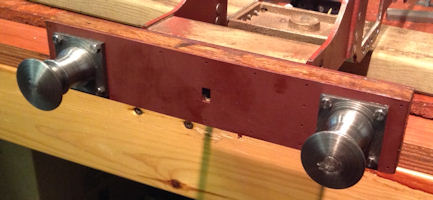
Today the buffers were completed and fitted to the front beam. This was then taken apart so that the OAK timber could be given a coat of varnish. |
 |
| 7th
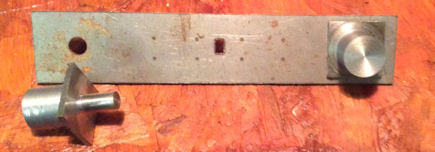
August 2014 The front inner Buffer beam is installed on the loco chassis using 4BA bolts tapped into the Buffer beam and then cut off with metal saw and made flush with angle grinder ! |
 |
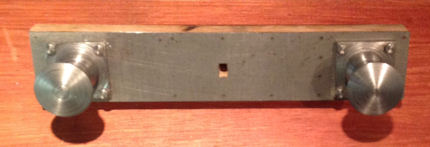
| 8th
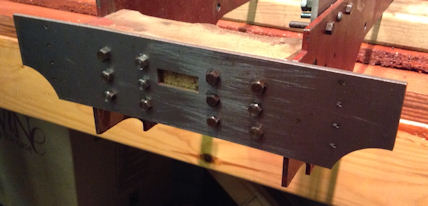
August 2014 I was in the workshop with my granddaughter giving her a taste of what I do. She fixed all the bolts and nuts to fix in the from buffers. My granddaughter helped with the assembly of the rear drag beam of the loco, as seen in the lower picture, which is without buffers. The loco to tender fixing is still be be drilled out and filed to the rectangular slot. |
  |
