The Diary of the Building of a 5" gauge Stirling Single |
|
|
|
|
|
|
|
Completion of the build Part 14 |
|
|
13th
September 2019
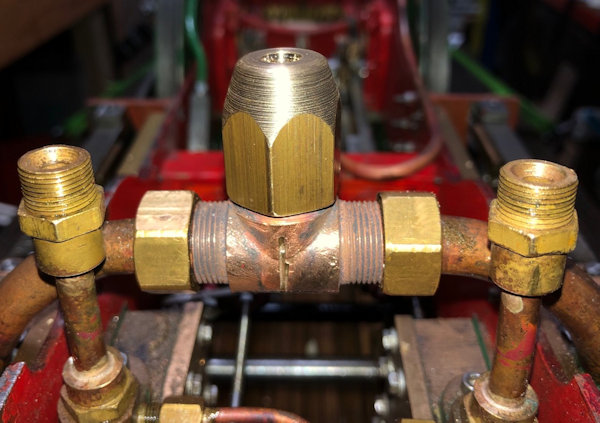
The revised blast nozzle and I used a centre drill to make the sloping sides to the top leaving only a slight lip for the the exhaust steam to hit! |
 |
|
14th
September 2019
A
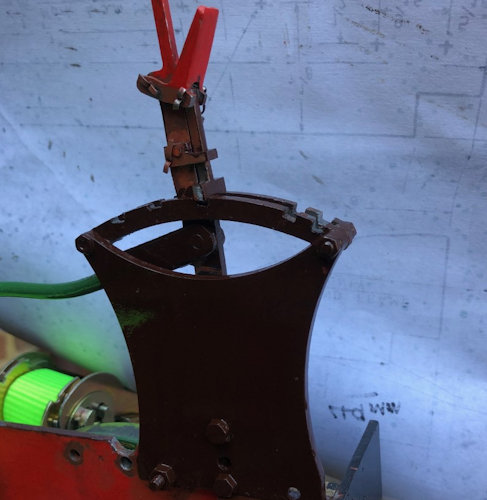
day of painting to tidy up a few things
First
the reverser.
|
 |
| And
also the motion brackets. |
 |
| 15th
September 2019 Whilst no actual work was done on the loco I looked into the exhaust blast from the Blast Nozzle and found this information. This indicates that I need to make up two triangles of card having the dimension show of the ratio 1:3 and 1:6 and see how they go with the Stirling chimney and the blast nozzle. If the triangle do not comply then the vacuum formed in the smoke box with not work properly. I will do this before I try to seal up the Smoke Box rather than later when there would have been much wasted effort if it is incorrect. So rather important information found. |
 |
|
16th
September 2019
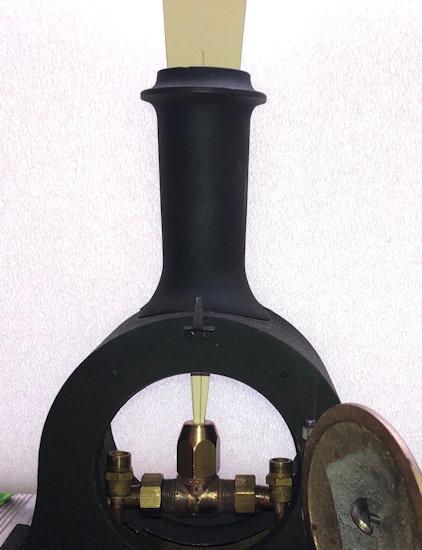
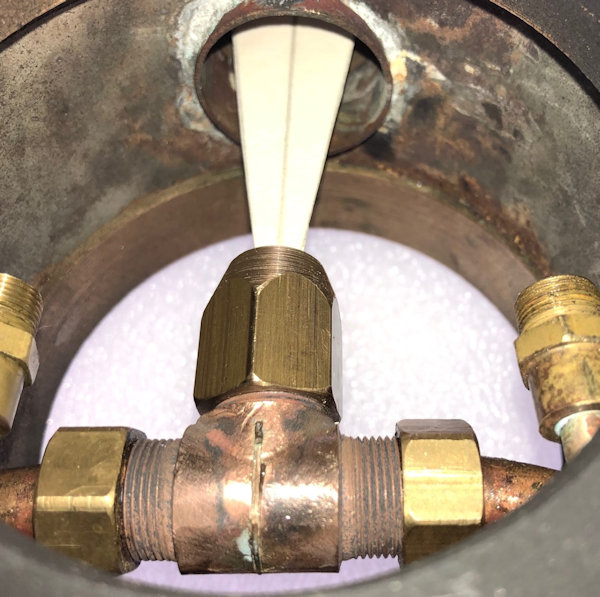
The 1:6 and the 1:3 card test pieces were made up and first the 1:6 inserted from the top of the chimney. I nestled snugly inside the blast nozzle and thus I am pleased that is fine. |
 |
|
The
the inside of the chimney was measured and the 1:3 cut to size
and it too fitted well into the blast nozzle.
With
those checks achieved progress to the final fitting of the
Smoke Box can take place.
|
 |
| 17th
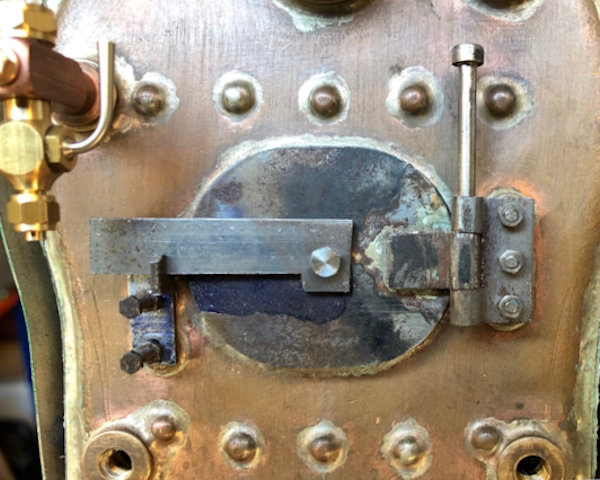
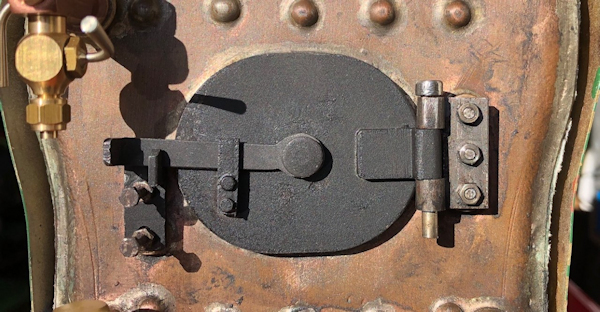
September 2019 I have never liked making small parts so today was to be a challenge - making up the latch for the door and its keeper. First operation was to drill, and not too deep taping holes in the boiler for 8BA. With this achieved I could proceed to the parts. The first part made was the keeper from 1/4" x 1/4" bar which I successfully milled to dimensions. The holes were drilled to clear 8BA bolts and temporarily held in place. The the door was coated in the marking out blue and the central line of the latch established and then a line drawn about where the bolt hole needed to be tapped.removed. A trial fit as the photo shows all to be well and just finishing off to complete the job including fully pushing the door hinge into place !!!. This session of work on the loco took 3 hours and not really much to show for it !!! |
 |
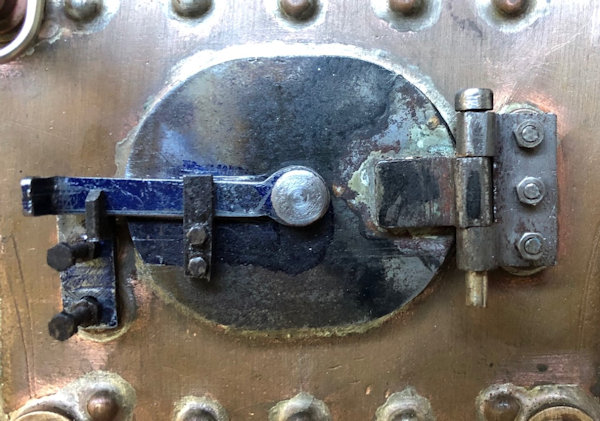
| After
a further 2 hours work the keeper of the latch was machined and
brought to size and two tiny holes for 10BA bolts drilled in
keeper and then transferred to the door and the 10BA bolts
secured. The bolts holding the part attached to the boiler will not be shortened but decided to do that last to make sure all was fine. For me a fine days work and I must say I am glad it is done .. |
 |
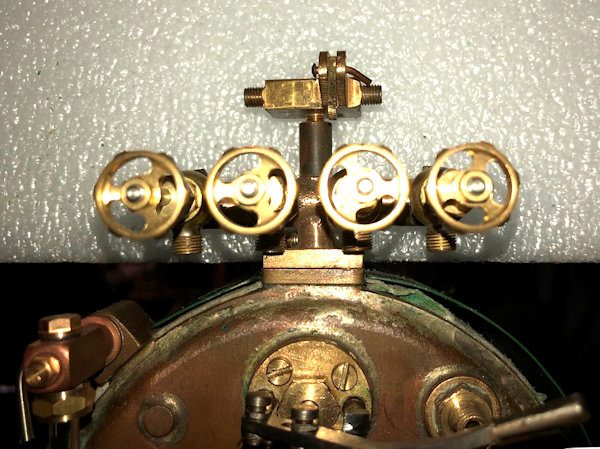
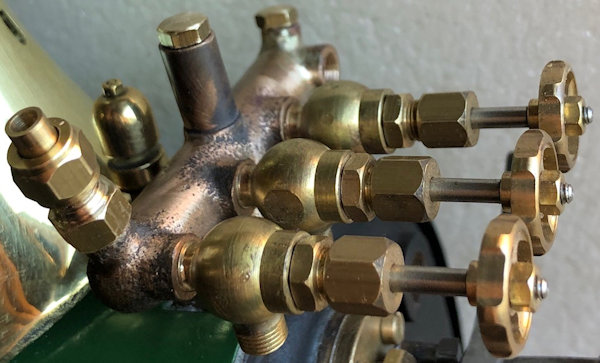
The manifold as existing to day and I am working on what goes where in-readiness for tomorrow when I hope to start work on piping it all up !! It is quite possible that the arrangement will change as I have been given what I think is a better whistle blower. From left to right I and expecting to use Left Injector Whistle Blower Right Injector. That will dispense with the whistle which currently is on the top. The pressure gauge will come from the top left outlet with the centre and right outlets being blanked off, for the time being. |
 |
| 18th
September 2019 Well well how could I make such a mistake I have bought fitting and they are all for 3/16" pipe and they should have been for 5/32" pipe. Still more will need to be purchased !! Today the Fire Door was painted with Very Hight Temperature paint but the boiler back will need to be sprayed as trying to paint by spraying the paint into a jar and brushing it on just did not work, so a major masking needs to be done so that too can be spray painted. The Bolts holding the catch also need to be shortened. One of the globe valves had a poor thread 1/4"x40 on the outlet so I ran a die down it and now all is well |
 |
| 19th
September 2019 Today I plan to make a Banjo fitting for the blower. The design is as shown opposite and this shows that the steam passage is relieved on the bolt rather than the complex way of relieving the outer part. |
 |
|
20th
September 2019
With
slight adaption the banjo bolt made yesterday was usable
but the banjo centre had to be remade not a bulky and then
they all went together ok.
To
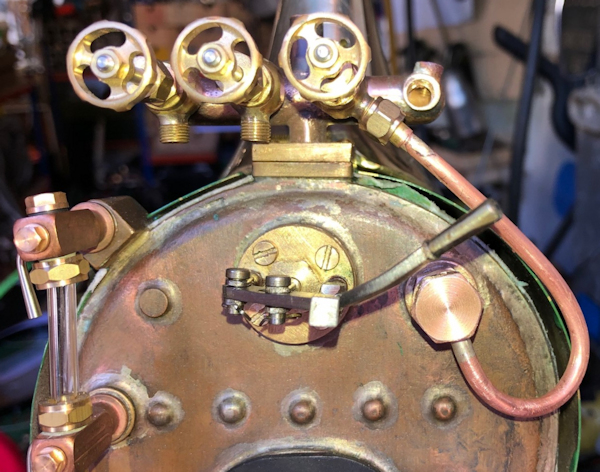
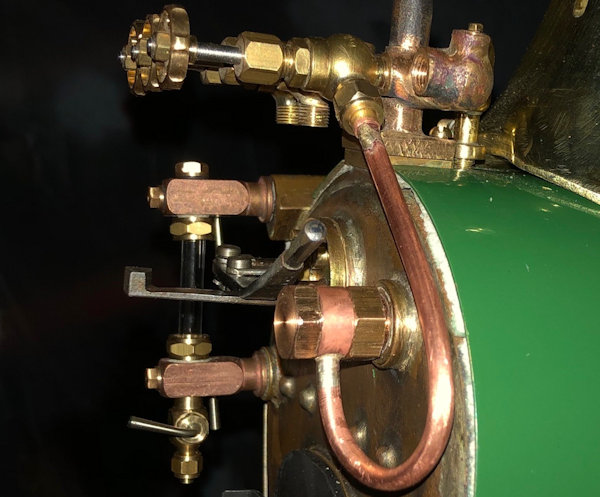
miss the blower assembly the regulator arm was "adjusted" so
that it is out of the way and does not hit the fitting when
operated !
The
sight glass assembly is not finally fitted so ignore the wonky
glass !!
|
 |
| Friends
in the club MMES wondered what the gap was between Regulator arm
and the pipework as the photo shows quite a bit !! |
 |
| 21st September
2019 I decided to spray the rear of the boiler with High Temperature Paint. So it all had to be masked up, I should have done this before I had the boiler cladding in place ! |
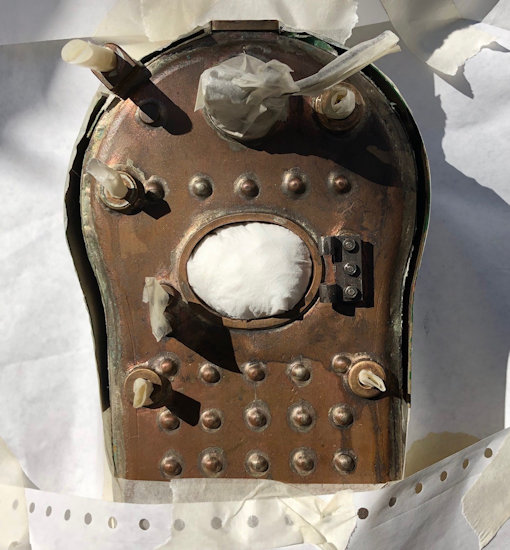 |
| The spraying took less
time than the masking up. First I used a very light coat as
recommended, letting it dry and then just a single coat avoiding
runs. It must not cure but the curing will likely continue until the first fire is lit and water boils! |
 |
| There
are two 3/16" holes in the turret which need to be blanked off
so blanks were made up in Brass. The third fitting is to feed
the pressure gauge so a union with 3/16"x40 thread one end and
1/4"x40the other made up and the nipple and union screwed on for
safekeeping. |
 |
Next Page |
|
