The Diary of the Building of a 5" gauge Stirling Single |
|
|
|
|
|
|
|
Completion
of the build Part 8
|
|
|
14th
June 2019
After
a lovely 2 week holiday it is on with the Stirling build.
After
fitting the spectacles by soft soldering the fittings to the
cab it was time to sand blast. This took much longer than
usual as the sand pipe was blacked as was the feed into the
blast nozzle.
Still
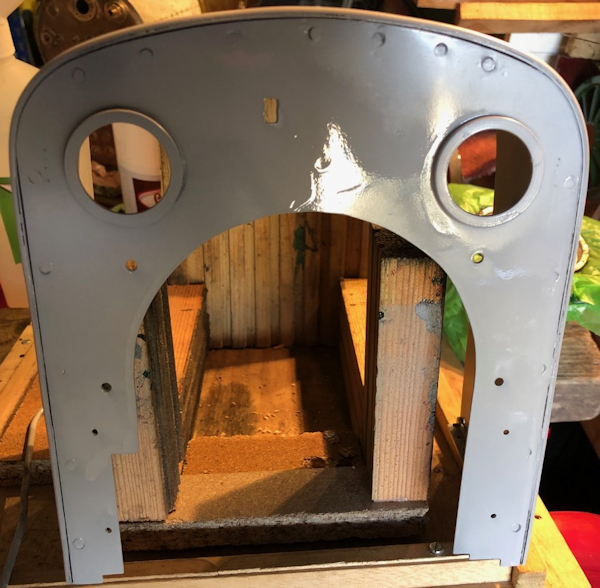
when completed outside and inside it was time to spray paint
the first coat of the etch prime
|
 |
|
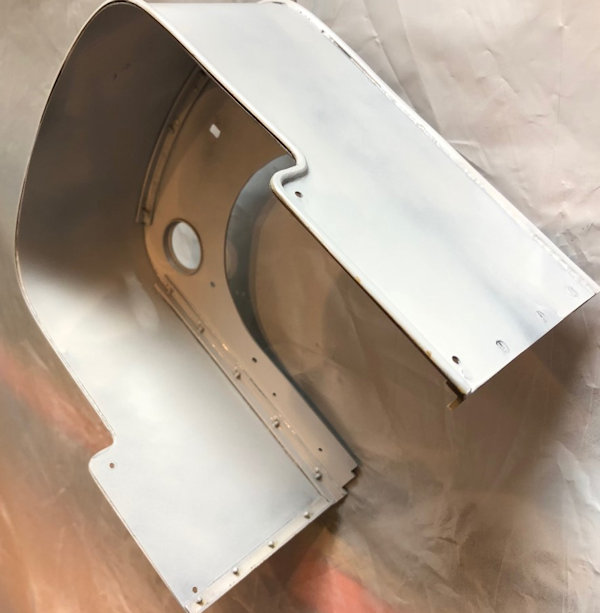
This
will be left to cure over night and then a rub down and then
another spray coat particularly on the front to ensure a good
paint finish.
|
 |
| 15th
June 2019 I have assembled all the parts ready for a hudralic test on the super heaters. May be I should have shown all the parts separately but there is a barrel with inlet machined 1/4" x 40 ME thread and a retaining bolt M8 1.25 and two stop ends 7/16" x 32 ME The test will be made after the super heaters have been extended. |
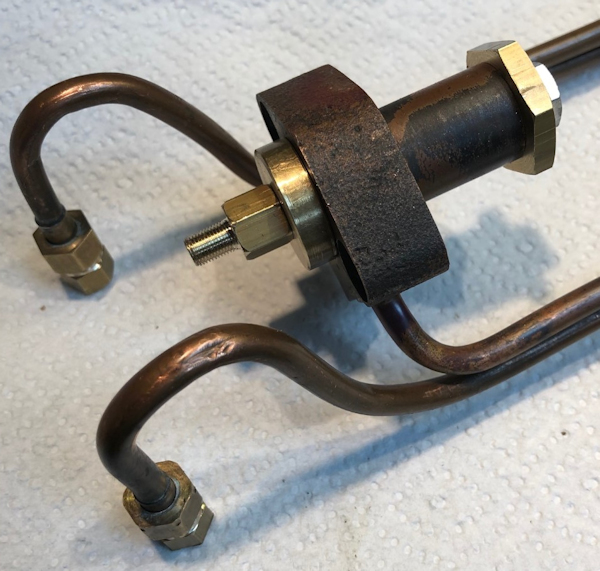 |
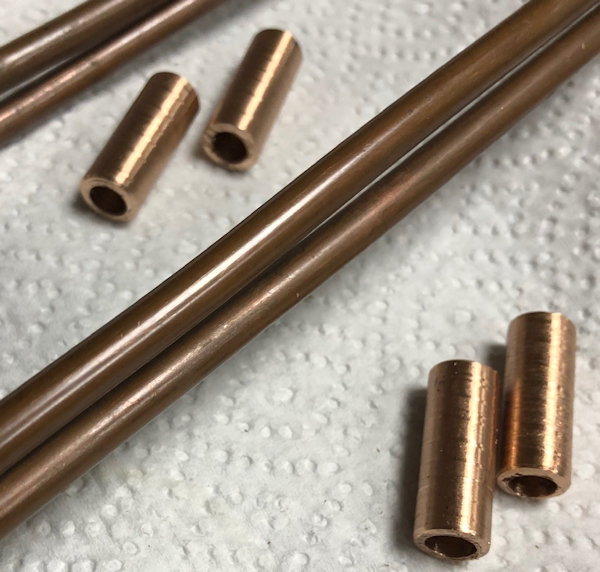
| The
existing super heater 1/4" OD tubes are to cut and then linked
to Stainless Steel 1/4" OD tube with the Phosphor bronze
couplings shown in the picture which I made up this afternoon. The tube adoptions in Stainless Steel tubing is being made up for me by a MMES club member and then they will be connected to the existing at a measurement determined from the length of the boiler. Also today a bit of rubbing down of the cab and some re-spray. |
 |
| 16th
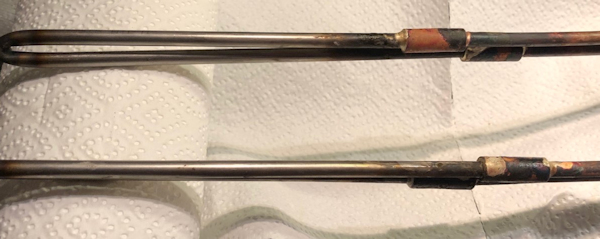
June 2019 A day at the MMES engineering club where my friend Tom worked on the extensions to the Super Heaters. Tom provided the 1/4" stainless steel tube and TIG welded it together as can be seen in the right of the photo. |
 |
|
I
provided Tom with the correct Flux and the Silver solder rods.
All looked well when hot but then Tom suspected that one joint
might not be sound.
A
simple water test proved that to be the case and a pressure
test will identify the exact location.
Where
the leak is will need to be well cleaned up and then re-silver
soldered.
|
 |
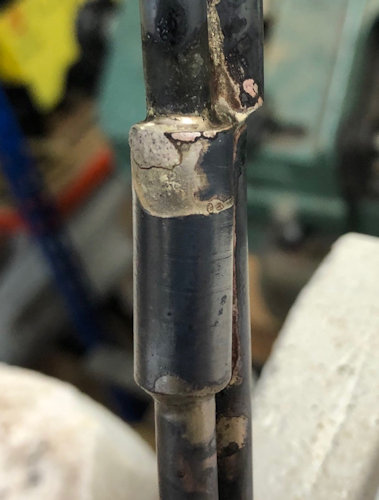
| The
tiny weep hole was identified and the Stainless steel and Bronze
mechanically cleaned up with wire brush and wet and dry paper. The flux was applied and the union heated up and the silver solder flowed into the joint. It will now be left to cool down over night and then tomorrow a re-pressure test made and any other problems if any resolved. |
 |
| 17th
June 2019 With a funeral of a school teacher today very little achieved but did decide to order some split pins and gasket material from Blackgates. |
|
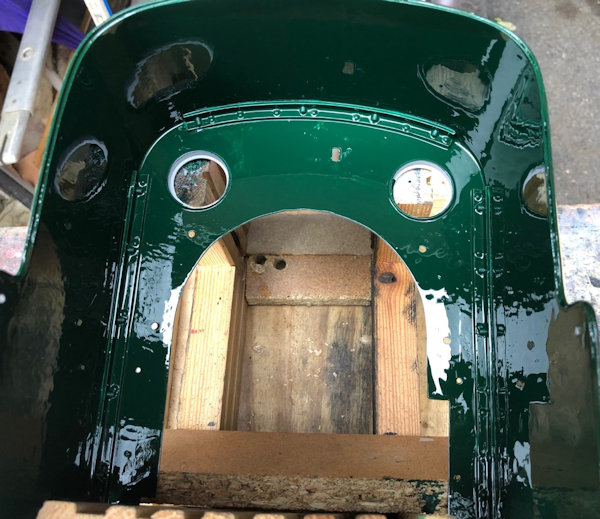
| 18th
June 2019 Having determined from watching a YouTube video recommended by a friend that the inside of the cab should be the dark green the first coat was applied to day. This will be allowed to dry at least over night before the light green is painted on the out side. |
 |
| 19th
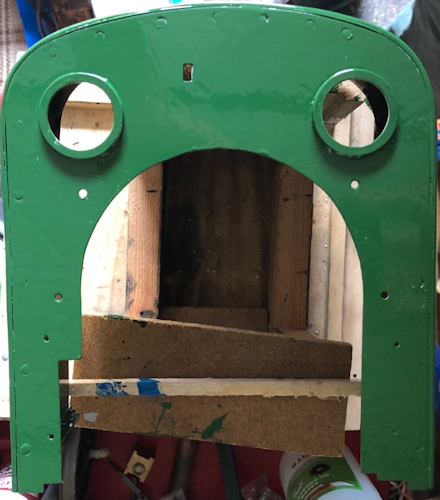
June 2019 The turn of the front of the cab to be painted with the lighter green. |
 |
| 20th
June 2019 Postal delivery brought the gasket material and the split pins ready to install with the re-build of the regulator. |
|
| 21st
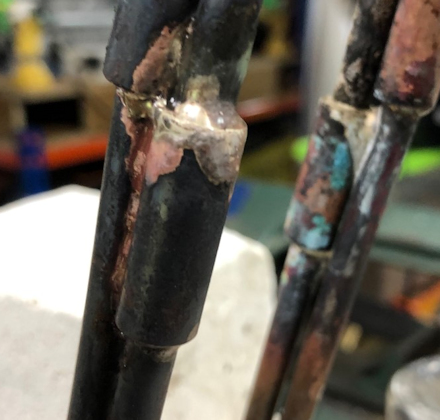
June 2019 Further pressure test revealed another leak on the super heaters so re-soldering carried out. Successful and that was to a pressure of 200 lbs psi !!! Another land mark achieved .. |
 |
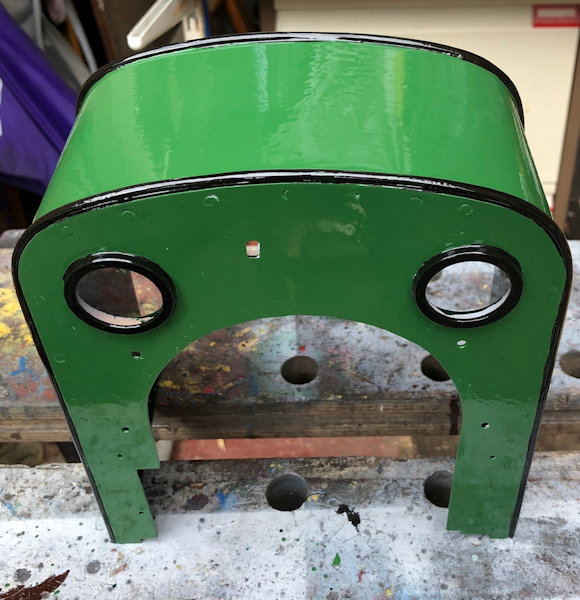
| And
now for some Black Lining on the cab . |
 |
| 23rd
June 2019 And today some more lining out. I flattened one side of the lining pen holder and then used several stiring sticks as a guide. The paint did not flow very well as I had forgotten to put in a couple of drops of lighter fuel before the paint ... Still the end was achieved of a bourder to follow for the black paint. |
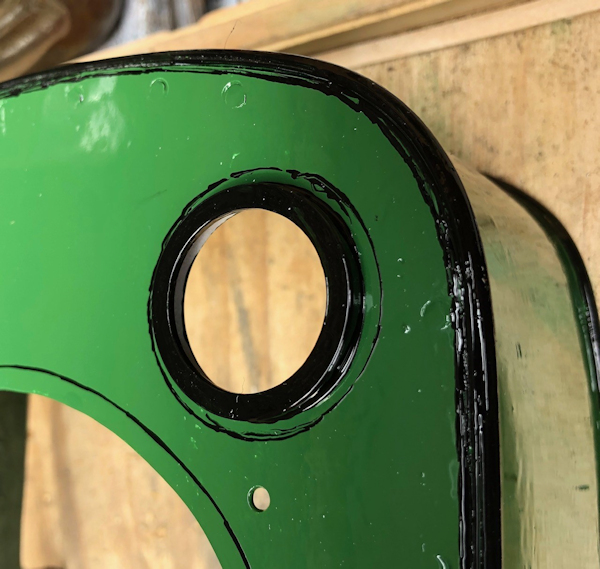 |
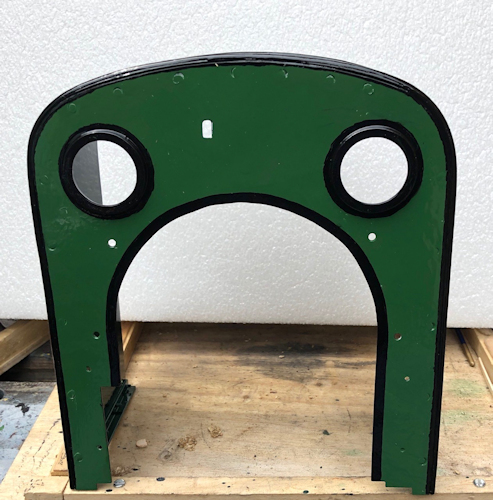
| The black infill was
carried out using a number 0 paint brush. Next is the tricky bit as a white line has to be put on as lining adjacent to the black so that will wait for another day which gives me time to practise using the paint and pen. For the practice I have painted up a piece of metal with the same base colour paint and then tomorrow I can do some experimental lining in white before applying it to the cab. |
 |
|
24th
June 2019
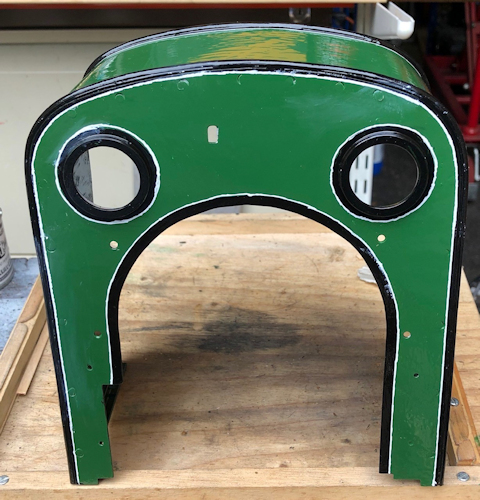
And now for the white line. The testing went well but that was only a freehand line generally straight but when trying to follow the edge of a black line that is so much more challenging. Still it is only paint and I could paint is all out and start again but with so much more to do to complete it I will correct it a little and then press on with every thing else. It
is said that practise makes prefect so may be towards to end
of all the other lining things will be better.
Today
I also made up a fitting for Paul and in return he gave me a
whistle operator which was too small for his loco.
|
 |
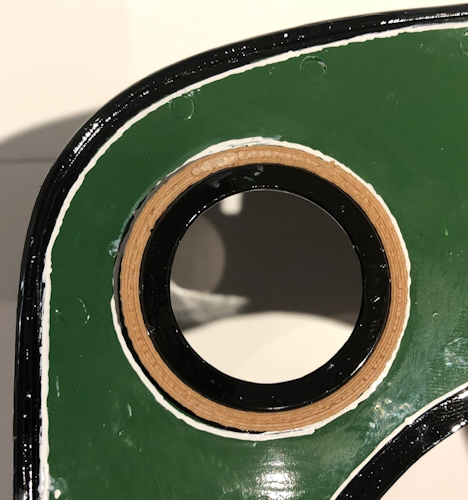
| For the white line
round the spectacles I think I should have made a 3D printed
mask so the the pen just ran round the outside and not use the
inside as the guide. This I have now designed and is shown in
the photo. You can see how much error there is which when repainted will be much better I HOPE !!! |
 |
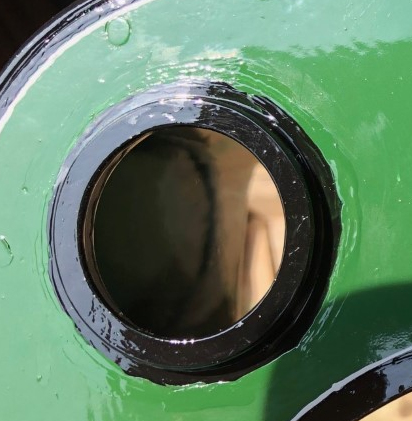
| 25th June 2019 Not satisfied with the white line round the windows I have painted them out had I thought quickly enough then I could have removed them with white spirit yesterday. When dry I will try again using the guide shown above to do a better white line. but not today need to let the paint dry properly!! |
 |
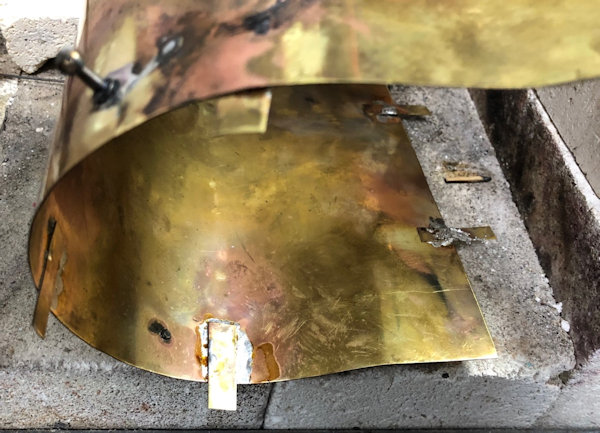
| So that the cladding
on the boiler fire box links with that on the main barrel small
extension pieces have been soft soldered onto the firebox
cladding and also along the bottom edges to make sure they tuck
in behind the frames. Additionally I was able to re-solder one of the stand offs for the hand rail in readiness for sand blasting and painting. |
 |
| With the boiler in place I was able to check the fit of the firebox cladding before removing for the solder job outlined above. | 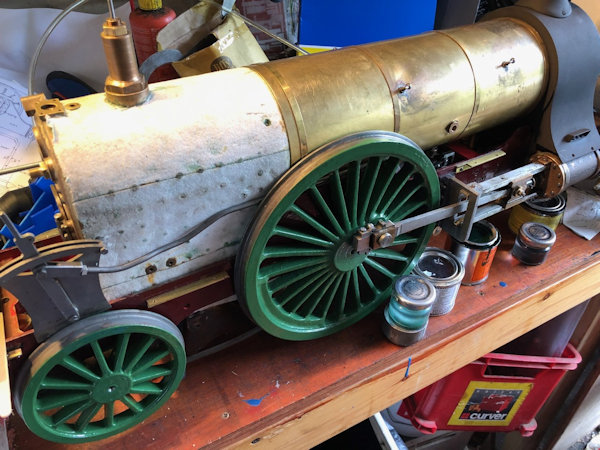 |
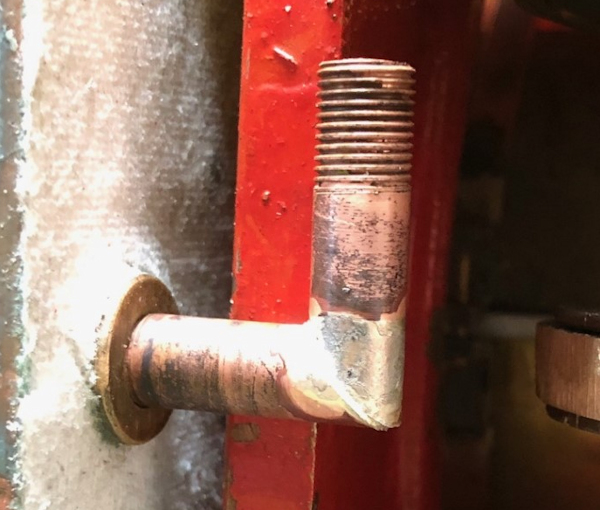
| With the loco rolled through 45 degrees I was able to see that there is so little room for the blow down so a right angle fitting will be made to bring it out to the side. Thank goodness I checked that not and not wait until later ! | 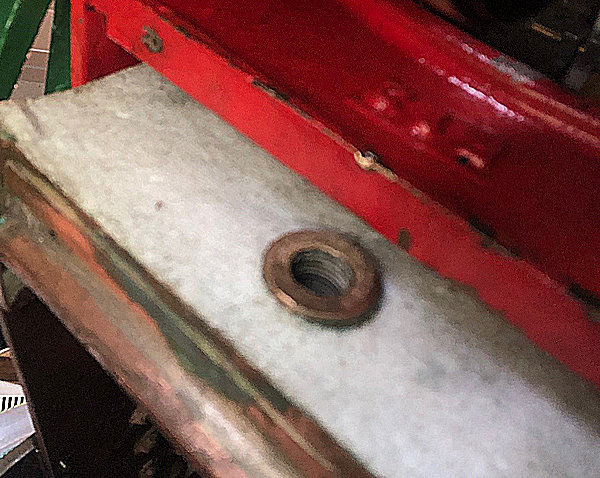 |
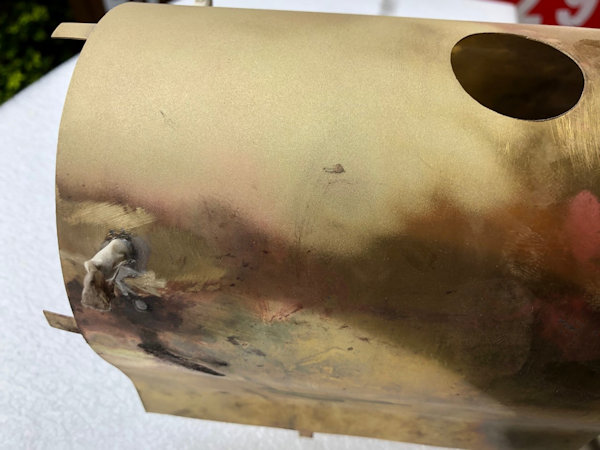
| 26th June 2019 The piece of cladding that I was working on yesterday entered the sand blaster and here is the results whilst I wait for the compressor to recharge itself. When fully sand blaster it will be given a coat of etch primer and allowed to dry over night. |
 |
| With the blow down
exit so close to the stretcher an elbow was decided upon. Now I have put it in the pickle to clear it up ready for painting and hand to decide how to use it with the blowdown valve which I have bought. |
 |
|
27th
June 2019 ( 62 days since re-starting my work on the
loco )
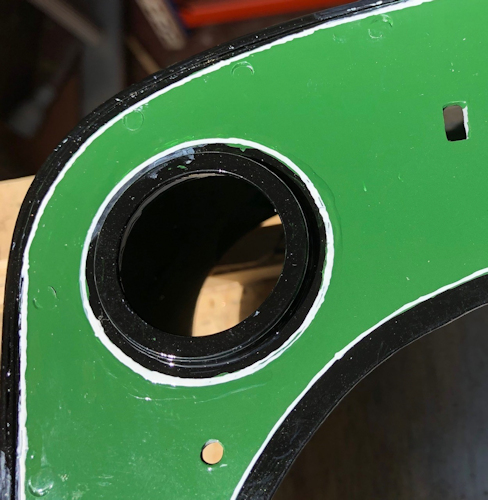
I did the re-lining round the window and it has come out much better ... |
 |
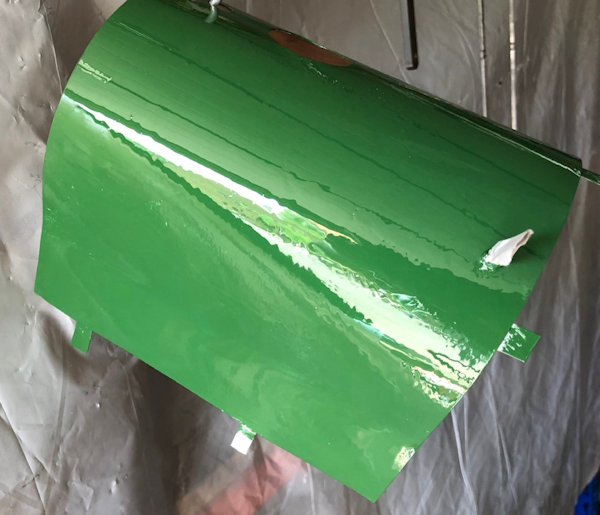
| This is the first part
of the cladding that is painted. For the main section I will
make up a system where the barrel can be turned so that there
are no paint runs from the hand painting. I first used this idea
when making my Polly VI. |
 |
Link to next page |
|
