The Diary of the Building of a 5" gauge Stirling Single |
|
|
|
|
|
|
|
Completion
of the build Part 7
|
|
| 25th
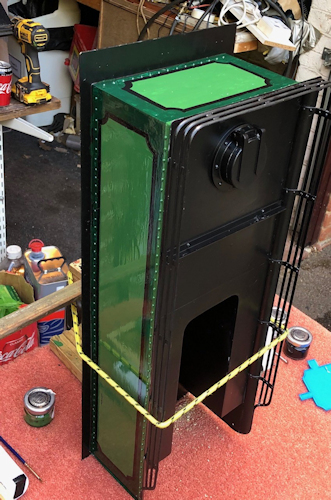
May 2019 Just the lining out of the black to the rear of the Tender. First I needed to provide a secure back stand so the stand made earlier was clamped to the workmate and the bungy core used to secure the Tender in an upright position ready for painting ( Lining) |
 |
|
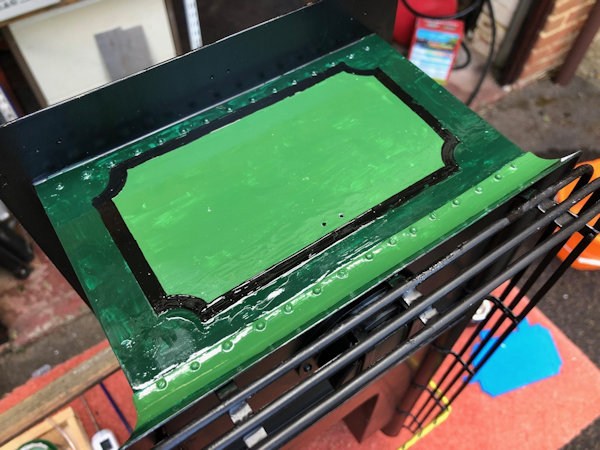
The
lining was carried out using the easi-LINER and the masks made
previously and then the gap between the two lines filled in.
This
was not an easy job as using gloss paint the shine made it
very difficult to see where to paint and then where to fill in
the dark green.
|
 |
|
26th
May 2019
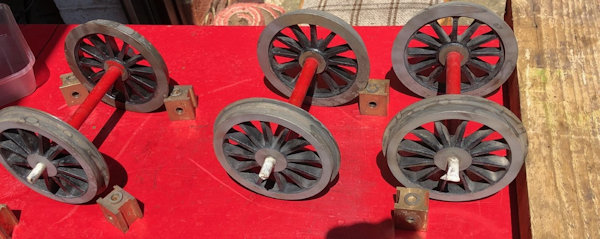
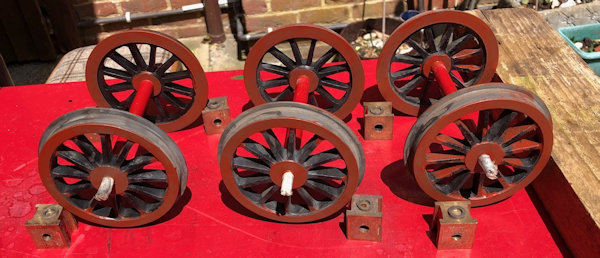
Way back in 1991 I had completed the engineering on the Tender Wheel and had painted the spokes black just to give them a coat of paint. I should have also painted the outside and hub and similarly inside. So with the whewels removed from the Tender Chassis I masked off the bearing surface so that would ne be sand blaster and sandblasted the remainder. |
 |
|
After
sand blasting the whelles were washed over with the solvent
cleaner to remove any trace of grase from the painted parts
and with wash away any remaining sand blasting grit.
The bare metal was then given a coat of metal priner and allowed to dry. |
 |
| 27th
May 2019 The Tender Wheels were painted green and the black of the Tender body glossed. |
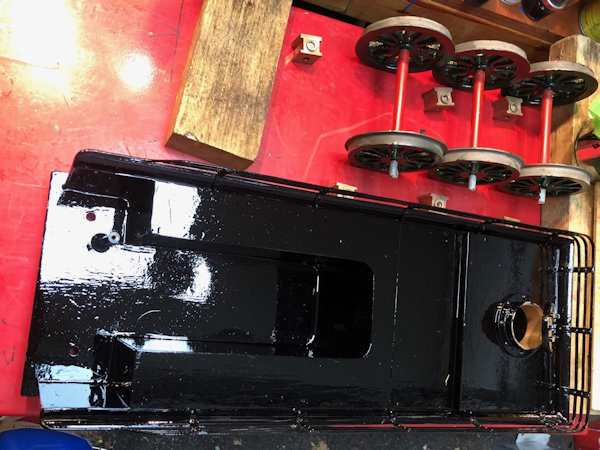 |
| The keepers of the front bogie given a coat of Black Gloss paint. |  |
|
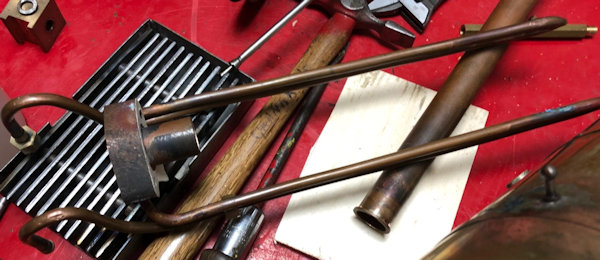
With
regulator not operating I decided to take it all apart to see
what was happening.
The valve end was stuck fast in its barrel and had to be knocked out and in doing so I found a weakness in the operating rod which sheared off and will need to be remade or suitable adapted. Also
the Super heater tube do not enter the fire box and I have
been told that they should so they too will need to re-made of
adapted.
The
operating valve was freed up by polishing in the lathe with
wet and dry and then the uses of Brasso in the barrel and
moving the vavle in and out eventually it freed up.
I
will be taking a long hard look at the plans which I bought
about a month ago to figure out in which direction to go.
|
 |
| 28th
May 2019 The alterations to the super heaters are being put in hand with a fellow club member so that they are the correct overall length and will link to the existing pipes with a staggered joint to ensure that they will fit inside the bore of the boiler super heater tube. The link piece need to be 1" long and have a wall thickness of 1/16" and a reamed hole of 1/4" to take the copper and stainless steel pipes. Also today I bought 1200 grit Wet and Dry paper in preparation for rubbing down ready for final paint coats. |
|
| 29th
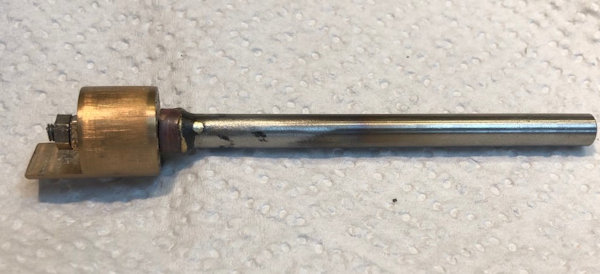
May 2019 At a recent trip to a model engineering show I bought from CuP Alloys (Metal Joining) Ltd both CuPalloys HT5 Flux and CuPalloys EF Flux but could not recall which to use with stainless steel and bronze and copper so I decided to send and email to them and very quickly a reply came from them saying "HT5 is primarily for stainless steel or large sections which take a while to heat up, or with high melting point alloys. It will join copper and phosphor bronze as well but as an aggressive flux please clean well afterwards as the residues are also aggressive. The copper/phosphor bronze joint is up to you, both fluxes are suitable. So with that information it is time to do some experimentation. A registration part was turned up in P Bronze. A piece of Stainless steel was turned down to 1/8" and threaded 5BA. The registration part was then silver soldered onto the rod. Two 5BA nuts were made from stainless steel and the original regulator part fitted. The road was then cut to a length which would alow it to be further machined in the lathe, parted off and threaded 5BA. |
 |
| 30th
May 2019 The final part of the re-build of the regulator arm was completed today. The original was carefully measures and then cut toe take account of the length of the re-paired end shown above. When the super heaters have been extended everything can be reassembled and checks made that it is all in the right places when open and closed. |
 |
| 31st
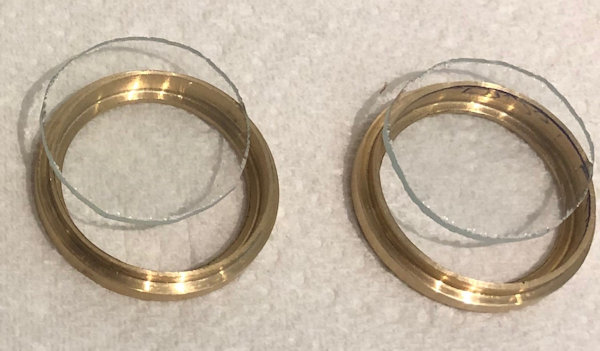
May 21019 Thanks to a friend of mine I now have the two glass pieces to go in the brass fitting for the loco. |
 |
Link to Page 24g |
|
