The Diary of the Building of a 5" gauge Stirling Single |
|
|
|
|
|
|
|
Completion of the build Part 20 |
|
| 25th
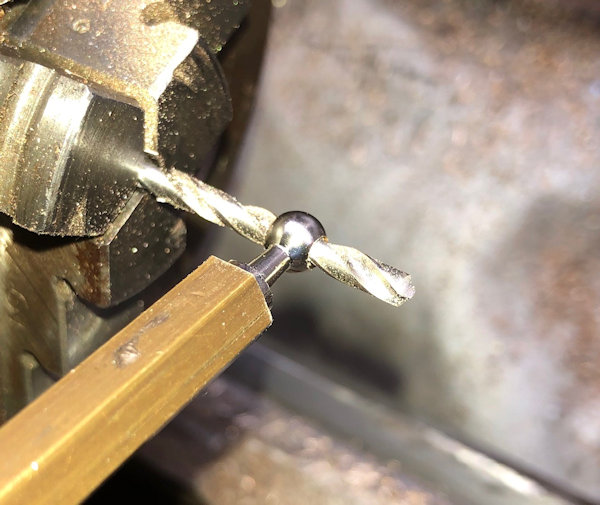
November 2019 Having bought new hand rail supports I found that they were just a little undersized. So I prepared a suitable support drilled and tapped it 6BA and then I could screw in the support. With a suitable sized drill running in the lathe the hole size was easily achieved and the support bar gave me safety when holding the part. |
 |
| 29th
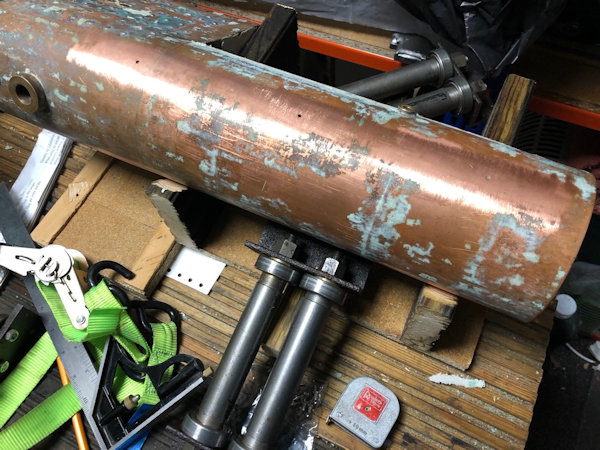
November 2019 More work done on the support for the boiler to enable accurate drilling and tapping to be carried out. The blind bushes were fabricated but sadly an old tap gave up the job and broke so more are ordered. However I was able to complete the tapping of the final bush with a very old 6BA tap which lasted the operation. |
 |
| 30th
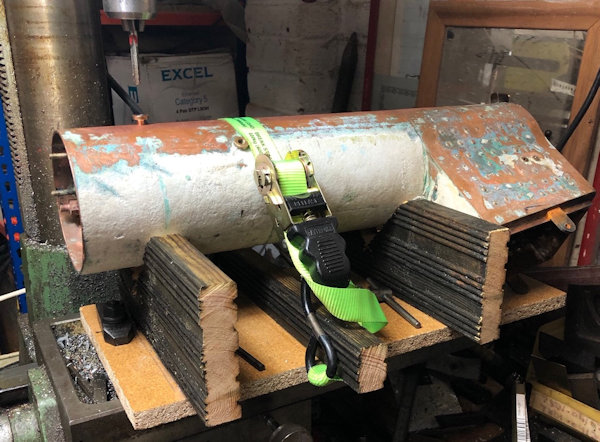
November 2019 Having built the "V" blocks and secured the fixing down cross piece with glue and screws it was time to set it up on the mill. Bolting down holes were drill and at the far end three holes drilled and linked to allow for some lateral movement during the alignment. Ignore the fact the the picture was taken after the first hole was completed. The boiler was tightly held to the base with the lashing strap and then the base/boiler was aligned using a laser pointer and the base moved and the cross slides until just by using the transverse slide (side to side) each hole mark was aligned to my satisfaction. The tapping drill was used (as my stop would not moved I used tape to indicate max depth) and the swarf blown away to reduces the amount that might have ended up in the boiler. |
 |
| Without moving the cross slides the hole was tapped 1/4" and a trial fit of the blind bush proved to be satisfactory. | 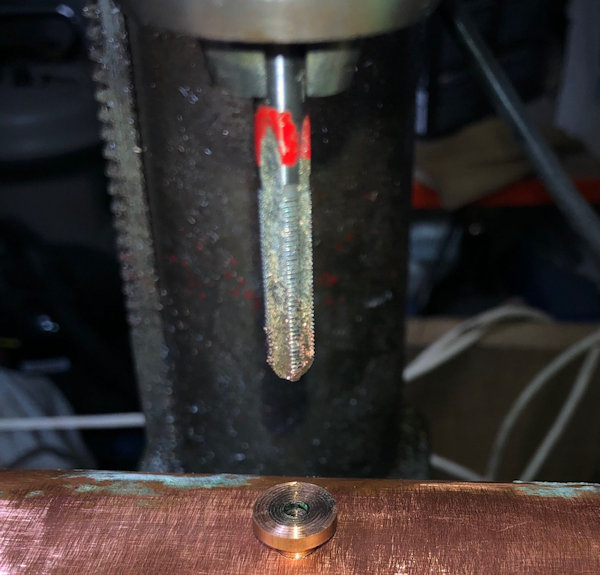 |
| First
side completed and all the blind bushes fit well. The photo makes it look as if they are not in-line - optical illusion !!! |
 |
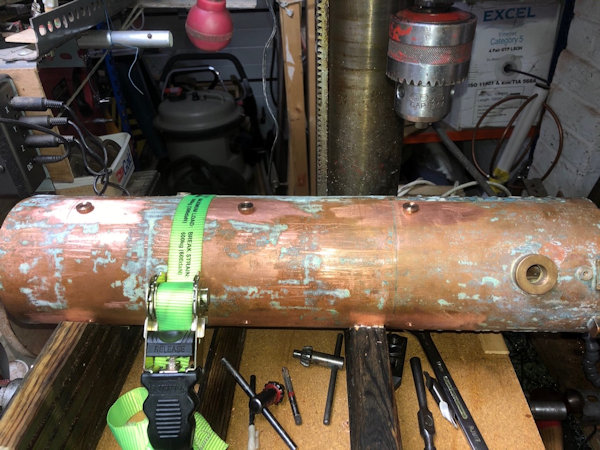
| For
this side the boiler was rotated until the rotation stopped. A check was made of the alignment and amended only very slightly. This time I used a centre drill to initially drill the hole and then followed through with the tapping drill. Then the tap was started in the drill chuck for a few turned and completed with a tap wrench. All the blind bushed fitted well. All the preparation effort has paid off. |
 |
| 3rd
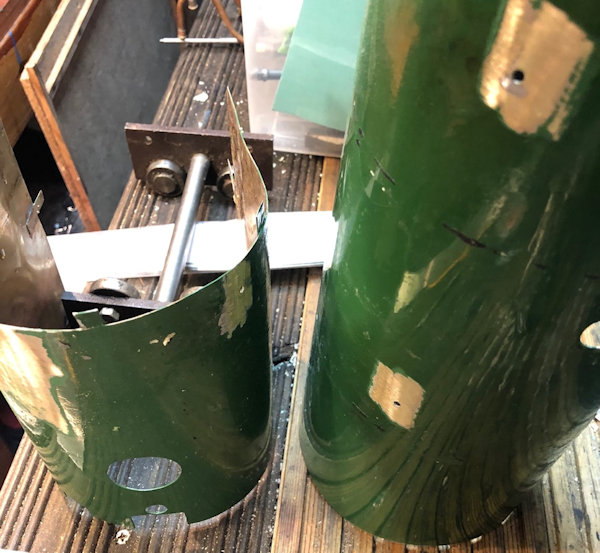
December 2019 As the previous hand rail supports had been sofl soldered onto the brass cladding the solder had to be heated to allow the old hand rails supports to be removed. This of course damaged the paintwork which will has to be done all over again.but at least this is a step forwards again. The cladding will be sand blasted to remove the paint and then spray painted with the Etch primer. |
 |
| 5th
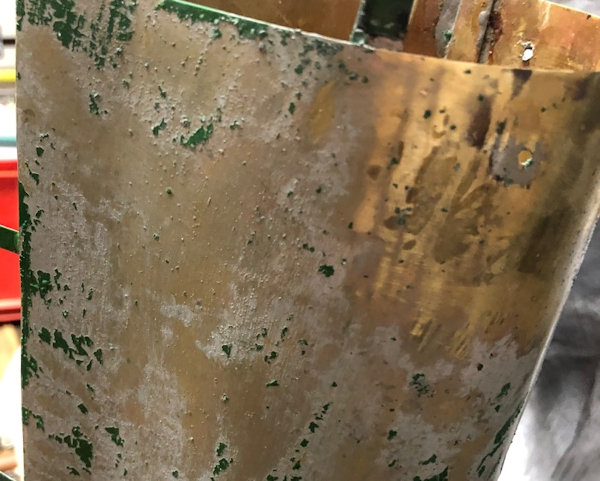
December 2020 the stripping of the paint starts with a coating of Paint Stripper. The photo shows the result after one hour. |
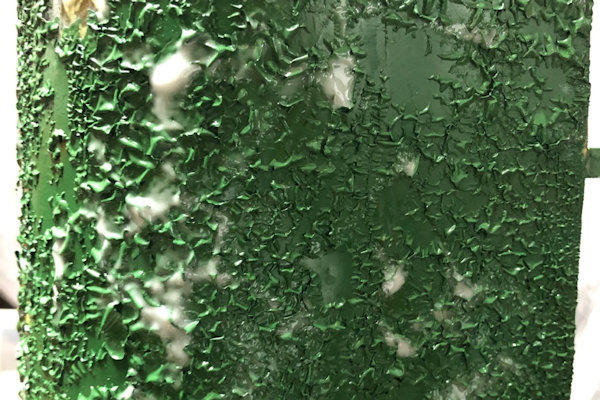 |
| After
two hours and a dunk in cold water and a scrub with a wire brush
most of the paint is removed. It is not let to dry off and then a second coat will be applied to the parts not cleared the first time. |
 |
| 7th
December 2019 The insulation for use below the cladding arrived and when compressed it measures 1mm so the blind bushes were machined down to 1mm so that when the boiler bands are in place the bushes will not distort the brass cladding. |
|
| 15th
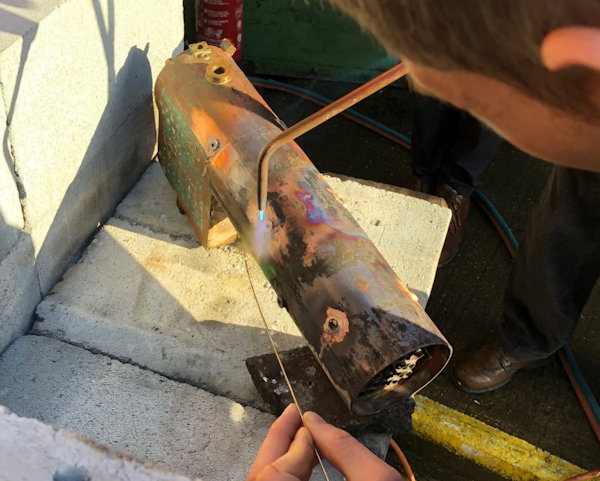
December 2019 As I was to have help from my friends in the MMES I had to wait until today for the silver soldering of the Blind Bushes could be done. This was achieved in about 30 minutes and then the wait until the boiler had cooled down to about 80C before it could be dunked in the club's pickle bath one end at a time. Again I was helped with this task too. The boiler was then washed off to remove the pickle and the reaming insulation which had burned in the heating process was also washed of aided by a wire brush. The next job is to carry out a hydraulic test at home to 160 PSI before taking it back to the club for an official shell test. |
 |
| 18th
December 2019 A simple pre hydraulic test indicated that the silver soldering looks sound but I have water leaks from fitting holes which need to be properly bunged up !!! I shall work on that in readiness for another pre test on Saturday .. |
|
| 20th December 2019
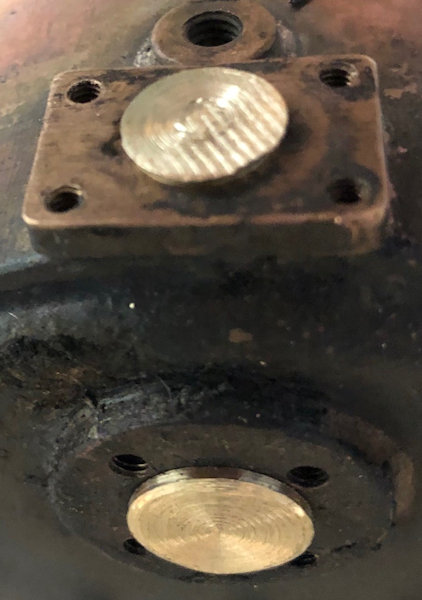
The necessary bungs with O rings set below the top were made up in readiness for a pre shell test tomorrow. These bungs fill the turret hole and the regulator hole. Each will be kept in place by a bolted down plate. |
 |
| 24th December
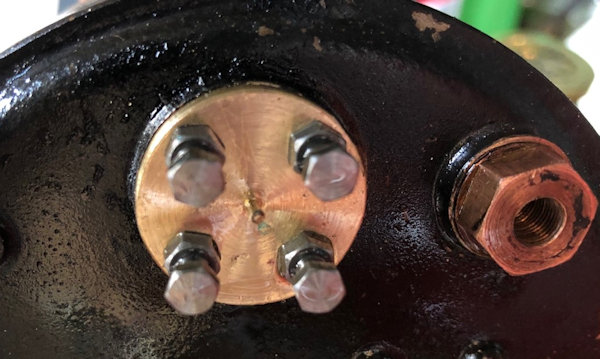
2019 the 176th day in the workshop in 2019 A Christmas present for me. I decided to look at the plan and check the thread size of the regulator fixings and found that they ar 5BA. A new bung was made up and fitted with gasket goo 5BA bolts and nuts to lock tight and then a satisfactory test was carried out by pumping water into the boiler ..A slight dribble from a fitting but nothing serious and solved with some PTFE tape... |
 |
| 5th
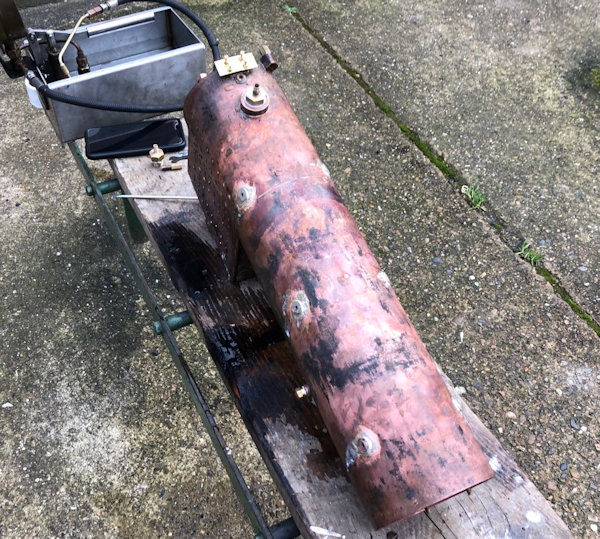
Jan 2020 A RED LETTER day the boiler passed it shell test following the repairs outlined above. Many thanks to the members of MMES who put in the time to help me reach success. Now the completion of the build ready for the next hydraulic test and then the steam test. |
 |
| 6th Jan 2020 My new compressor installed and sand blasting of the cladding completed. So when the workshop has warmed up, as I had both doors open whilst doing the sand blasting, the etch primer can be applied. |
 |
Next Page |
|
