The Diary of the Building of a 5" gauge Stirling Single |
|
|
|
|
|
|
|
Completion of the build Part 17 |
|
| 16th
October 2019 So this is what I have achieved recently and just a bit more to do before a steam test. 1. the regulator does not operate All sorted 2. Make the boiler door catch and fit Completed 3. Sort out the coupling to tender Completed 4. Fix chimney to smoke box Completed 5. Amend the fixing of the cover plate above oiler Completed 6. Sort out axle pump as will not fit under the boiler Completed 7. Provide the
blower outlet in the smoke box
Completed
8. Fit lugs on
the side of the boiler where it will sit on the frames
adjacent to the firebox Not required boiler sits level
9. The main
Painting Completed
10. Make up
the Cab spectacles All
sorted and glass fitted
11. Pipework to whistle Completed 12. Pipework
to axle pump --Completed
13. Pipework
to injector Completed
14. Connect
pipes from super heaters to the steam chests. Completed
15. Seal up the bottom of the smoke box so that a vacuum can
form to draw the fire Completed
16.
Pipework to to dummy
whistle. Completed
17.
Sight glass fitting need aligning and glass
fitted Completed
18.
Complete fitting of banjo to blower. Completed
19.
Install the injector water valve operating levers.
Completed
20.
Check the bolts are tight holding the firebox
grate. Completed
21.
Fit the fire door keeper.Completed
and
still to do !!!
1.
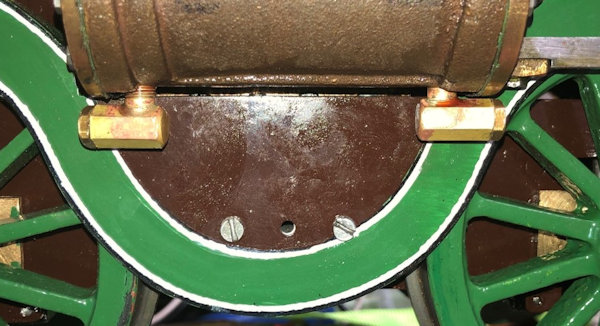
Make up 4 Auto Drain cocks for the cylinders. As
you can see below that task was completed today !!
2.
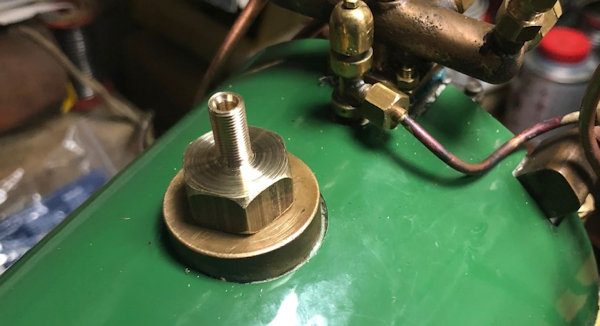
Make up a bung with 1/4" male to fit safety valve
thread and the pressure test rig.
As you can see below that task was completed today !! do more lining
out !!!!
|
|
|
Made
up the fitting for the boiler bush for the pressure test with
1/4" x 40 male on the top.
|
 |
| May
be these are the final piece of the jig saw the Automatic drain
cocks made today. A date has been set for the steam test of the loco for Sunday 20th October 2019 assuming success it will be the culmination of 351 days working on the build. |
 |
| 17th
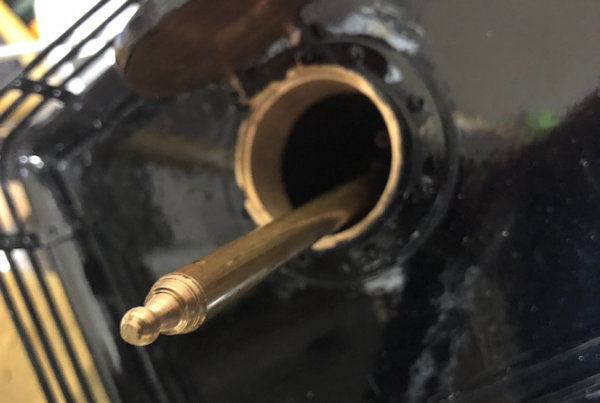
October 2019 So final preparation begins for the steam test Sunday. The safety valve checked to release on air at about 80 psi but must make up a tool to open or close the vent. Made up a handle for the tender water pump Cut Silicone pipe for feed to injector and axle pump and also the bypass to axle pump. Again eased the fit of the filter to the tender by skimming fractions of the out side. Located the initial pressure test of the boiler. |
 |
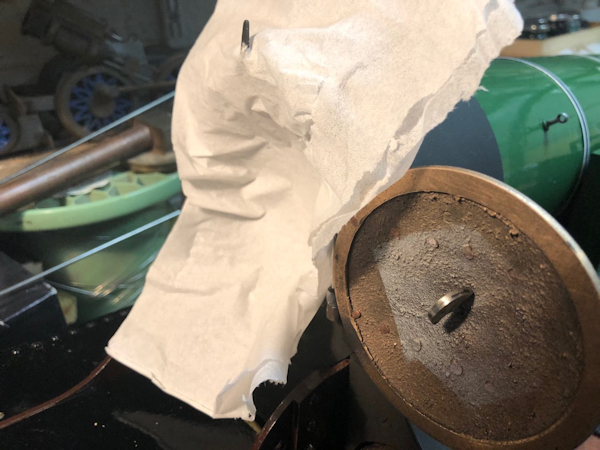
| In
a newsletter from my club it indicated that you can check the
draw in the smoke box by placing a piece of paper ov the
smoke box door opening and run the engine. Running on air and opening the blower valve caused the tissue to be drawn into the smoke box thereby proving that the seal at the bottom of the smoke box, done previously, works !! |
 |
| 18th
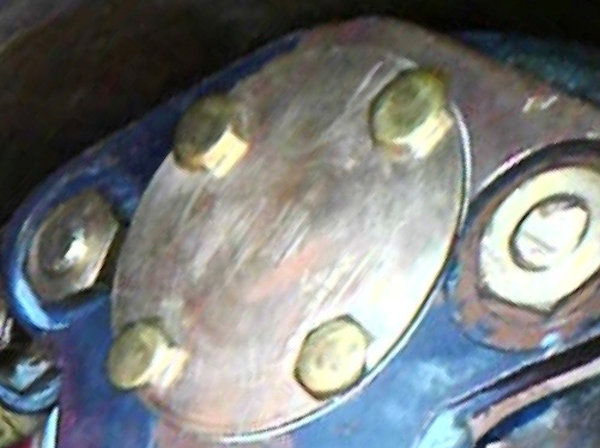
October 2019 Checking with some bubble liquid I found that the seal to the water gauge glass was leaking. I cut from a silicone tube two piece to make replacement "O" rings and the leak was sorted. There also seemed to be a leak in the smoke box so the manifold nuts were tighten a little |
 |
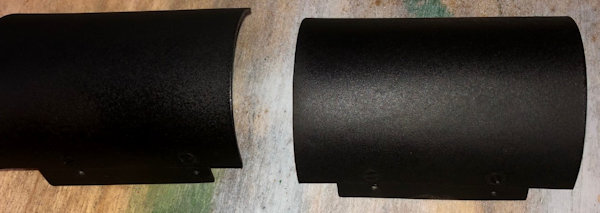
| These
had been partially made but the 8BA bolt holes needed to be
tapped. With that done the 8BA bolts were inserted, shortened a
little and then hammered over to lock into place. The units were then sand blasted and sprayed with a thin initial coat of high temperature paint as used on the chimney and when dry a full coat applied. |
 |
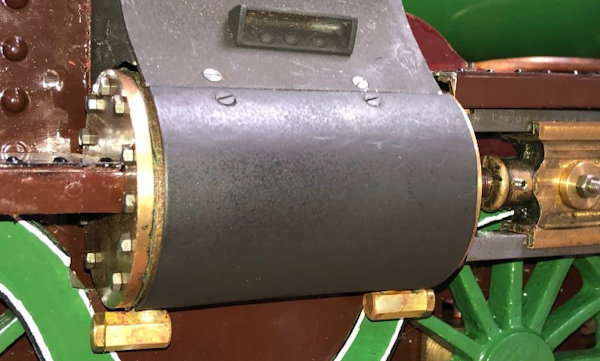
| Side
panels in place I need to finish painting the fixing screws. |
 |
| 19th
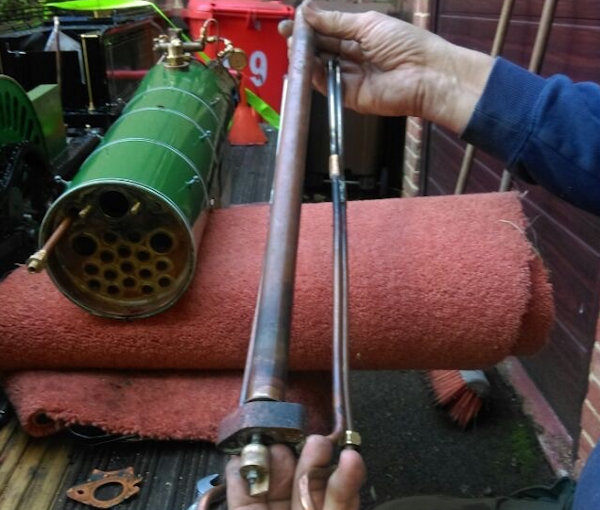
October 2019 After all the efforts put in to couple up the tender when it came to a simple pressure test with the boiler full of water and the tender hand pump used to pump water into the boiler a leak was found to exist on the smoke box at the Blower Union. There was no option but to take it all apart including the regulator which had taken a long time to set up, and that was after disconnecting all the smokebox pipe work. and remembering to remove the blow down valve and extension the boiler was removed. A new union was made for the smoke box end of the blower pipe and re-assembly can take place in due course and I will be pressure testing each part as re-assembled. The reason the blower union failed when it had previously passed a hydraulic test is that the assembly at the driving end have to be taken apart to fit a banjo and this had obviously made the leak occur at the smoke box end. |
 |
| 20th
October 2019 Chatting to the boiler tester it was considered a good idea to make the boiler number more visible by painting of the number in black paint and then when thoroughly dry polish away the black paint on the surface leaving the boiler number with black infill. The photo shows the painted number using the VHT black paint. The scheme paperwork was also completed today and the new boiler test scheduled for Sunday 28th October 2019. |
 |
| The
Boiler number is much more visible with the black paint removed
after the first rubbing with Wet and dry. More can follow. |
 |
| 21st
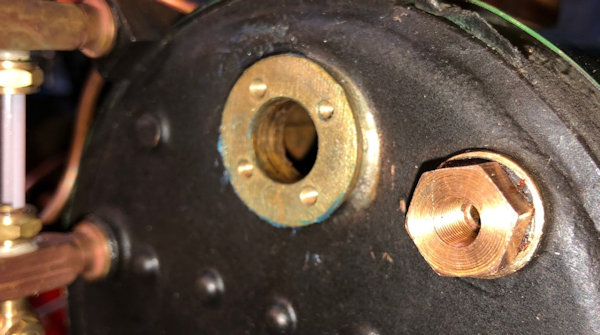
October 2019 Further polishing of the ID number should make it easier to read on the steam test. The blower stay with the back head union attached and with banjo bolt in place to ensure it remained in place, was guide through to the front of the boiler and then the back head union was tightened up. |
 |
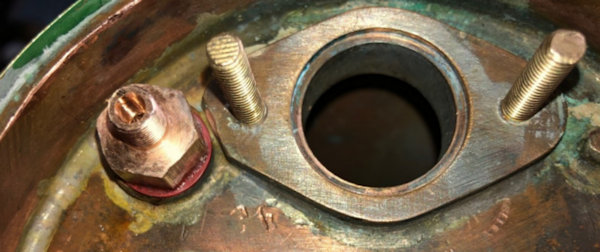
| Then
newly made the smoke box union was inserted and mated with the
blower stay and tightened up with annealed coper washer in
place. Thread lock was used on the unions. Blanking off piece have been machined up to the I can do a simple air test on the blower arrangement before re-assembling the regulator and then re-assembling the boiler into position. |
 |
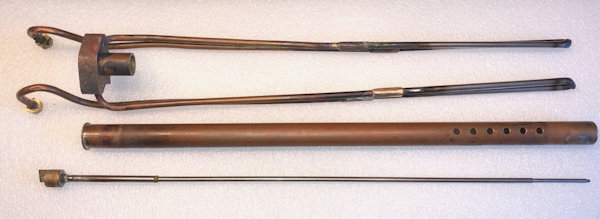
| 22nd October 2019 The air test went well and the blower assembly seems to be air tight. Some damaged paintwork was touched up, all the parts to the regulator cleaned up and gasket make for to small front end piece which covered the regulator operator. The gasket for the main part of the regulator with the super-heaters and for the closing off of the regulator in the smoke box made. |
 |
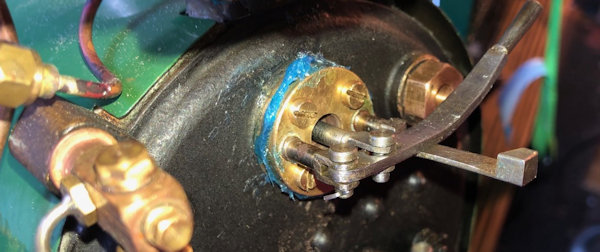
| After
letting the paint dry the regulator was re-assembled with the
gasket material and gasket "goo" as can be seen in the photo
where the excess is squeezing out and will need to be cleaned
off. This time the small pice which operates the regulator is locked in place with thread lock. I still have to put in place the "O" ring at the rear of the actuator as a steam seal. |
 |
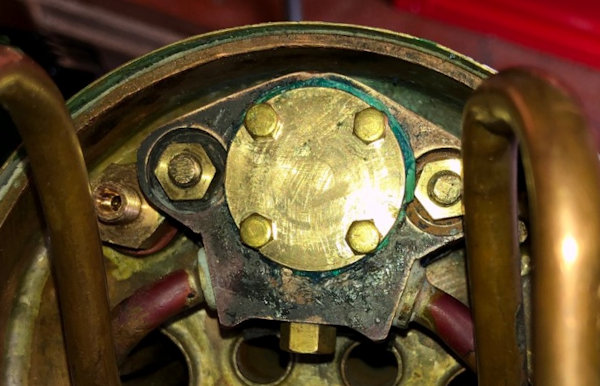
| 23rd October 2019 After checking that the regulator moved ok and was in the correct position The front cover and its gasket were prepared. After waiting a few minutes to allow the gasket goo to become sticky the parts were assembled and partially screwed down and final tightening will be done in a few hours time. The two 2BS nuts were checked for tightness and all was well. |
 |
Next Page |
|
