21st October
2020
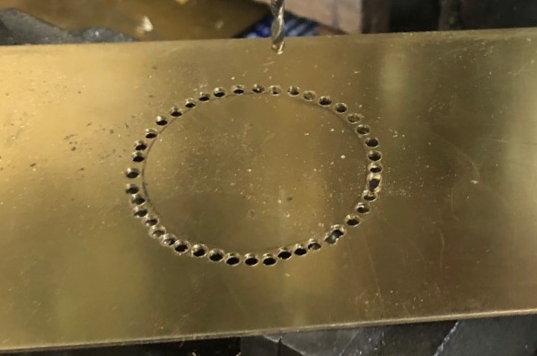
The filler hole was marked out and chain drilled.
|
|
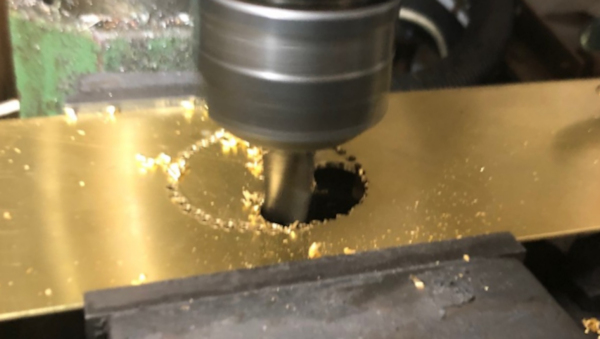
The centre was
then milled out.
|
|
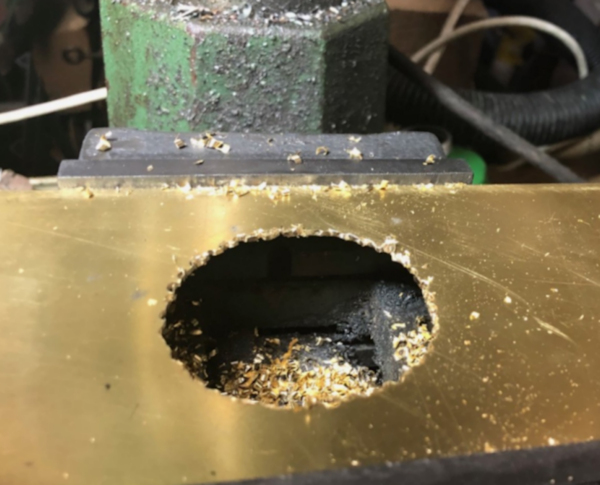
This left a
ragged hole
|
|
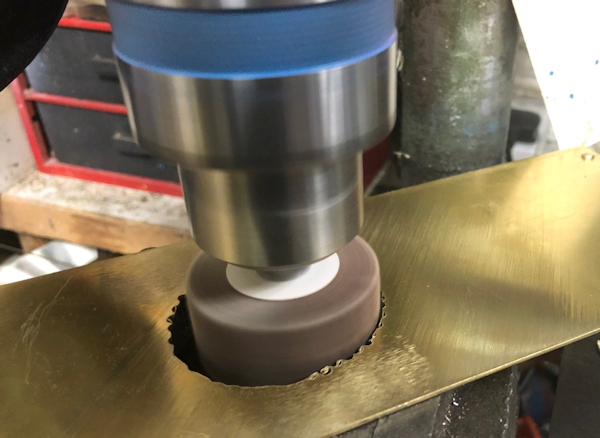
The hole was
cleaned up using a Flapper Wheel
|
|
Having used my
centre finder and marked the two hole location I needed
to mark the next two holes at right angle to the first
two.
So I used a pair of dividers and where the lines crossed
was the centre point between the other two marks. This
was repeated for the other side. |
|
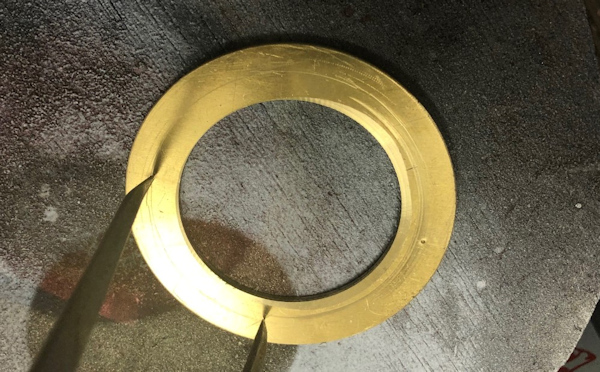
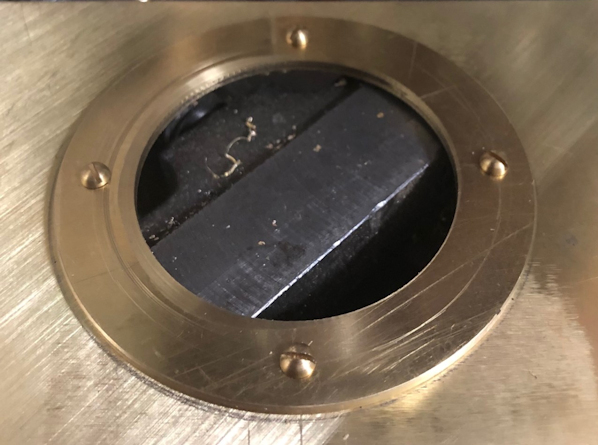
The filler
ring was then fitted before it is to be silver soldered
to the filler tube.
|
|
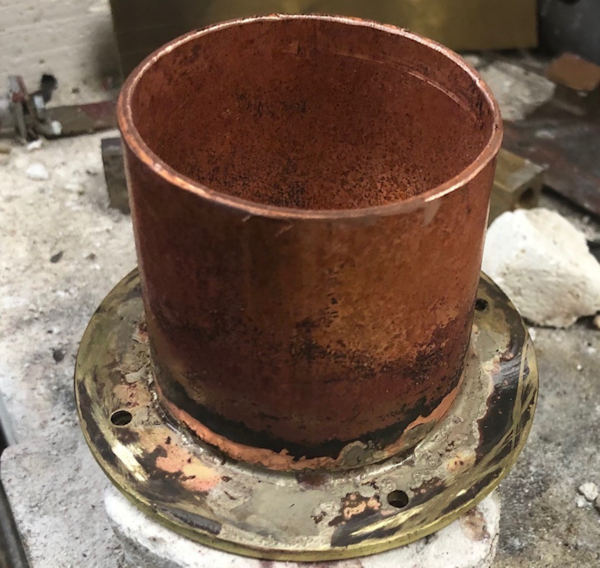
The base and
the filler barrel were silver soldered together.
|
|
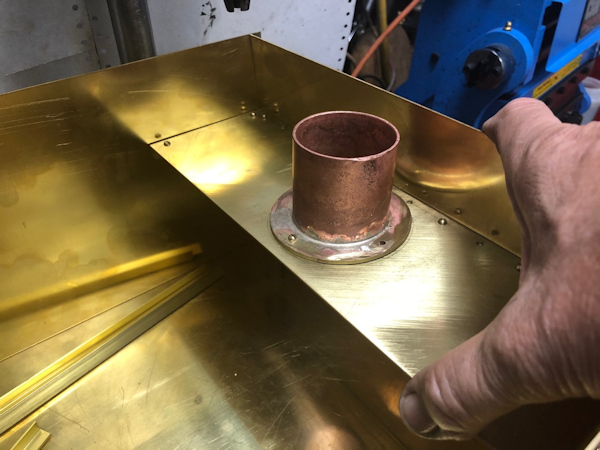
The filler
part had the angle attached so I thought I would hold it
in place to see how the size looked. I am pleased with
my decisions !!!
|
|
22th
October 2020
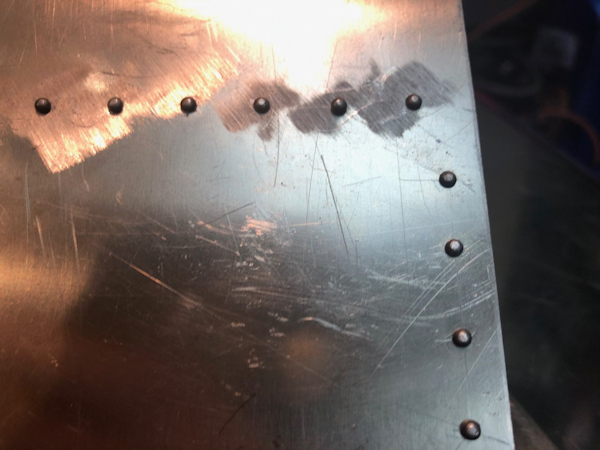
1/16" rivets drilled and installed a total of 38 so far
|
|
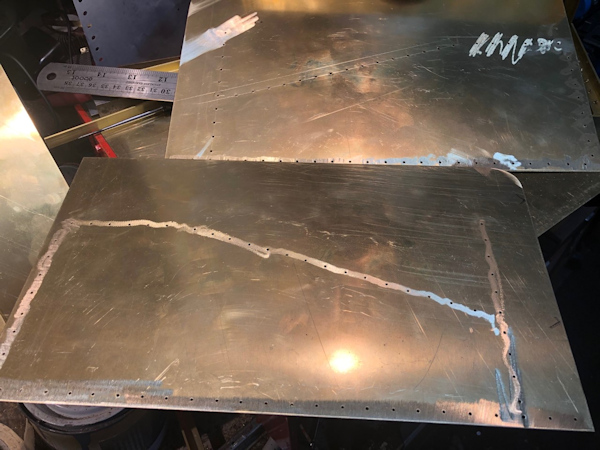
A side piece
was selected and all the necessary rivet holes marked
out - a total of 63 !!
The the 63 holes were drill 1/16" and then the second
side was fixed by machine clamp and carefully 5 rivet
holes drilled and then the two plate riveted together
and the remaining holes drilled.
A total of nearly 200 holes were drilled today
All the drilling was then cleaned up ready for the abgle
to be fixed in another session in the workshop.
Total time today 6 hours of and three broken 1/16"
drill which were not of the best quality!!
|
y ...
|
23rd
October 2020
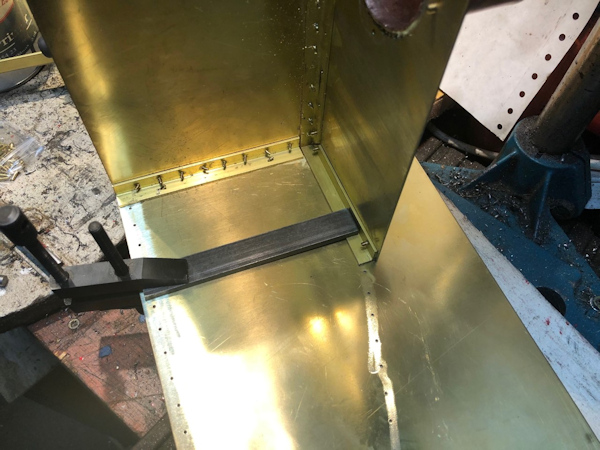
Holding piece in place ready to drill for the Rivets
|
|
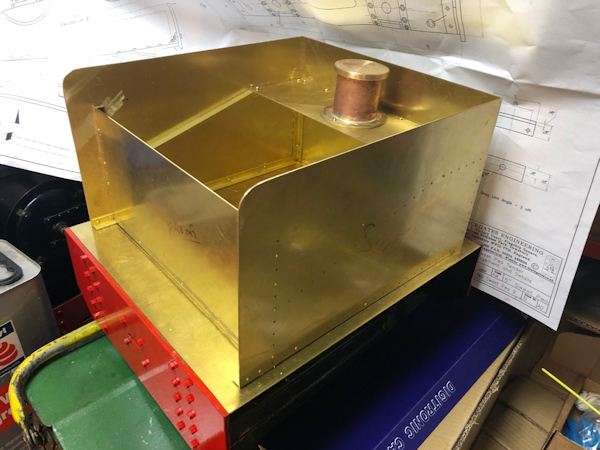
So after a
long session today this is as far as I have reached.
|
|
24th
October 2020
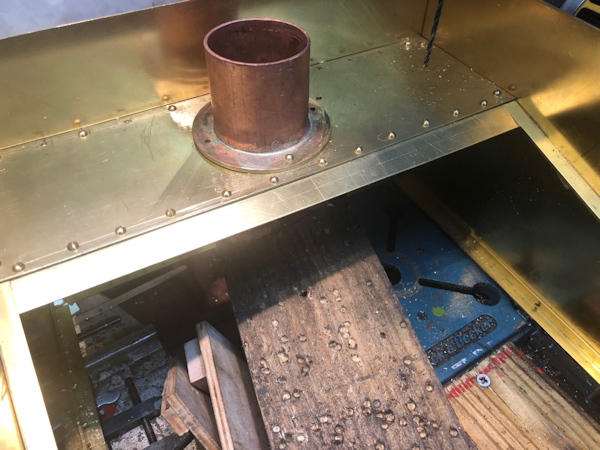
A lot of drilling for 1/16" rivets and then I decided to
sort out the sloping part.
The sheet brass was measured and cut in the 3 in 1
machine and then slight adjustment was needed at the
front end to go round the existing angle. This was
achieved with my Dremel and a metal cutting blade.
Satisfied with the fit I then made up an angle piece
from and off cur using the 3 in 1 machine to form the
angle. I did make a few trial bends to ensure that as I
only had one piece of brass that it would be fine.
The existing part was first drilled with the drill for
the tapping of the lower part, then
the two piece were clamped together using spacers and
machine clamps and the holes for tapping 6BA were
drilled into the lower part.
The upper part was then drill for clearance of the 6BA.
Using a tapper tap 6BA in my hand drill the lower holes
were threaded and then the 6BA round headed bolts
fitted.
A rather neat way of using up the cut off brass.
|
|
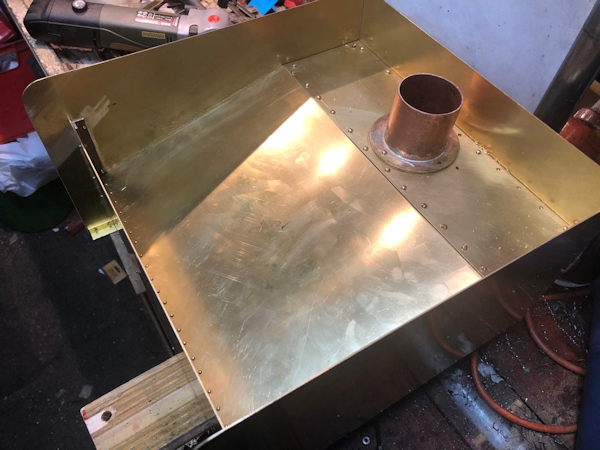
A similar
exercise was carried out the make a less than 90 degree
angle piece for the bottom edge. However there was only
short pieces of scrap so two were silver soldered
together cut to length and then bent to the angle
required.
This piece was then attached to the front edge of the
slope by more 1/16" rivets.
This sloping part has to be made water tight as
eventually I wish to carry extra water for the
injector.
|
|
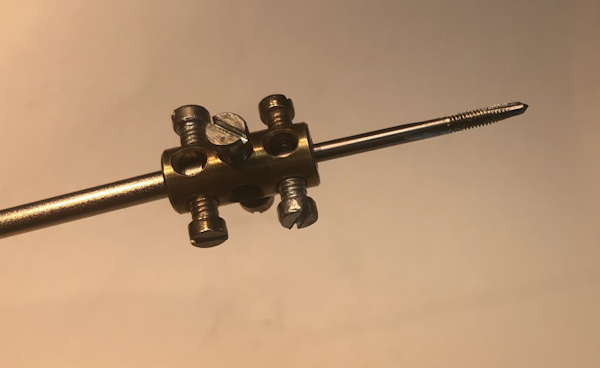
A few more
holes drilled and tapped this evening but I need an
adaptor to gain access to a tight corner so used a
Meccano Coupling.
|
|
25th
October 2020
The first job achieve was to make and extension for the
Tapping drill for 6BA and also an extension for the 6BA
taper tap as they could not reach deep into the tender.
A hole was drilled using the tapping drill and then the
hole and drill were cleaned and then fixed with Loctite
603. Similarly for the tap.
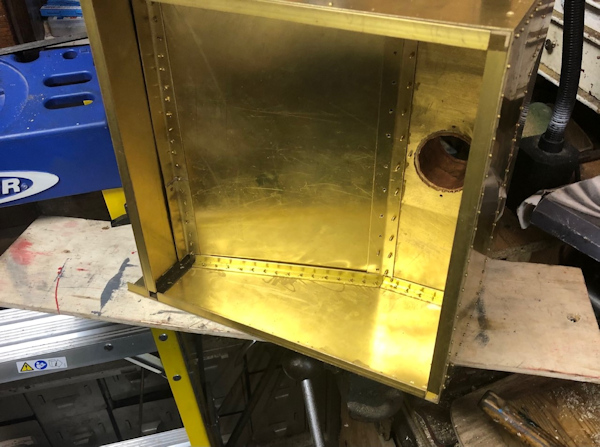
To assist with the riveting I devised this support so
that the tender rivet was on top of the dolly and then I
could balance the tender more securely than without the
stand.Still many more rivets to finish off!!
|
|
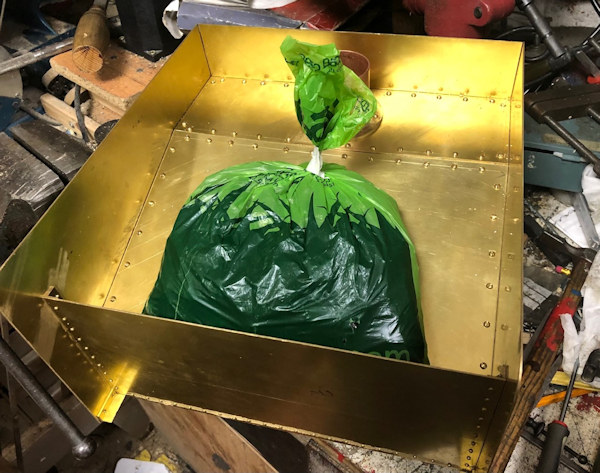
With all bar a
few remaining 6BA bolts to drill and tap along the front
face of the tender I decided to see how coal the tender
would carry. I filled a bag with coal and was surprised
to find that it weighed 2lbs 8ozs which as you can see
will easily be carried by the tender.
|
|
26th
October 2020
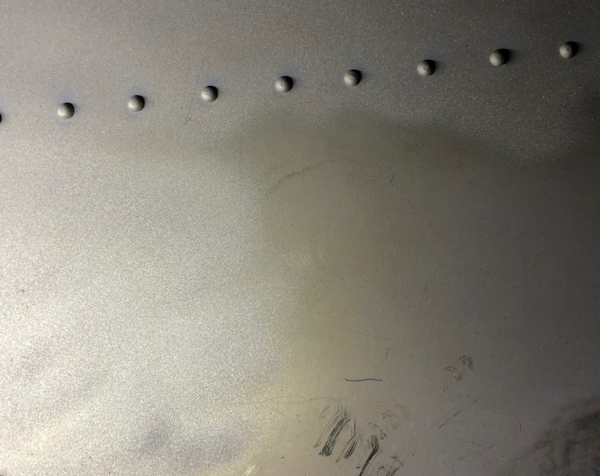
A start made on the sand blasting so that the etch
primer will have a good key. You should be able to see
the areas sand blasted top left and un-blasted bottom
right.
|
 |
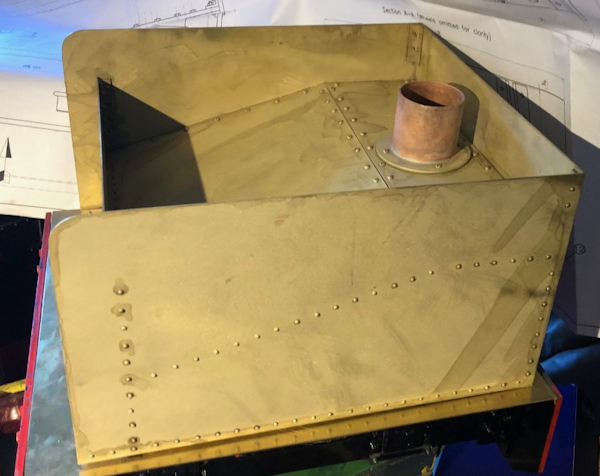
The upper part
of the tender is now fully sand blasted and ready for a
coat of etch primer after a time has elapsed to allow
any remaining cleaner to evaporate.
|
|


