11th
October 2020
No much achieved on the Tender but the Loco passed its
steam test.
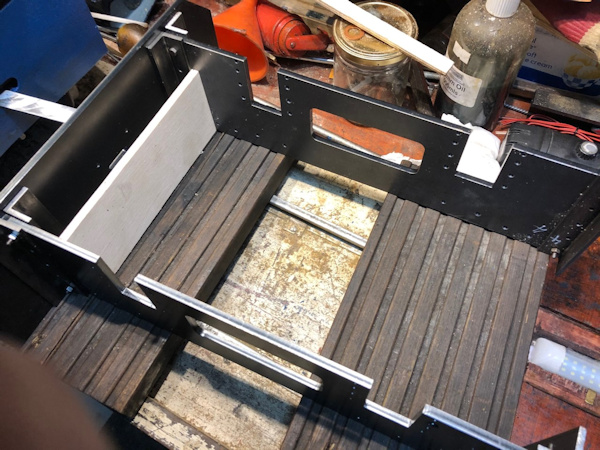
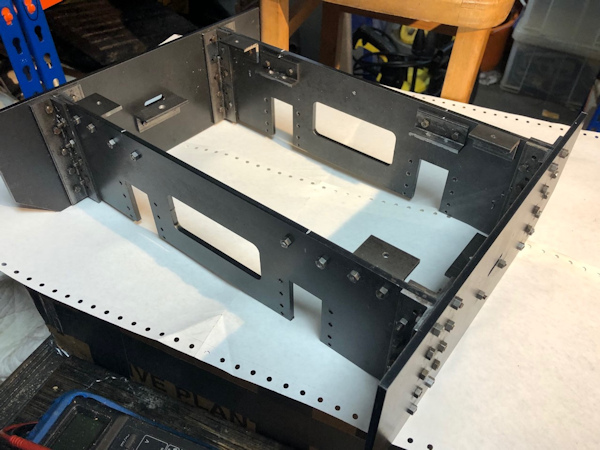
The photo shows the trial set up of buffers and frames.
|
|
12th
October 2020
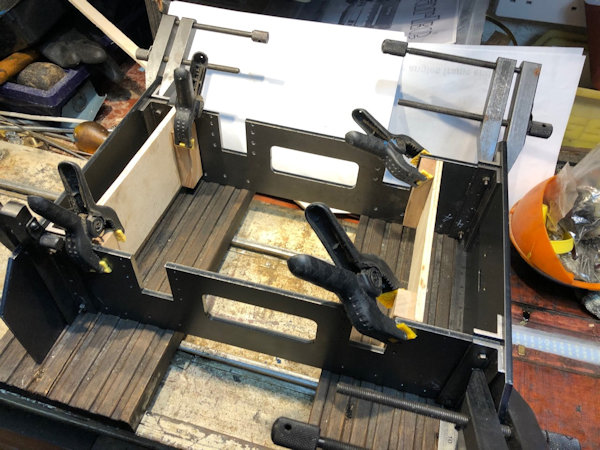
I added square sided pieces of wood to the ply so that
approximate fixing could take place. Then the machine
clamps were added
|
|
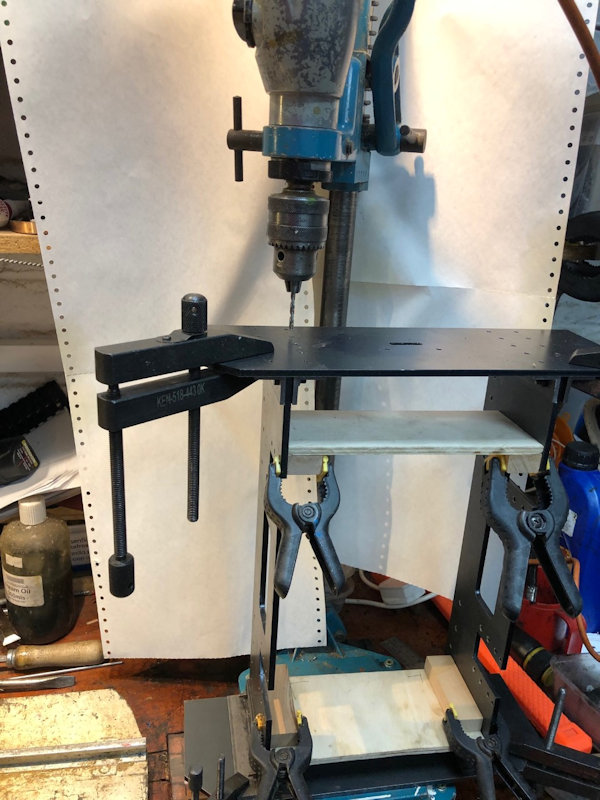
My bench drill
could not accommodate the frames and buffers so I had to
utilise a very old drill stand and drill dated from
about 1975.
I used ROCOL cutting fluid which made life so much
easier doing the drilling.
The column has previously been changed for the much
longer one current installed but even this was nearly
not long enough !!
Before drilling I check the spacing between the frames
in case anything had moved, it had so adjustments were
made.
|
|
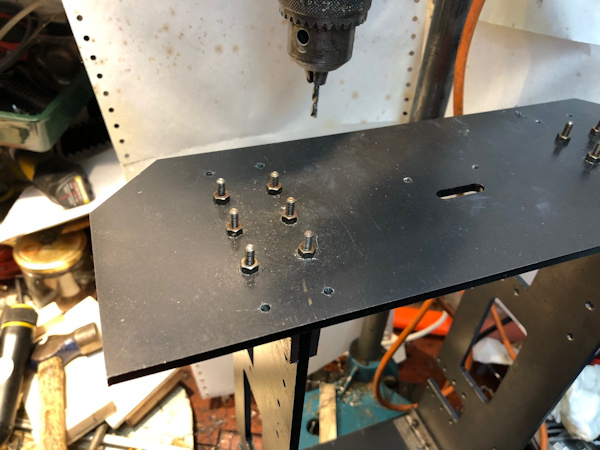
The holes were
drilled but I found that the holes on the other half of
the angle were in exactly the same place as those on the
buffer so I had to only put in the holes and nuts and
bolts in the three centre holes.
I put the nuts on the outside as I wanted to have the
4BA nut there and the smaller 5BA head inside.
The excess bolts were then cut back.
|
|
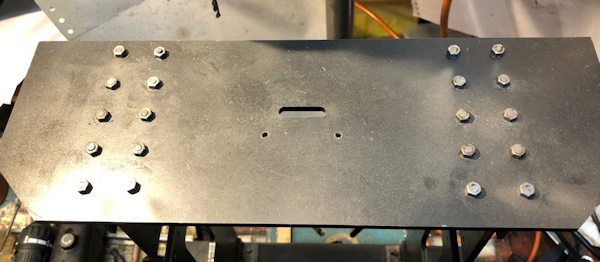
All done
except for a little filing of the bolts to be level with
the nuts
|
|
13th
October 2020
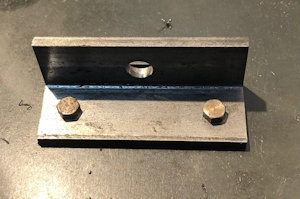
Left photo shows the outside of the coupling and the
right the inside of the coupling bracket. It is intended
that the coupling rod is bolted to the fitting but I may
add a further fitting so that a tradition coupling bar
can be used.
|
|
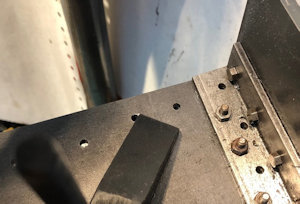
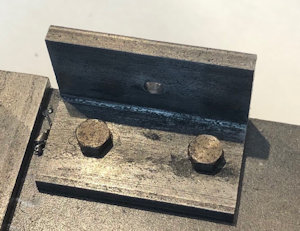
The tank
holding bracket the first photo show the set up to drill
and the second a fitted bracket.
|
|
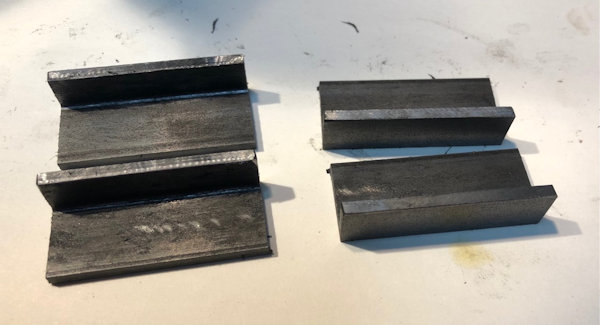
The kit of
materials including un-machined Spring Holding Brackets.
The photo show the brackets machined to size.
These now need to be drilled for the rods of the
springs.
|
|
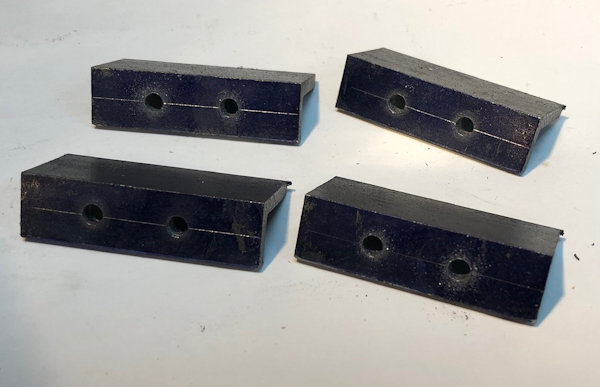
The Spring
brackets now drilled
|
|
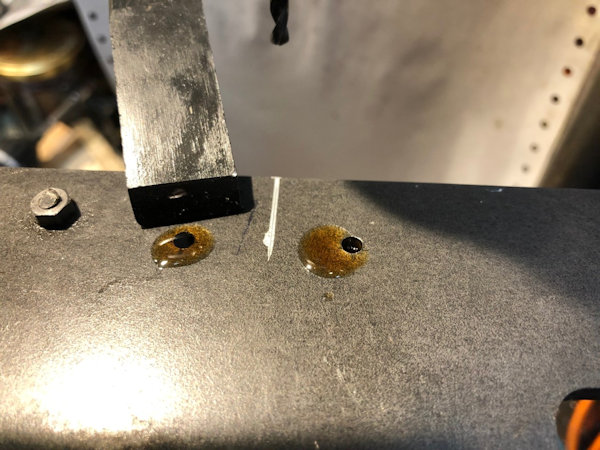
All clamped up
ready to drill. The white line is an aid to show the
centre line.
|
|
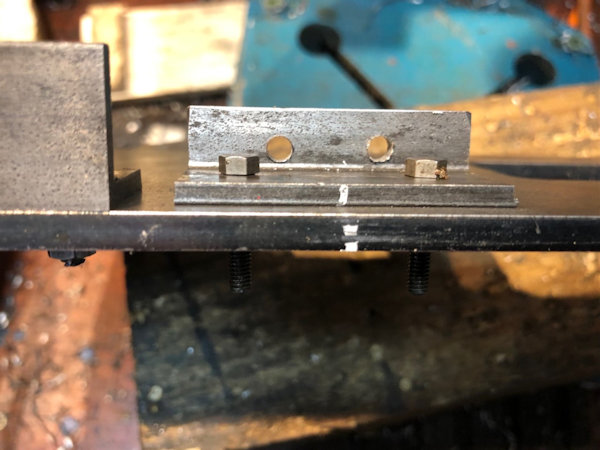
Drilled and
fitted. The witness marks are in-line I did not take a
well aligned photo !!!
|
|
The tender as
it is completed at the end of today.
Next to work out are the horn blocks.
|
|
|
|
|
|
|
|
|
|


